Replacing or adding a processor – Gateway E-9425R User Manual
Page 49
www.gateway.com
43
10
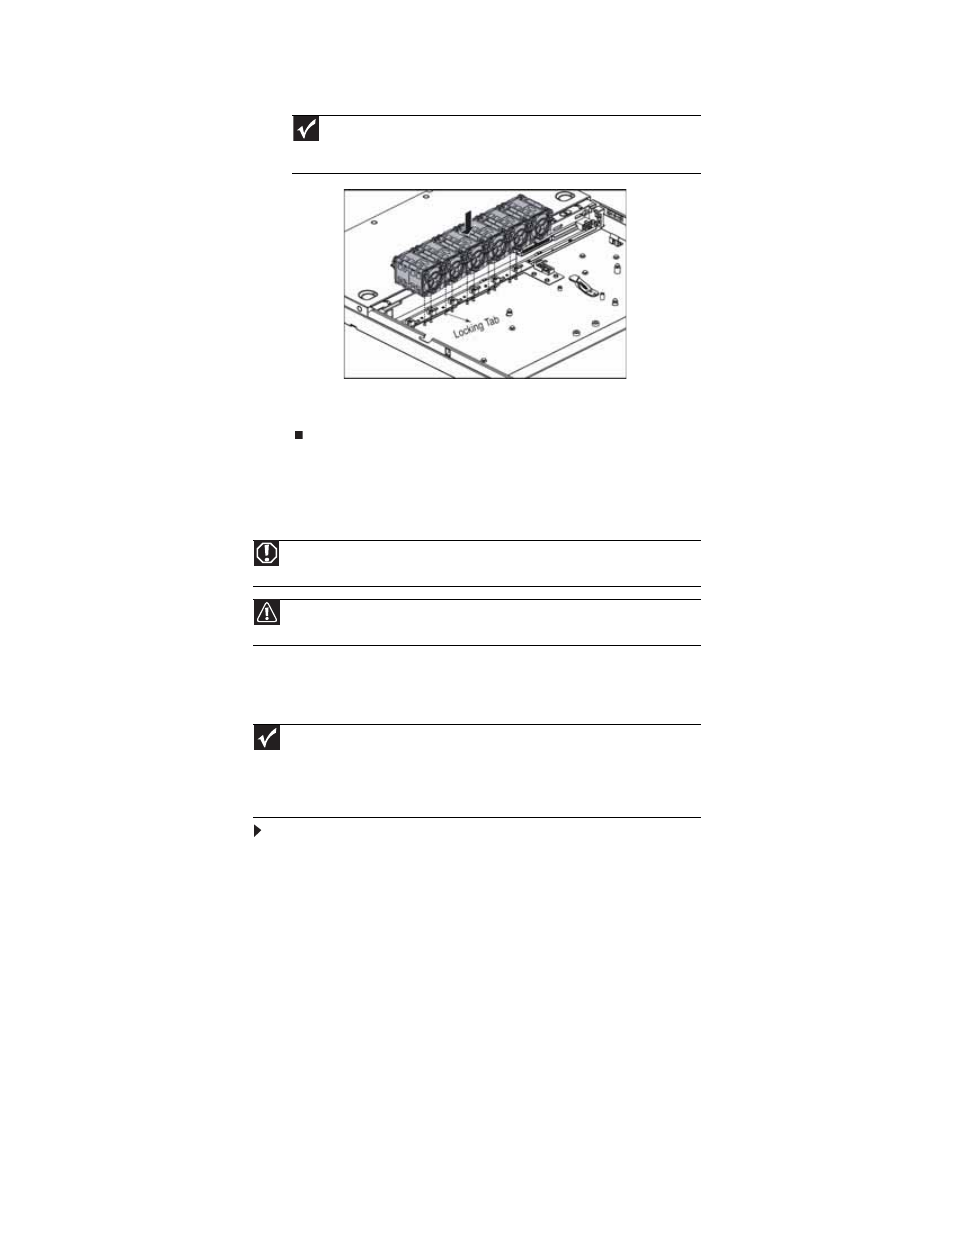
Connect the 6-pin fan tach cables from the fans to the fan tach connectors on the fan board.
11
Follow the instructions in
“Closing the server case” on page 30
Replacing or adding a processor
The server is compatible with as many as two Intel® Xeon DP (Dual Core) 5100 Series processors.
The server automatically detects the processors each time you turn it on. Whenever you install
new processors, you should first install the most current version of the BIOS. For instructions,
see
“Updating the BIOS” on page 58
.
To replace a processor:
1
Install the most current BIOS version. For instructions, see
“Updating the BIOS” on page 58
2
Follow the instructions in
“Preventing static electricity discharge” on page 28
. Make sure
that you turn off the server, then unplug the power cord(s) and all other cables connected
to the server.
3
Follow the instructions in
“Opening the server case” on page 29
.
Important
Make sure that the arrows on top of the fans indicating airflow point to the
back of the chassis. The fan cable should exit the fan module toward the back of
the chassis.
Warning
Processors and heat sinks may be hot if the computer has been running. Before
replacing a processor or heat sink, allow them to cool for several minutes.
Caution
A heat sink must be installed on the processor. Installing a processor without a
heatsink could damage the processor.
Important
You must have a processor in the Processor 1 socket, or your server will not start.
If you are upgrading your server from one processor to two, you may need to reconfigure
your operating system so it can recognize the additional processor. For instructions, see
your operating system’s documentation.
If you install two processors onto the system board, the processors must be the same
speed, revision, core voltage, and bus speed.