Verifying e-stop functions, Verifying robot motions, 2 learning to program the robot – Adept s1300 Viper User Manual
Page 43
Learning to Program the Robot
Adept Viper s1300 Robot User’s Guide, Rev B
43
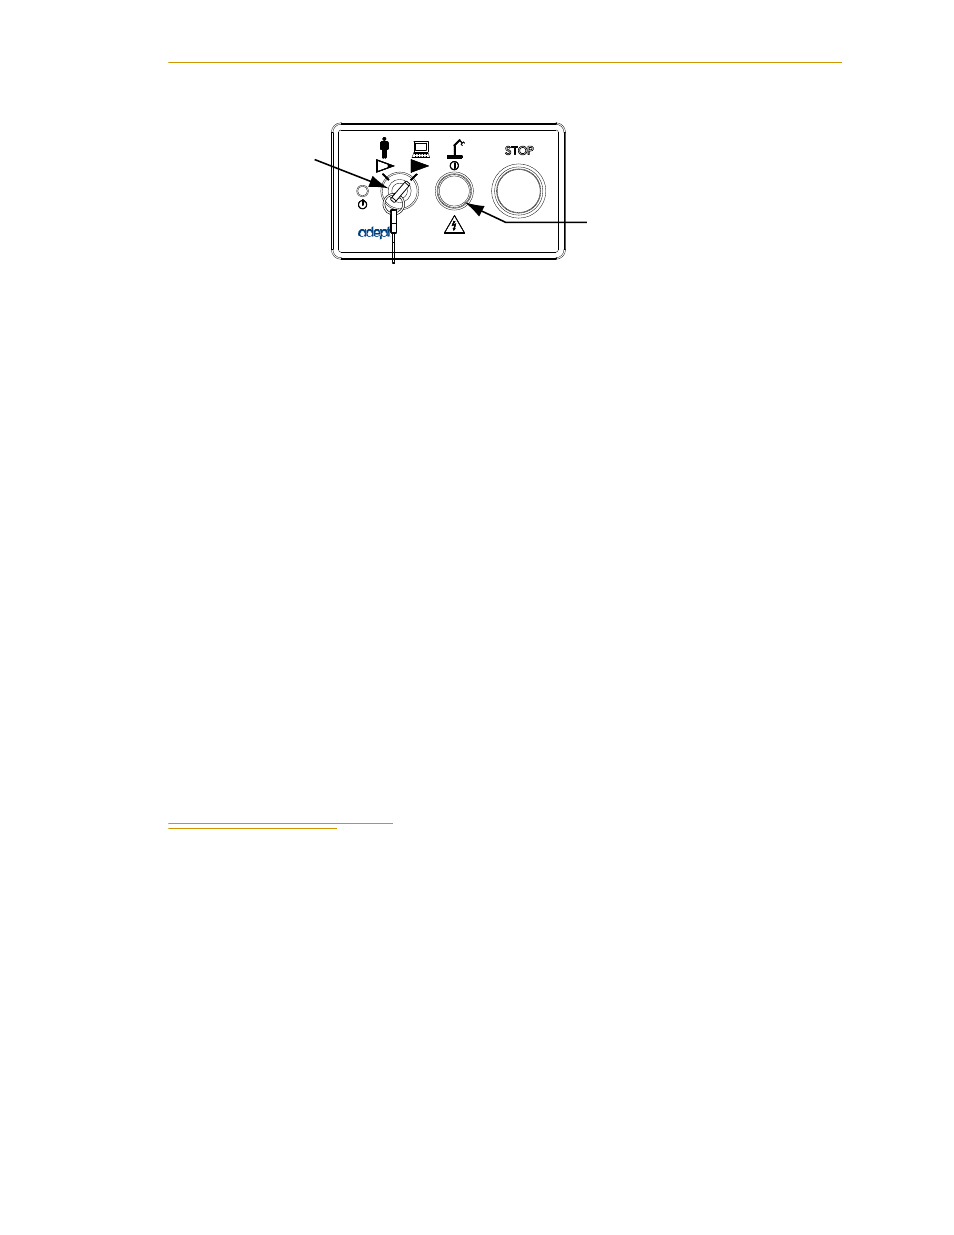
Figure 4-1. High Power Button on Front Panel
This step turns on high power to the robot motors and calibrates the robot.
• The amplifier status LED blinks green rapidly
(a slow green blink has a different meaning).
In addition, for Adept IP-65 Viper robots, the lamps on the robot glow solid
amber.
• The status panel on the robot or amplifier chassis displays ON.
Verifying E-Stop Functions
Verify that all E-Stop devices are functional (pendant, Front Panel, and user-supplied).
Test each mushroom button, safety gate, light curtain, etc., by enabling high power and
then opening the safety device. The High Power push button/light on the Front Panel
should go out.
Verifying Robot Motions
Use the pendant to test the motion of each axis on the robot to confirm it moves in the
proper directions. Refer to the
Adept SmartController User’s Guide
and the
T2 Pendant
User’s Guide
for complete instructions on using the pendant.
NOTE: If the optional pendant is not installed in the system, you can
move the robot using the Robot Jog Control in the Adept ACE software.
For details, see the Adept ACE User's Guide.
4.2
Learning to Program the Robot
To learn how to use and program the robot, see the
Adept ACE User’s Guide
, which
provides information on robot configuration, control and programming through the
Adept ACE software "point and click" user interface.
For V+ programming information, refer to the following optional manuals:
• V+ Language User’s Guide
• V+ Language Reference Guide
• V+ Operating System Reference Guide
NOTE: When using an Adept pendant with an Adept Viper robot, the
Free Mode is disabled for safety reasons.
Switch, in
Auto Mode
Press High Power button
when blinking