13 system board, 13system board –19 – HP DX2000 User Manual
Page 61
Service Reference Guide, dx2000 uT
359782-002
6–19
Removal and Replacement Procedures— Microtower (µT) Chassis
6.13 System Board
1. Prepare the computer for disassembly (
Section 6.1, “Preparation for Disassembly”
).
2. Remove both the right and left access panels (
).
3. Remove the front bezel (
.
4. Remove the diskette drive (
Section 6.7.3, “Removing a Diskette Drive”
5. Disconnect the power, and data cables from the back of all installed 3.5" drives.
6. Remove the lower drive cage (
Section 6.7.4, “Removing the Lower Drive Cage”
✎
It is not necessary to remove the chassis fan from the chassis.
7. Disconnect all cables from the system board.
8. Remove the heatsink from the system board (
Section 6.12, “Processor and Heatsink”
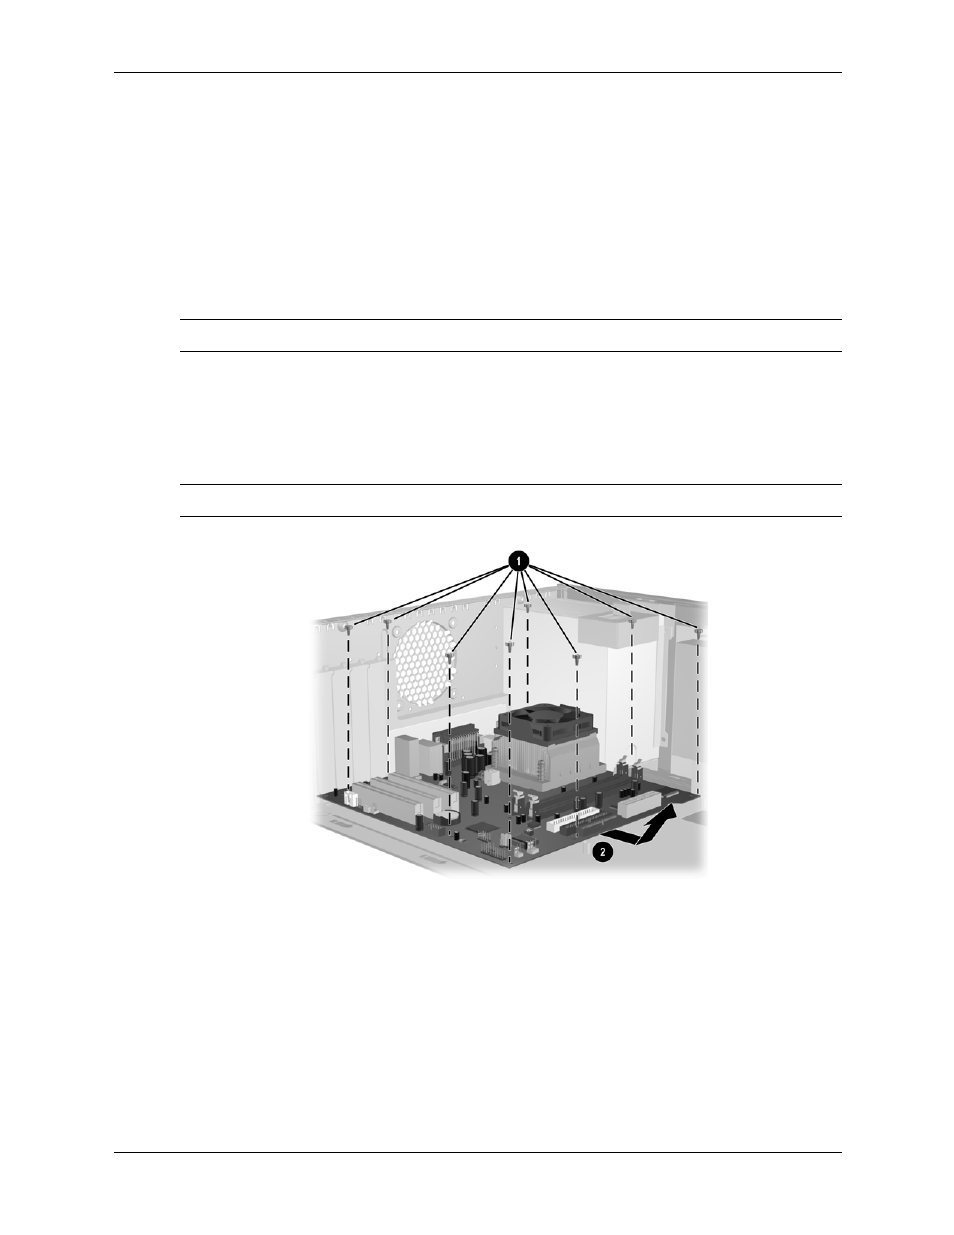
9. Remove the 8 screws that secure the system board to the chassis 1.
10. Slide the system board towards the front of the chassis 2 to remove it.
✎
The system board in the computer may look slightly different from the one shown here.
To install the system board, reverse the removal procedure.