Editing the effects for bus 3 and bus 4 – Roland SP-404MKII Creative Sampler and Effector User Manual
Page 110

Configuring the Various Settings (UTILITY)
110
From the top screen, you can also make this screen appear by pressing pad [16] while holding down the [SHIFT] button.
3.
Turn the [CTRL 3] knob to select “FAVORITE”.
4.
Turn the [VALUE] knob to select “FAVORITE 1” through “FAVORITE 16”.
The effects you selected in “FAVORITE 1” through “FAVORITE 16” are applied to the overall output audio.
5.
Use the [CTRL 3] knob to select “BUS 3” or “BUS 4”, and press the [VALUE] knob.
The value display is highlighted, and you can now change the effects.
6.
Use the [VALUE] knob to select the effect, and press the [VALUE] knob.
This confirms the EFX Type.
7.
To finish making the settings, press the [EXIT] button.
Press the [BUS FX] button while holding down the [VALUE] knob to temporarily bypass the BUS 3 and BUS 4 effects.
Editing the Effects for BUS 3 and BUS 4
Here’s how to edit the effects (BUS 3, BUS 4) applied to the overall sound.
See “
(P.33)” for how to edit the effects (BUS 1, BUS 2) applied to a sample.
1.
Hold down the [SHIFT] button and press the pad [13].
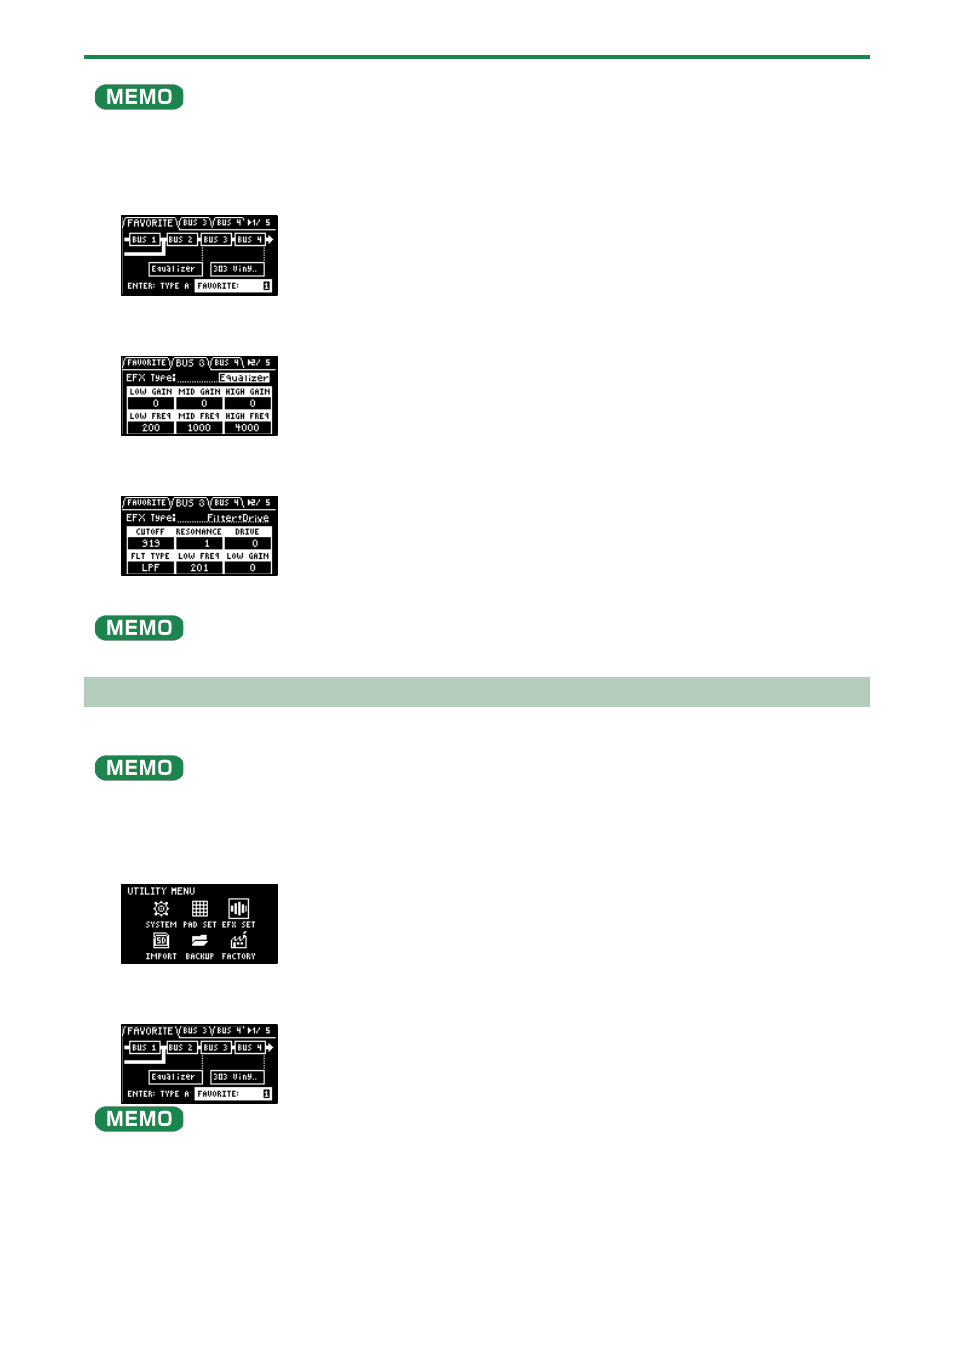
The UTILITY MENU screen appears.
2.
Use the [VALUE] knob to select “EFX SET”, and press the [VALUE] knob.
The effect setting screen appears.
From the top screen, you can also make this screen appear by pressing pad [16] while holding down the [SHIFT] button.
3.
Use the [CTRL 3] knob to select “BUS 3” or “BUS 4”.
Select the bus whose effect you wish to change.
