TA Triumph-Adler P-4030 MFP User Manual
Page 242
7-9
Status/Job Cancel > Checking Job History
2
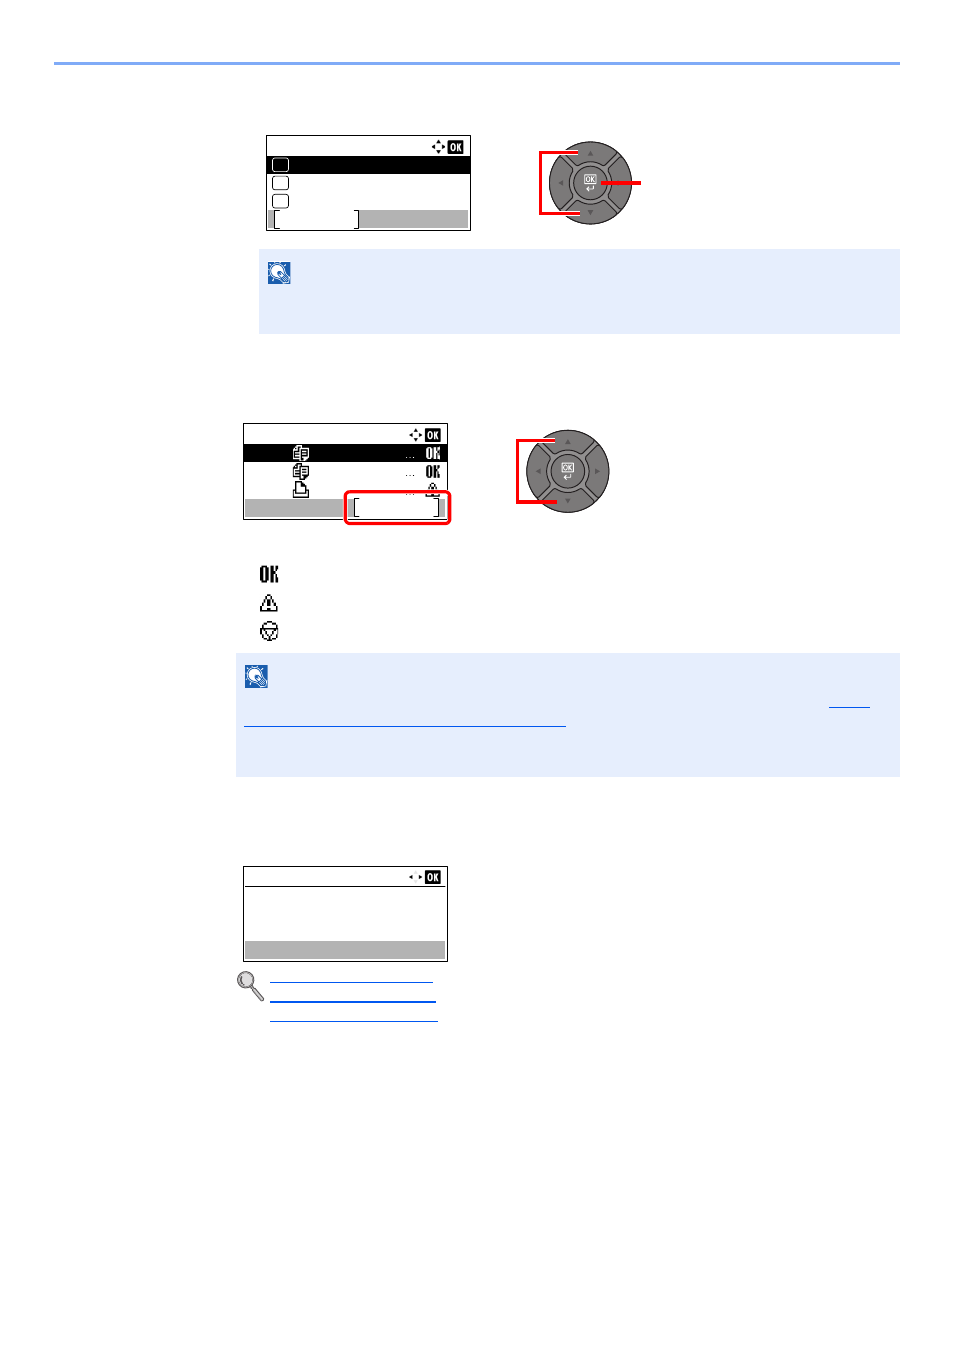
Press the [
▲
] or [
▼
] key to select [Print Job Log], [Send Job Log], [Store Job Log] or [FAX
Job Log], and press the [
OK
] key.
2
Select the job you want to check.
Press the [
▲
] or [
▼
] key to select the job you want to check, and press [Detail].
A job result icon is displayed on the extreme right of each job.
•
: The job has been completed.
•
: An error has occurred.
•
: The job has been canceled.
3
Check the job history.
Press the [
►
] key to view the next screen. Press the [
◄
] key to return to the previous screen.
NOTE
[FAX Job Log] is displayed only on products with the fax function installed. For details,
refer to the FAX Operation Guide.
NOTE
You can show the job log of all users, or only your own job log. For details, refer to
Status/Log (Display Status/Log) on page 8-31
. This setting can also be changed from
Embedded Web Server RX. For details, refer to the Embedded Web Server RX User
Guide.
Print Job Log (page 7-10)
Send Job Log (page 7-11)
Store Job Log (page 7-12)
2
1
Status:
Store Job Log
Pause
07
Print Job Log
05
Send Job Log
06
Print Job Log:
0011
0012
0013
doc00001234
doc00001235
Microsftwor
Detail
1
2
0011
Result:
OK
Detail:
1/ 9