Figure 39.1 system options-time, Select the time tab and configure the following, Figure 39.2 system options-control – Epson TOUCH DH200 User Manual
Page 76: Select the control tab, Click alarm 1 to enable/disable the alarm, Time password control, Time, Password, Control
66
Remote Setup
TIME
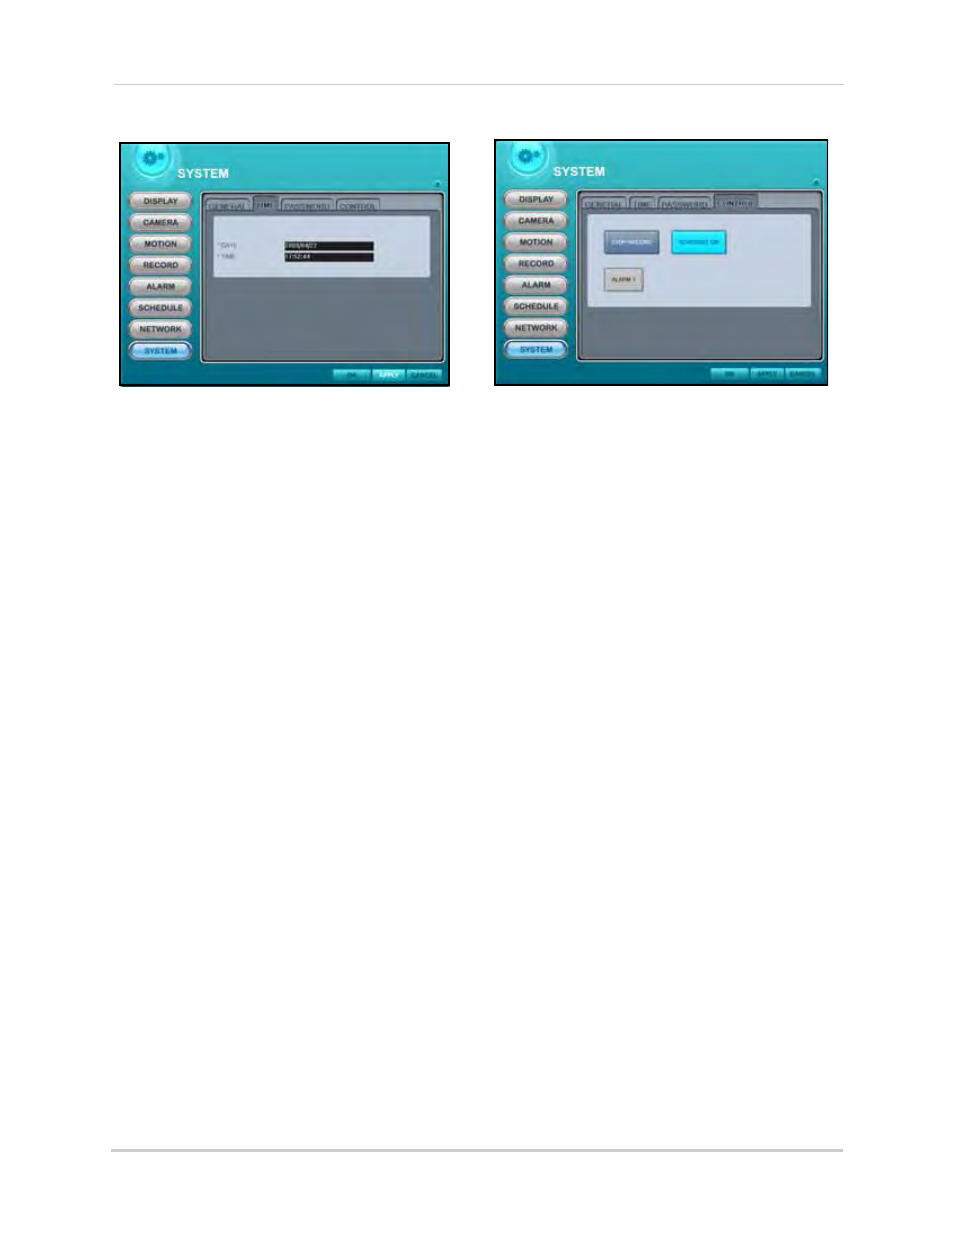
To set the time:
1. Stop all recording on the DVR. To stop
recording remotely, select the Control tab
from the System menu and click RECORD
STOP.
2. Select the TIME tab and configure the
following:
• DATE: Enter a date
• TIME: Enter a time
3. Click APPLY and then OK to save your
settings and close the window.
PASSWORD
N/A
CONTROL
The Control tab allows you to start and stop the
primary functions of the system.
To control the DVR:
1. Select the CONTROL tab.
2. Click STOP RECORD to stop continuous
recording on the system. Click START
RECORD to resume continuous recording.
3. Click SCHEDULE ON to enable/disable
scheduled recording. The button will be
highlighted in light blue when scheduled
recording is enabled.
NOTE: A recording schedule must already be
entered on the system prior to enabling/disable
schedule recording remotely. For details on
setting a recording schedule, see “SCHEDULE”
on page 25.
4. Click ALARM 1 to enable/disable the
alarm.
5. Click APPLY and then OK to save your
settings and close the window.
Figure 39.1 System options—Time
Figure 39.2 System options—Control