Grass Valley KAM-XM-SERIES v.1.4.1 User Manual
Page 70
70
KAM-XM-SERIES Instruction Manual
Configuration and Adjustments
3.
In the main NetConfig directory, locate a folder named
modular
. If this
folder does not exist, create a folder called
modular
in the main
NetConfig directory.
4.
Move the six .fld files you copied into the main NetConfig directory
into this
modular
directory.
5.
Verify that the KAM-XM_X.X.X.sw2 file is somewhere in the main
NetConfig directory (not in the
modular
directory).
Note
NetConfig reads each .sw2 file in its main directory and navigates to the
directory given in these files to find the .fld files available. The .sw2 file should
not have a .txt extension or NetConfig will not recognize it. There may be a
number of .sw2 and .fld files in your NetConfig directory for other modular
products. These will not interfere with the update.
6.
Locate the module to be upgraded in your frame and unplug it. Plug it
back in to begin the upgrade.
CAUTION During the download, the module will have no video output, so be sure the
module is off-air before upgrading.
7.
Open NetConfig.
8.
Navigate to the frame containing the KAM-XM module you wish to
upgrade on the left of the screen.
Note
If you have not used NetConfig before, refer to the NetConfig Instruction
Manual included during installation in the main NetConfig directory in pdf
format (NetConfig.pdf).
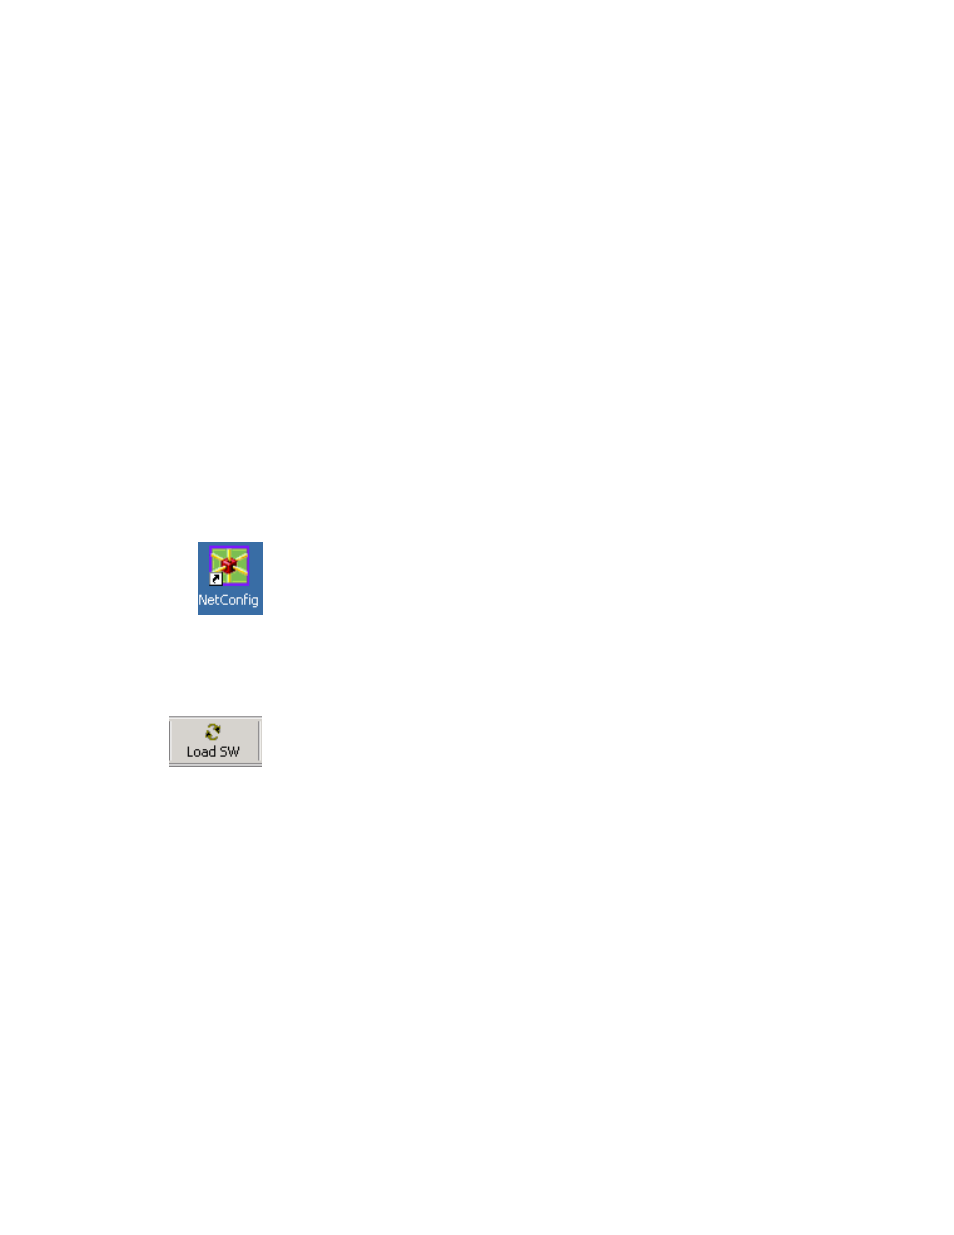
9.
Click on the
Load SW
button on the top of the NetConfig toolbar.
10.
This will bring up the Load Software screen (
). This
screen shows NetConfig version 2.0.6. If you are using an earlier
version of NetConfig, the file structure is slightly different, but the files
versions are the same.
The following files should appear under Device Type, all reporting the
same software version represented here by X.X.X:
•
apps_X.X.X.fld
•
firmware_X.X.X.fld
•
ucode1_X.X.X.fld
•
ucode2_X.X.X.fld
•
ucode3_X.X.X.fld
•
uvc_X.X.X.fld