Grass Valley K2 Summit Client v.9.2 User Manual
Page 28
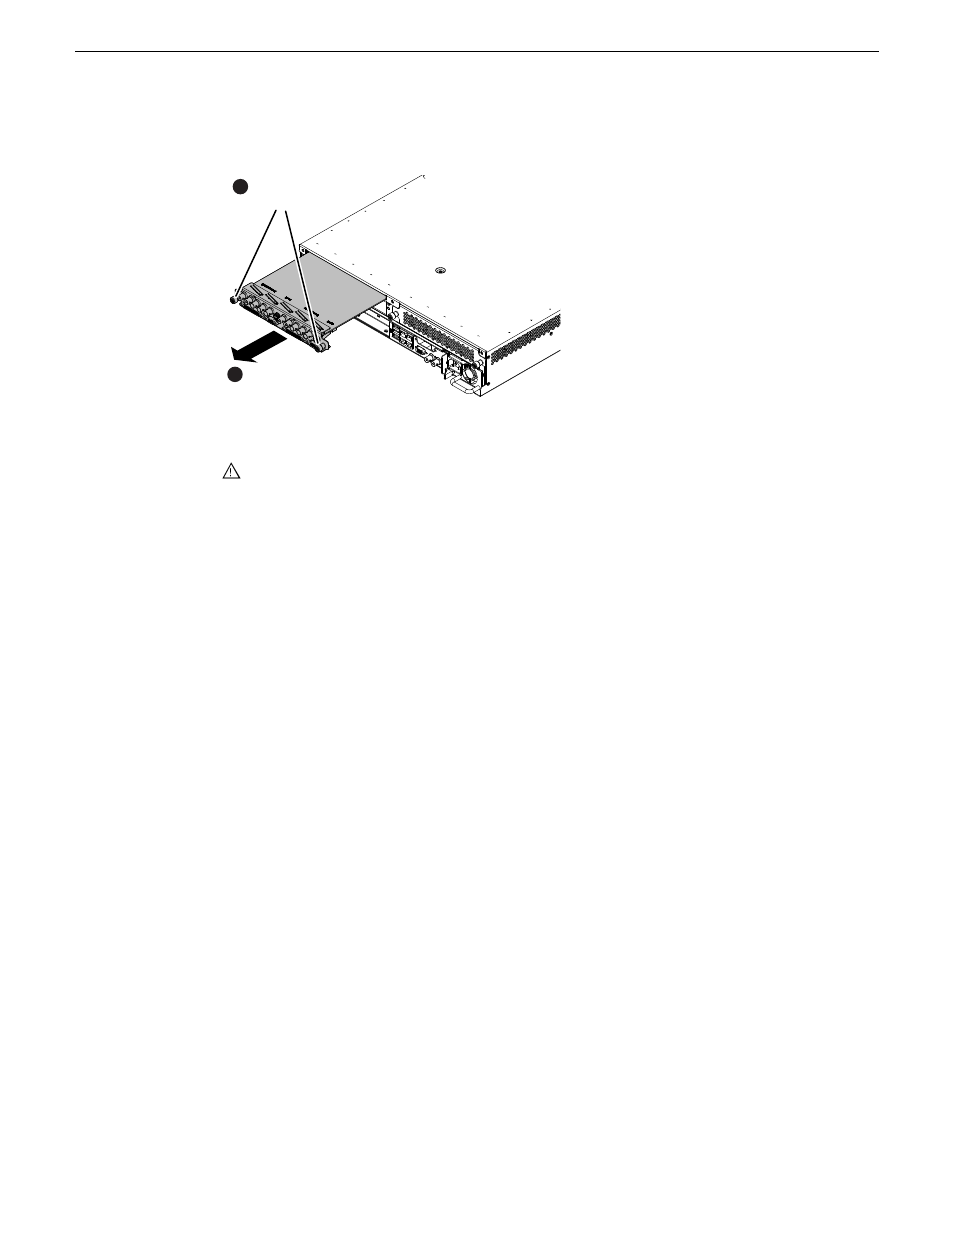
2. Access the rear panel and remove as illustrated.
Slide out
2
Loosen
thumbscrews
1
NOTE: With a firm grip on the metal (EMI) bracket, ensure the board is level and parallel
to the card guides to avoid damage to the components on the edge opposite the rear panel.
CAUTION: Improper handling can damage components on the board. Do not allow the
board to come in contact with the chassis sheet metal during removal or installation. The
components on the edge opposite the rear panel are the most susceptible to damage.
3. Install the new codec modules.
4. Replace the current power supply modules with the new power supply modules.
5. Reconnect cables to the codec modules and power supplies.
6. After installing the card, start up and log on to the K2 Summit system with administrator privileges,
then load software onto the codec board as follows:
a) Stop all Grass Valley services except for
Grass Valley Host File Service
.
b) From the Windows command prompt, navigate to the following directory:
C:\profile
c) Type the following and press
Enter
.
srtploader -U
This ensures that the board is flashed with the proper version to be compatible with K2 software.
The upgrade process is complete for the following upgrade kit:
•
K2-XDP2-3G-FK
For a K2 Summit system upgraded with the K2-XDP2-3G-FK kit, if you do any service work or
replace any Field Replaceable Units (FRUs), first consult "K2 Summit 3G Production Client Service
Manual". This is true even if replacing an original FRU that has not been upgraded. System
dependencies involving FRUs require procedures found only in "K2 Summit 3G Production Client
Service Manual".
Related Topics
on page 45
28
K2 Summit/Solo/Media Server Field Kit Upgrade Instructions
20140204
Install codec module upgrade