Exporting and importing custom events, Changing the event notification method – H3C Technologies H3C SecCenter IPS Manager User Manual
Page 84

78
Item Description
Event
Optional
Select attack events as the match criteria. Invert selection is supported.
Attack event query by event ID, description, type, and severity is supported.
Event Name
Optional
Specify attack event names as the match criteria, You can choose fuzzy match or exact
match, case sensitive match, and invert selection.
For example, to analyze the SQL injection attacks, specify SQL injection as the name for
a fuzzy match. Attacks with names including this substring match this criterion.
NOTE:
•
The configuration items (filters) of a rule are match criteria. For example, if the source IP is 1.1.1.1, traffic
sourcing from this address matches this criterion. If invert selection is also set, traffic that does not source
from 1.1.1.1 matches this criterion.
•
The filters of a rule are ANDed, and the conditions of a filter are ORed.
•
Rules of a custom event (analysis policy) are ANDed.
Step2
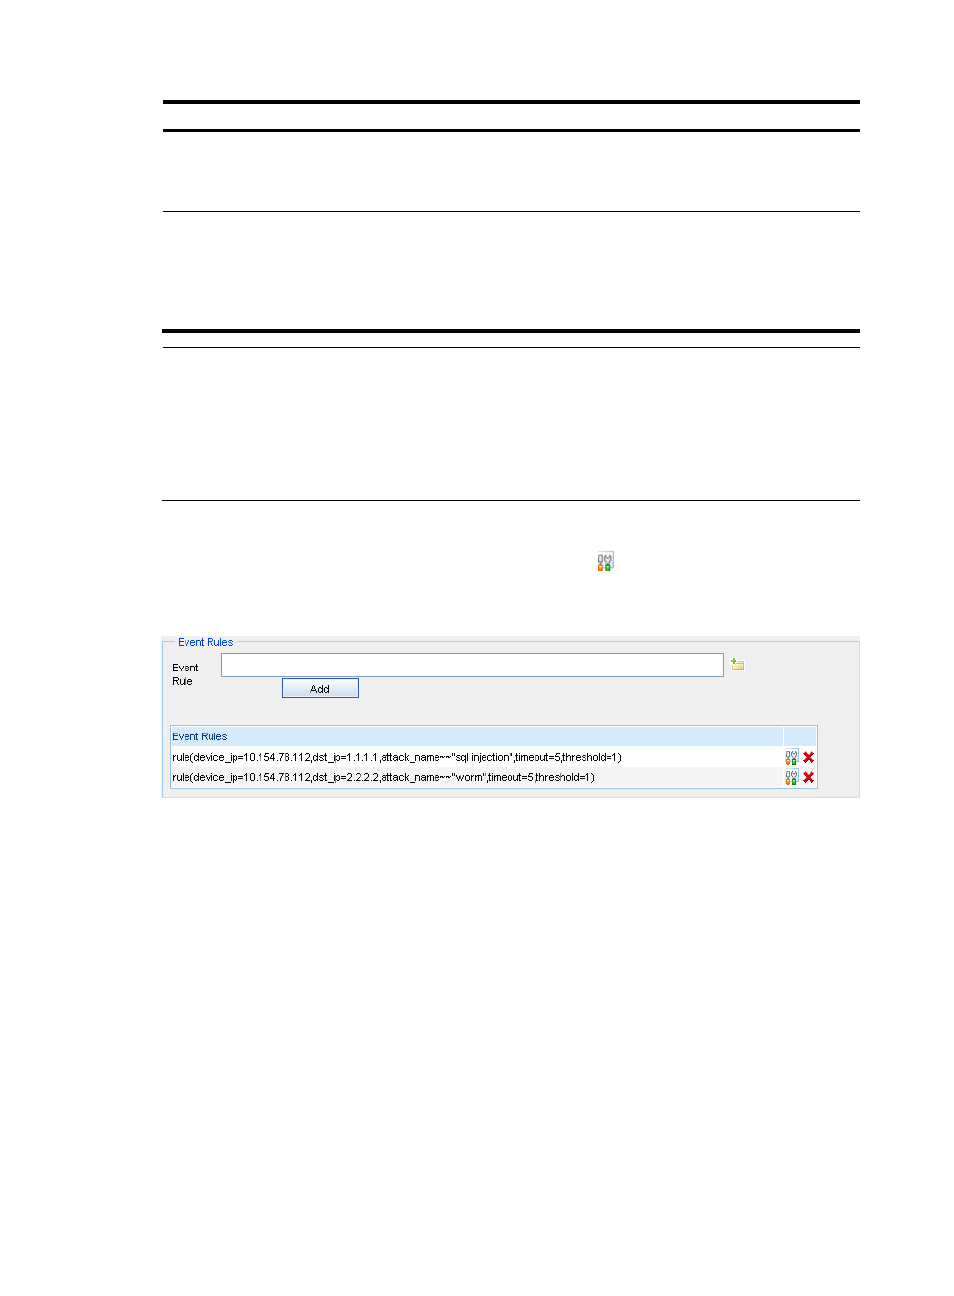
Modify an event rule.
In the Event Rules list box shown in
, click the icon of a rule to bring up the page for
modifying the configuration items of a rule. For more information, see
.
Figure 76 Event rules configuration area
Exporting and importing custom events
On the custom event management page shown in
:
•
To export selected custom events and save them locally, select the target custom events and click
Export.
•
To import the custom events that are exported and saved locally, click Import. Then the successfully
imported custom events are displayed in the custom event list.
Custom event management functions
.
Changing the event notification method
1.
On the custom event management page shown in
, select a custom event and click Alarm
Mode to enter the page for changing the event notification method, as shown in
2.
Edit the alarm type and time.
3.
Click OK.
