I/o control – Eneo PXC-2080CS User Manual
Page 49
Smart Viewer User's Manual
XIX
6. I/O control
6.1. Audio Control
6.1.1. Getting Audio from Server
To receive an audio transmitted from Servers or cameras, a microphone or audio output should be connected to
the Audio-In port. Select a proper channel on Smart Viewer and you will be able to hear the audio on the computer.
6.1.2. Sending Audio to Server
To send an audio to Server, first connect a microphone or other audio source to Audio Input
port of your computer. Then select a proper channel on Smart Viewer and click Connect
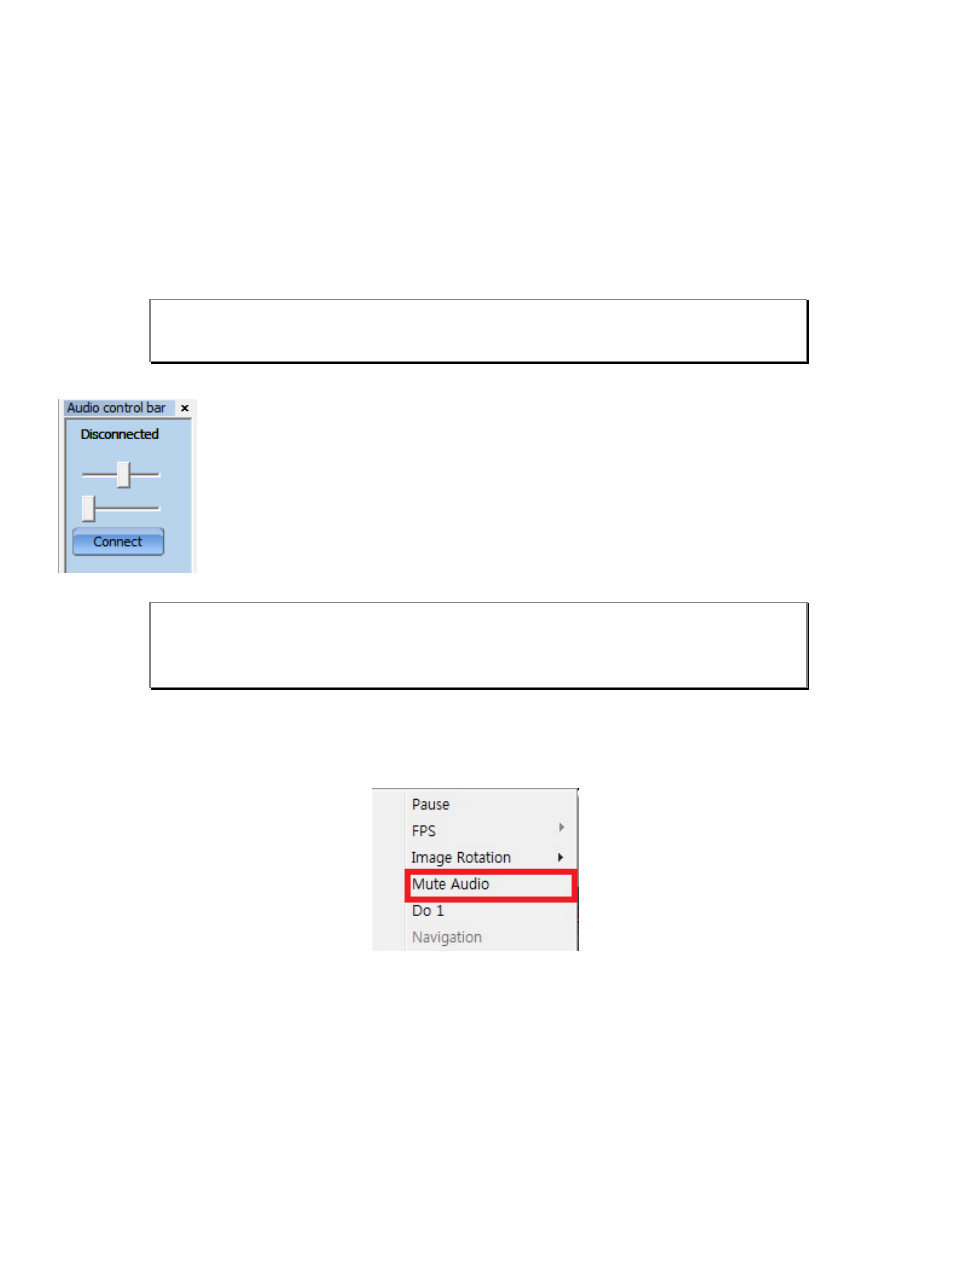
button on Audio Control bar.
When an audio connection is made to Server, Disconnected will change to Connected, and
it will start sending the audio from PC’s audio input port. To disconnect the audio connection,
click the Disconnected button. You can use volume control slider to adjust the audio level.
6.1.3. Mute Audio
Select the Mute Audio from the pop-up menu on the Live View screen. Click it again will restore it to previous
condition.
6.2. Relay Output Control
By using Relay Output control, you can control external devices connected to Servers or cameras. It can be turning
lights on and off, starting alarms, and etc. To control Relay Output, click the right mouse button on the Live View
screen. You will see the control on the pop-up menu. The port name is what you assigned at Admin menu in Server.
Note: It is necessary to set up the audio function on the admin page in order to receive
audio from Server.
Note: Once a connection is made to Server, audio from it is also transmitted through
same network path. So you will get better audio quality if network traffic is not
heavy.