2 – quick start guides – Teac DP-006 User Manual
Page 17
TASCAM DP-006
17
2 – Quick Start Guides
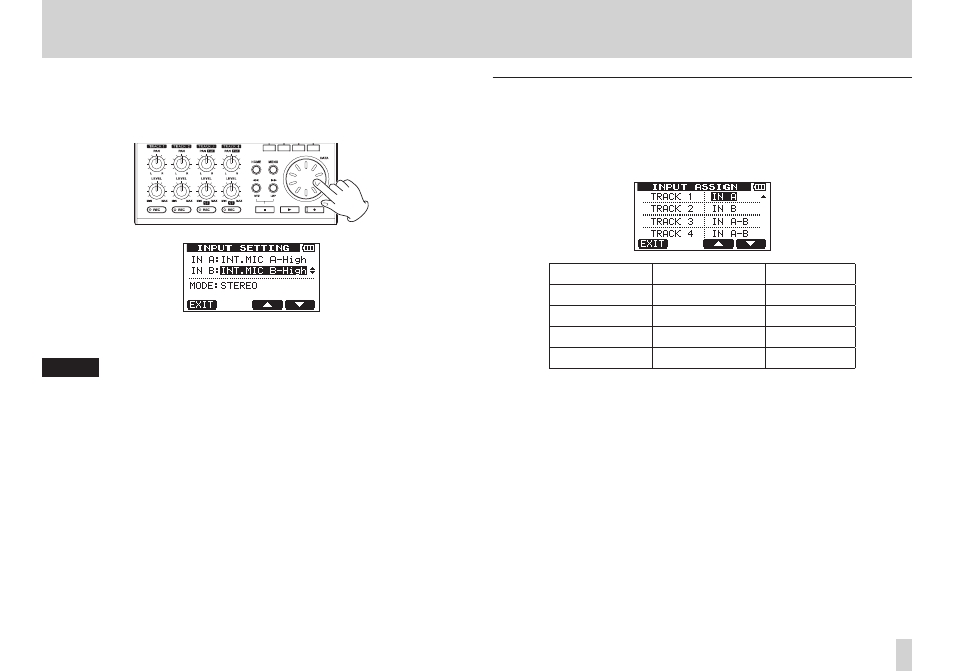
4. In order to use the built-in MIC B to record the guitar to stereo TRACK 3,
use the DATA wheel to set the input source for IN B (INPUT B) to INT
MIC B-Low
, INT MIC B-Mid or INT MIC B-High. (See “Selecting
the input source” on page 51.)
5. After completing the setting, press the HOME button to return to the
Home Screen.
NOTE
•
INT.MIC X-Low
, INT.MIC X-Mid and INT.MIC X-High (X is A
or B) settings change the sensitivity of the built-in mics. Set according to
the loudness of the subject being recorded.
If you are not sure which setting to use, choose INT.MIC X-Low. If the
input level is still too low after adjusting it, return to INPUT SETTING
screen and change the setting to INT.MIC X-Mid. If the input level is
still not high enough, change the setting to INT.MIC X-High.
•
Set the MODE item on the INPUT SETTING to monitor the input
signals. (See “Setting the monitoring mode” on page 52.)
Setting the internal mics as the recording sources
for TRACK 3
When the recorder is stopped, press the ASSIGN button to open the INPUT
ASSIGN
screen. By default the recording sources are assigned to the tracks as
shown below.
Recording track Recording source Default value
TRACK 1
INPUT A
IN A
TRACK 2
INPUT B
IN B
TRACK 3
INPUT A/B
IN A-B
TRACK 4
INPUT A/B
IN A-B
Since you set internal MIC A as the input source for INPUT A and internal MIC
B as the input source for INPUT B on the INPUT SETTING screen in the
previous “Setting the internal mics as input sources” section, signals from MIC
A and MIC B will be recorded to TRACK 3.
So, in this example, you do not need to change the input source assignment
settings to use the internal mics to record the rhythm guitar to TRACK 3.