Starting 4-channel recording, File names when recording in 4-channel, 4 – recording – Teac DR-40 User Manual
Page 58
58
TASCAM DR-40
Starting 4-channel recording
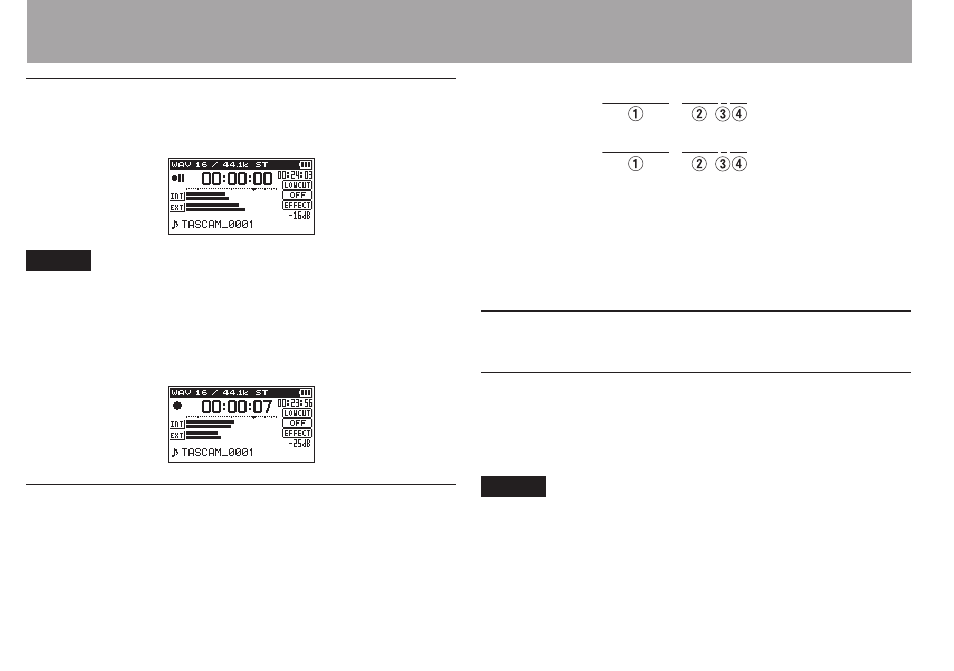
1 Press the RECORD [0] button to begin recording
standby.
NOTE
Before you start recording you can confirm the recording
audio file format and sampling frequency at the top of the
recording screen, as well as the input sources on the left and
the recording project name beneath the meter bars.
2 Press the RECORD [0] button again to start recording.
File names when recording in 4-channel
4-channel recording creates two files simultaneously.
Two files – one for the built-in mics (channels 1/2) and one for
the external mics or equipment (channels 3/4) – are created as
a set.
TASCAM_0002S12.WAV
TASCAM_0002S34.WAV
1
: Set with the
WORD
item on the
FILE NAME
screen
2
: Recording file base number
3
: “S” is the source file
4
: Assigned channels (“12” is channels 1/2 and “34” is
channels 3/4)
Recording playback and input sounds
together (overdubbing)
Overdubbing has two modes.
Using the overdubbing function, you can mix input signals
with an audio file that is played back and record either the
combined signals or just the input signal as a new file.
NOTE
In OVERDUB mode, the pre-recording and auto-recording
•
functions are disabled.
In OVERDUB mode, you cannot start new files manually.
•
You cannot pause in OVERDUB mode. (You cannot use the
•
RECORD [0] button.)
4 – Recording