Scotsman EH330 C with ECC Condensing Unit ECC1200 User Manual
Page 24
EH330, EH430 and ECC Condensing Unit
Remote Low Side Cuber Service Manual
July 2013
Page 23
17. Create a solution of sanitizer. Mix 8 ounces of
NuCalgon IMS II and 5 gallons of 105-115 degree
F. potable water to create a 200 ppm active
quaternary solution.
18. Thoroughly wash all surfaces of the ice thickness
sensor, water level sensor, curtain and water
distributor with the sanitizer solution.
19. Thoroughly wash all interior surfaces of the
freezing compartment, including evaporator
frames, evaporator cover and the part of the top
panel covering the freezing compartment with the
sanitizer solution.
20. Return water level sensor, ice thickness sensor,
water distributors and curtains to their normal
positions. Be sure hose is reattached to water
distributors. Be sure ice thickness sensor it dry.
21. Push and hold the clean button to drain the
reservoir. Push and release the clean button again
and when the purge valve indicator light goes out,
immediately pour the remaining cleaning solution
into the reservoir.
22. Circulate the sanitizer solution for 10 minutes,
then push and release the Clean button.
23. Allow the water system to be flushed of sanitizer
for at least 20 minutes, then push and release the
Off button.
24. Return the evaporator cover and front panel to
their normal position and secure with the original
fasteners.
25. Push and release the On button to resume ice
making.
Other Maintenance
The remote air cooled condenser coil must be
cleaned occasionally to keep the system operating at
high efficiency.
Remove any large debris from the outside of the coil.
Vacuum accumulated dust.
Wash out the coils with water.
Caution: Do NOT use excessive water pressure as
that will bend the fins.
If the coils have become coated with grease, a coil
cleaner will have to be used to wash the coils.
Disconnect power to the condensing unit and remove
the condenser top.
Inspect the fan blade to be sure it is not cracked and
is clean.
Return the condenser top to its original position and
reconnect the power supply.
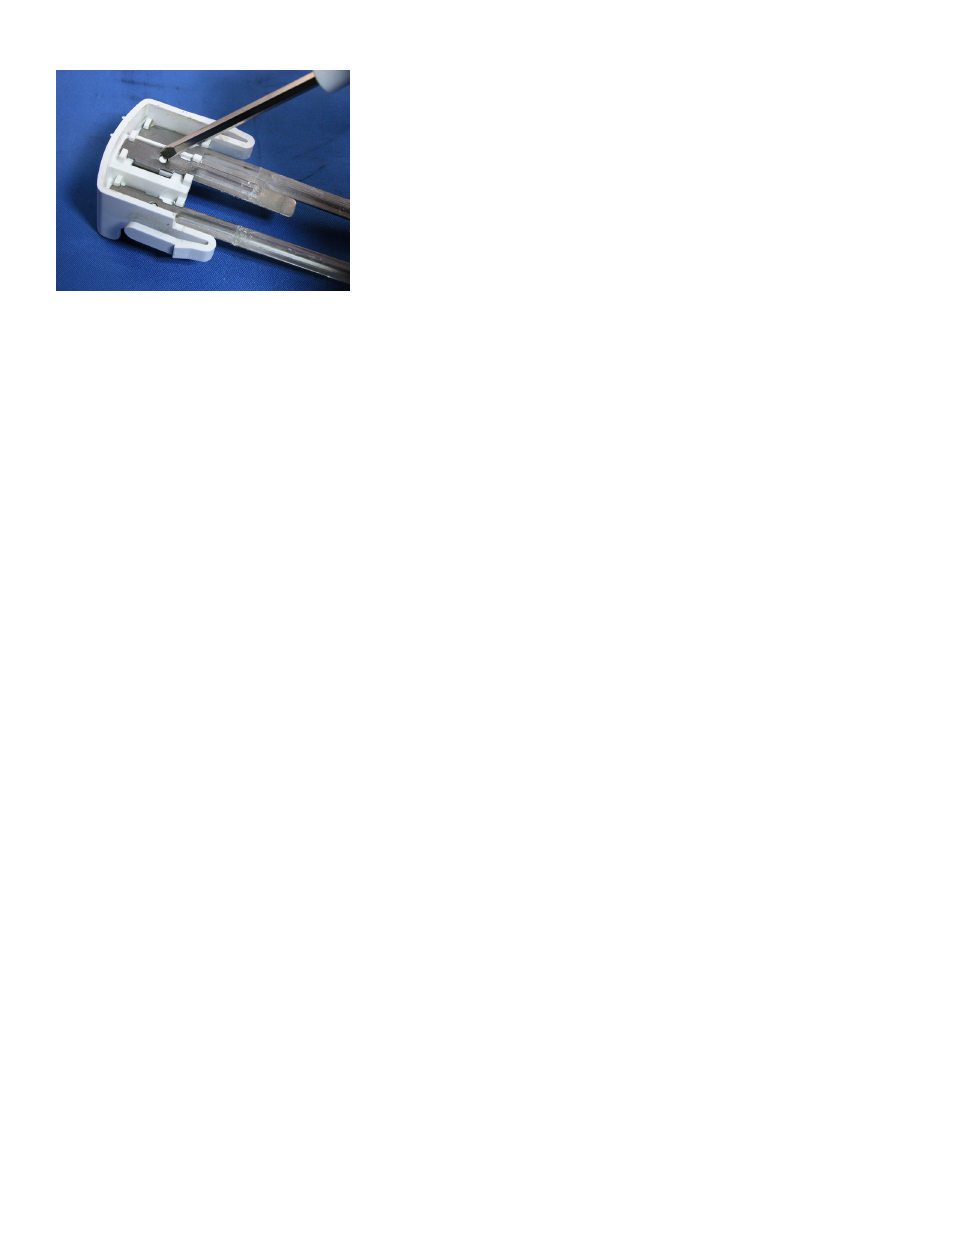
Step 15.
Release
probes by
pushing in on
white buttons
and pulling
probe down
out of holder.