MK Products Advanced Color Logic User Manual
Page 15
Advanced Color Logic Owner’s Manual - Page 8
2.6.10 Sloping Current
A sloping current procedure is designed to allow for heat input, starting
from the beginning of the weld and going to the last level before the final
slope.
If a sloping current procedure is chosen, the ACL computer will
automatically calculate how much heat is needed at the beginning and end
of the weld. It will then assign decreasing current values for all levels of
the procedure as well as a current slope for each level, meaning that each
level has a different starting and ending current.
Without current sloping, the ACL will assign one constant set of current
values for the entire procedure, except for the final slope.
2.6.11 Degree Procedure
A degree procedure is one based on a circumference of degrees and not
inches or millimeters. Each level is exactly a certain number of degrees
and not a certain number of seconds. Similarly, each level is programmed
to end at a set degree and not when time runs out.
If a degree procedure is chosen, certain conventions must be remembered
when modifying and developing; such as motor speed scaling versus
rotational travel and level jumping versus level termination (see
MODIFYING WELD PROCEDURES).
Declining a degree procedure will default the APG to make a standard
time based procedure.
2.6.12 A/C Welding
When this option is enabled, the APG will generate a program with straight
and reverse pulses used to control a Variable Polarity A/C Adapter.
2.6.13 Data Monitor
When this option is enabled, the ACL will flag readings outside of the
specified range. This is useful for quality control and verification of welding
performance.
When all the values for the weld procedure have been entered and
Accept-ed, the program will return to the MAIN SCREEN.
Since this procedure has just been made, the program gives it the name
TRIAL--. At this point the operator may choose to save this procedure
with a valid name (see Saving Weld Procedures below), or continue with
modification, editing, testing and/or welding and save at a later time in the
program.
2.7 Saving Weld Procedures
Once a weld procedure has been designed, tested welded and modified to
exact standards as required by either the Welding Engineer, the Operator
and/or the Customer and his specification, it is generally a good idea to save
the procedure for future use (See Section G, page 47).
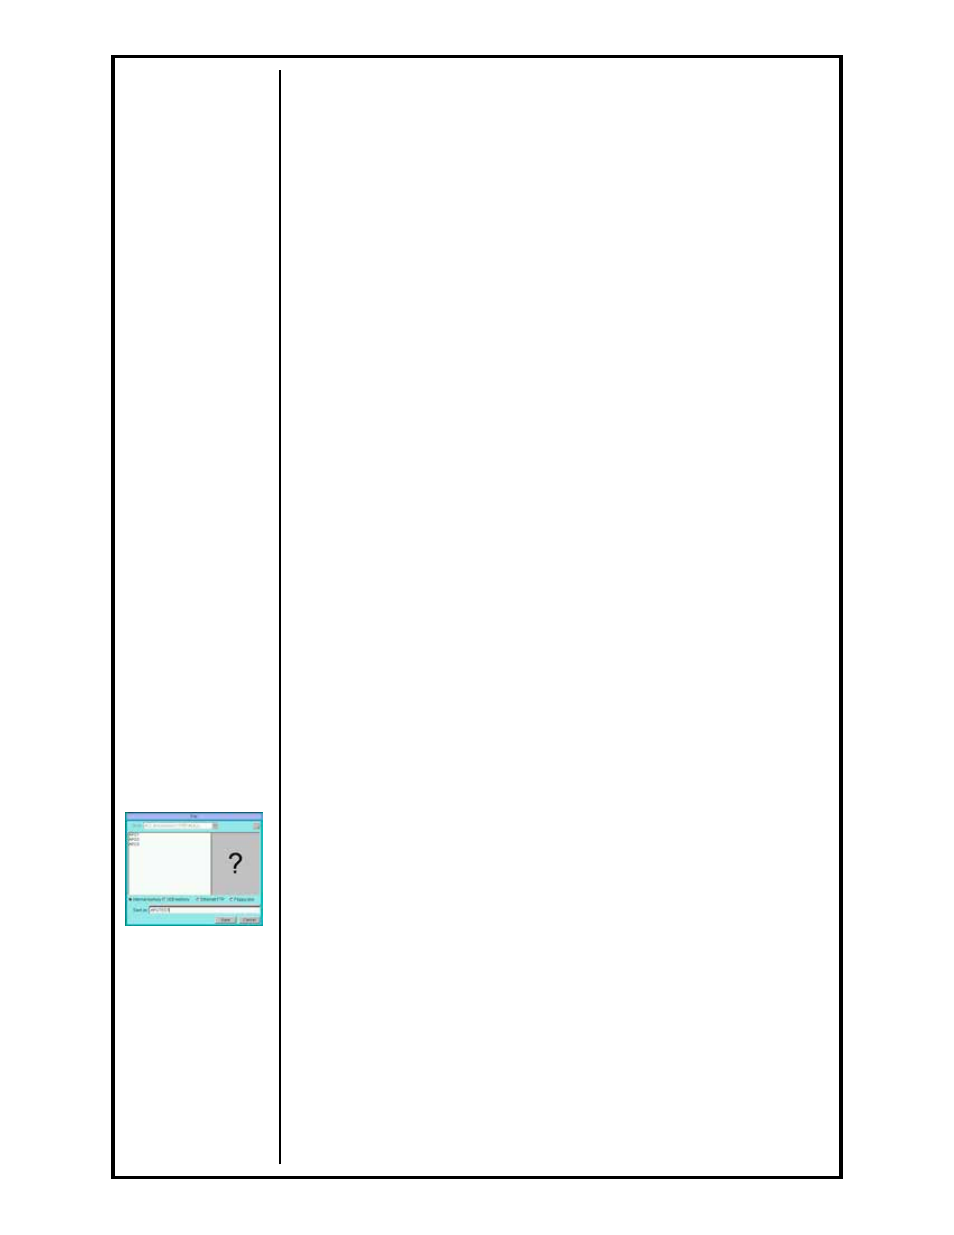
2.7.1 Saving to Library
The first step in saving a procedure is to name it. At the MAIN SCREEN,
select File/Save As… menu or click on [Save As] icon on the toolbar or
press [Main Menu] and [6 Save] on the HHC. This will allow you to enter
up to seven characters to name the procedure.
Both numbers and letters (only upper case) can be used to name the
procedure.
DO NOT USE SYMBOLS.
Enter the desired name for the procedure, then press [ENTER]. Once
entered, the procedure name in the Weld Procedure Window of the
MAIN SCREEN will change and show the new procedure name in place
of the name “TRIAL--”.
See Section G,
page 47 for more
information