MK Products Advanced Color Logic User Manual
Page 10
Advanced Color Logic Owner’s Manual - Page 3
1.3 Self Check
Once the system has completed the loading and initializing, it then performs
a program self test. The purpose of this is to ensure that the welding system
is functional before proceeding on with the welding. If there are any failures
detected by the ACL, the monitor and the HHC will display the fault and error
massages warning the operator of the pending and potential problems.
2. Main Screen Operations
This section will explain how to view the library of procedures, select a saved
procedure, weld with that procedure, modify and override during welding and
setting deviation and abort limits on the welding parameters.
There are two welding modes in the ACL unit: Production and Teach. Both
of these are obtainable by turning the key switch on the front panel of the
ACL. The Teach Mode (key switch in vertical position) is used primarily for
weld procedure development and editing, whereas the Production Mode
(key switch in horizontal position) is used for welding. The key switch is a
method of “locking” the operator into the Teach Mode, so that he does not
inadvertently modify, erase or copy.
While in the Teach Mode, all options on the MAIN SCREEN are available,
unless deemed disabled when grayed out. In Production Mode, only those
options needed by the operator are available. All the development and
modifying types of options are now out of the operators’ control, and he
is responsible only for choosing the correct procedure and pressing the
[START] button.
Unless otherwise stated, all operations discussed in this manual are from the
standpoint of being in the Teach Mode, since this is where all the developing,
editing, saving, erasing and copying of procedures occurs (See Section G,
pages 38-39).
2.1 Selecting Weld Procedures
Once the ACL unit has completed its Power Up, Logo Screen and Self
Check, the next visible screen is the MAIN SCREEN. From here, the
operator has a variety of options to choose from: anything from welding,
printing, erasing, saving, and even setting the time and date in the ACL
computer.
To create a new procedure, use the APG function (see Section 2.6). From
the main screen, select Programs/APG...
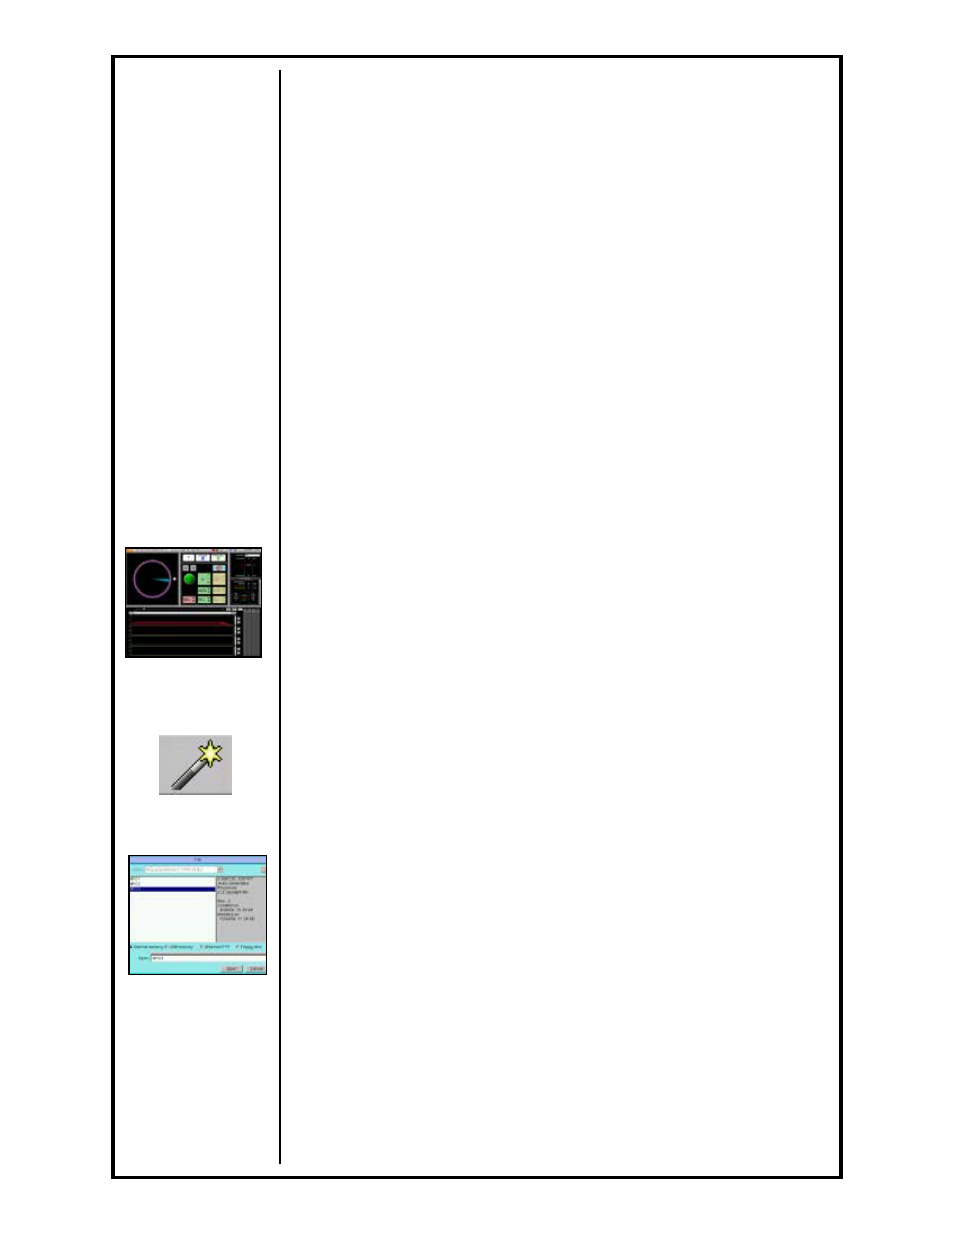
To view the library and select an existing procedure, from the MAIN
SCREEN, select File/Open… menu or click on [Open Existing Procedure]
icon on the toolbar (See Section G, page 39) or press [Main Menu] and [2
Select] on the HHC. This will show the titles of any and all weld procedures
present in the library. Along with the title, or name of the procedure, its
description will appear in the description box (See Section G, page 42).
Using the cursor buttons on the HHC, [
éSYMBOLS], [CASEê], [ç],
and [
è], or the arrow keys on the computer keyboard [ç, è, é, ê], the
operator can move the highlighted cursor box to the weld procedure he
requires.
Once the cursor box is on the procedure of choice press [ENTER], either
on the HHC or the keyboard, to accept this procedure.
The screen will now revert back to the MAIN SCREEN with the chosen weld
procedure ready for welding or modifying. The procedure name will now
appear in the Weld Procedure Window of the MAIN SCREEN.
See Section G,
pages 38-39 for more
information
See Section G,
page 42 for more
information
See Section G,
page 39 for more
information