Pc software, Installing the pc software, Communicating with a pc – Fieldpiece HG2 - HVAC Guide System Analyzer User Manual
Page 28: Communicating with a pc (continued)
54
WWW.FIELDPIECE.COM WWW.FIELDPIECE.COM WWW.FIELDPIECE.COM WWW.FIELDPIECE.COM WWW.FIELDPIECE.COM WWW.FIIELDPIECE.COM WWW.FIELDPIECE.COM WWW.FIELDPIECE.COM WWW.FIELDPIECE.COM WWW.FIELDPIECE.COM WWW.FIELDPIECE.CO
PC Software
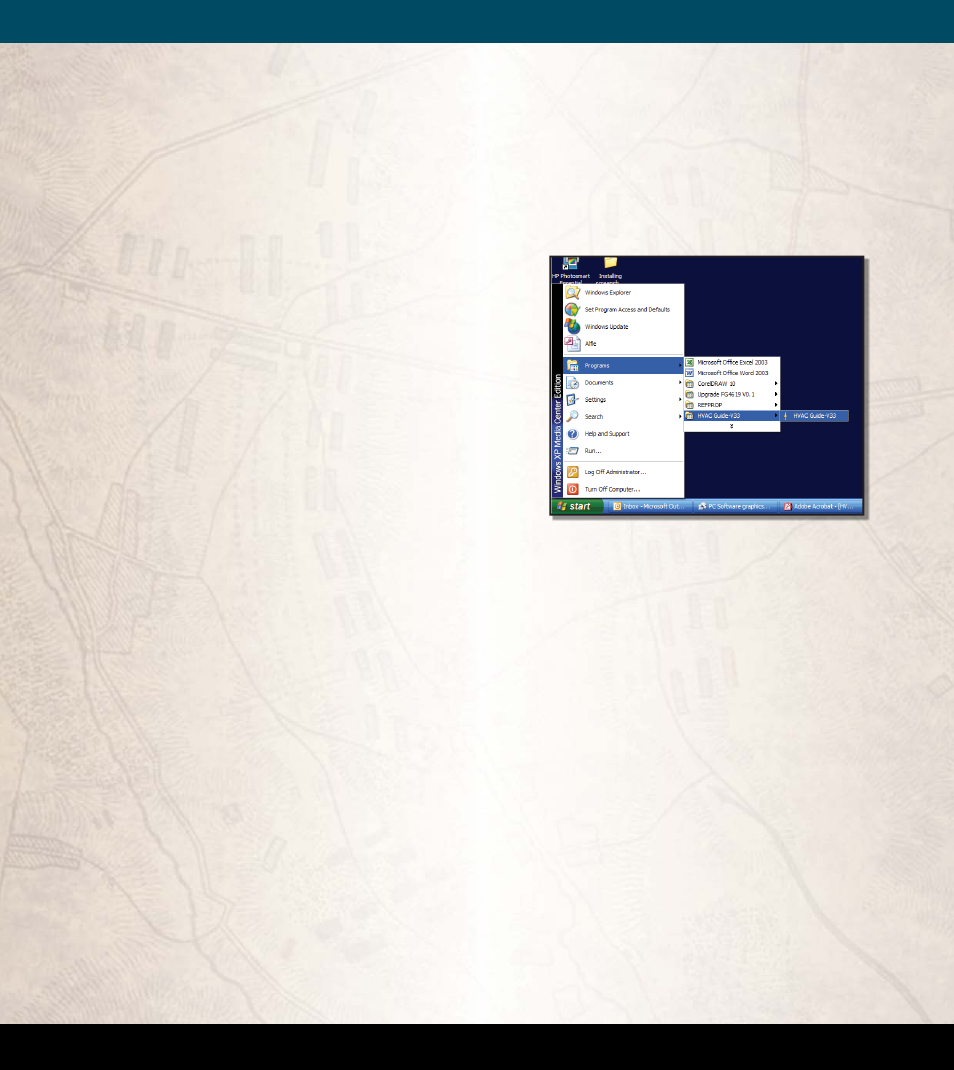
Installing the PC Software
1.
To install the HVAC Guide
TM
tester soft ware onto
your PC, insert the CD into the CD-ROM drive. Th
e
installation window should pop-up automatically.
If not, manually open the CD contents through "My
Computer." Click the grey button next to "Install
PC Soft ware." Follow the on-screen instructions.
2.
For your PC to recognize the HVAC Guide
TM
tester
a driver must be installed. Click on the grey but-
ton next to "Install USB Driver..." from the installa-
tion window. No new window will pop-up on your
screen.
3.
Exit out of the installation screen.
Communicating with a PC
1.
Make sure the HVAC Guide
TM
tester is off . Plug
the IR2 USB cable into the bottom of the HVAC
Guide
TM
tester.
2.
Plug the USB end of the IR2 USB cable into a USB
port of your PC.
3.
Turn the dial to "MEM" on the HVAC Guide
TM
tes-
ter.
4.
Scroll down to "Com with PC" and press ENTER.
Communicating with a PC (continued)
5.
Launch the HVAC Guide
TM
tester soft ware from
your Desktop or the Start menu on your PC.
6.
Th
e New Technician screen will pop-up. Fill out the
screen. Click save. Th
is information will be printed
on work orders you generate.
7.
Th
e Data Transfer screen is displayed when the
HVAC Guide
TM
tester is detected. If not, click "Au-
to-Detect" on the Data Transfer screen.
8.
Click the red arrow pointing to the PC in order to
transfer data to the PC.
9.
Click on desired fi les to transfer to the PC and click
the "Transfer to PC" button.
10.
Close window when transfer is complete.
11.
To open the fi les, go to My Documents/HVAC
Guide/Jobsite Files. Th
e fi les will be listed by their
Customer IDs.