Comtech EF Data HPOD User Manual
Page 47
HPOD C-, X-, or Ku-Band High-Power Amplifier
MN/HPOD.IOM
Updating Firmware
Revision 8
3–11
F. Repeat steps 2A through 2E for F12524X_V#### except, for Step 2D:
• Type “put FW-0020544x.bin hpodbulk:” (where ‘x’ denotes the revision letter) at
the Command-line prompt, without quotes, to begin the file transfer. The
destination “hpodbulk” must be all lower case.
3) Use Telnet Remote Control or the HPOD Web Server Interface to verify that the PC-to-Unit
FTP file transfer was successful.
• Via Telnet Remote Control – Type the “<1/FRW?” remote query (without quotes) at the
command prompt. The unit will return the Bulk, MnC, and FPGA firmware load
information.
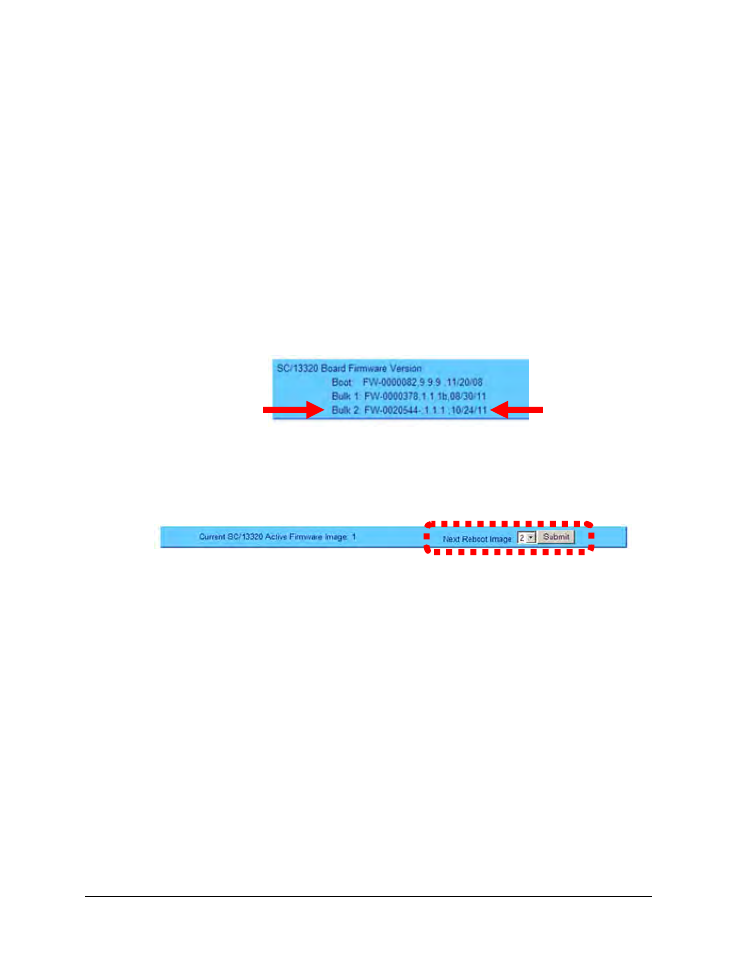
• Via the HPOD Web Server Interface – Open the ‘Config | Utility’ page and review the
SC/13320 Board Firmware Version section to verify that the PC-to-Unit FTP file transfer
was successful.
4) Use the HPOD Web Server Interface to select the boot image. To select the desired boot
Image, open the HPOD Web Server Interface ‘Config | Utility’ page. Use the Next Reboot
Image drop-down list in the Current SC/13320 Active Firmware Image # section to select 1
or 2, and then click [Submit].
5) Reboot the HPOD.
A. Disconnect the power source from the HPOD.
B. Re-energize the HPOD. The unit will reboot using the updated firmware image.
6) To update the other firmware image, repeat steps 1 through 5.
The HPOD is now operating with its latest firmware. The Ethernet-based
firmware update process is now complete.