Adjusting the tear-off position, Selection of the tear-off mode – Compuprint 4247-L03 User Manual
Page 92
Adjusting the Tear-Off Position
To check the Tear-Off Position proceed as follows:
1.
Check if the paper perforation matches the tear-off bar on the printer.
2.
To move manually the paper to the Tear-Off position, press the TEAR key
when the printer is enabled without printing (TEAR NORMAL function
selected YES in the Program Setup).
You can leave the manual tear off function by pressing again the TEAR key.
If it does not:
1.
Turn the printer off and press the PROGRAM key and hold it pressed while
powering on the printer until the RELEASE KEY message is displayed to enter
the Power-On Configuration.
2.
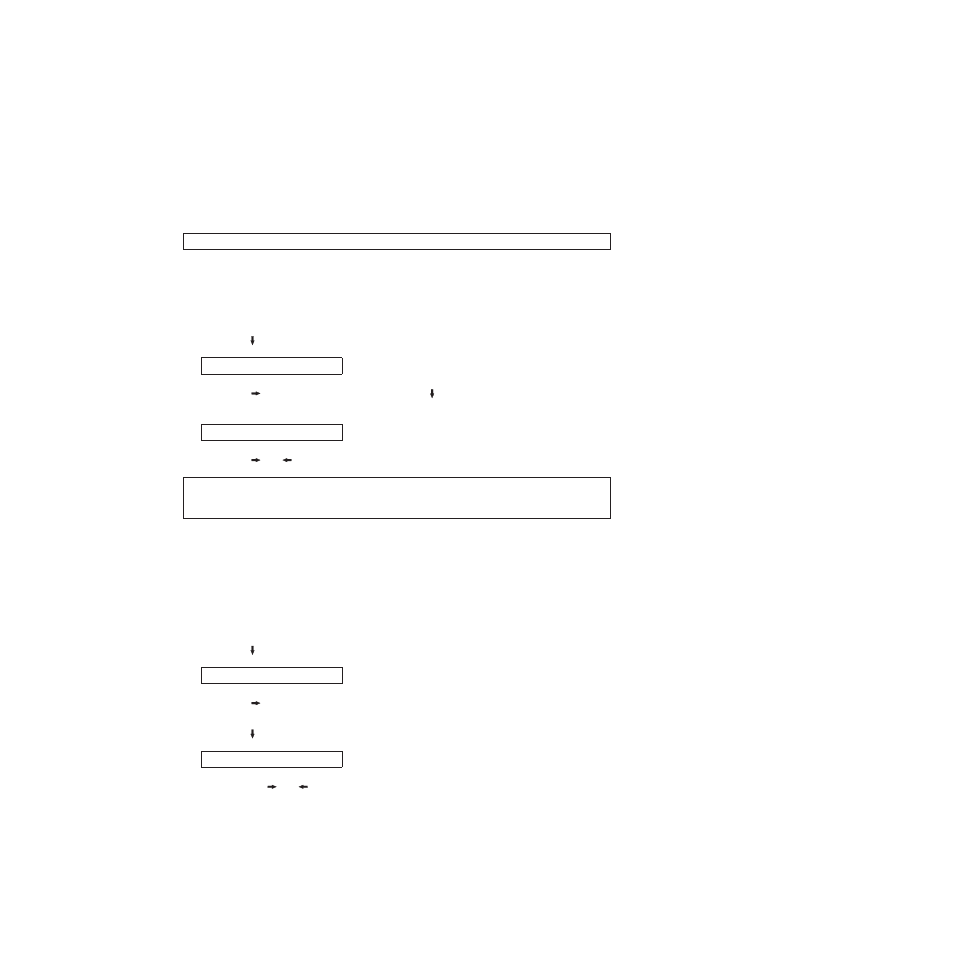
Press the
key until the following message appears:
FUNCTIONS
3.
Press the
key to enter and then press the
until the following message is
displayed:
TEAR ADJUST xxx
4.
Press the
or
key to scroll the values of this function.
The values below 0 move the tear-off position downwards, values above 0 move the
paper upwards. The values can be set between −30 and 360 at 1/180 inches (−1/6 to 2
inches).
5.
When the desired value is displayed, press the PROGRAM key.
6.
Press the PROGRAM key to save and exit from the setup.
Selection of the Tear-Off Mode
It is now possible to select the Tear-Off Mode.
1.
Press the PROGRAM key when the printer is disabled or enabled without
printing to enter the Program Setup.
2.
Press the
key. The following message is displayed:
USER MACRO
3.
Press the
key to select the macro for which you want to set the tear-off
mode MACRO#1, MACRO#2,MACRO#3 or MACRO#4).
4.
Press the
key, until the following message is displayed:
TEAR NORMAL
Pressing the
or
key it is now possible to decide how to execute the tear
off function:
TEAR NORMAL Pressing the TEAR key the paper is moved to the tear-off position.
Pressing again the TEAR key to exit from the tear-off mode, the paper
is moved to the printing position.
80
User's Guide