HITEC Optic 6 User Manual
Page 8
Model Setup Functions
AIRCRAFT & GLIDER (ACGL) MENU FUNCTIONS
Model Setup Functions
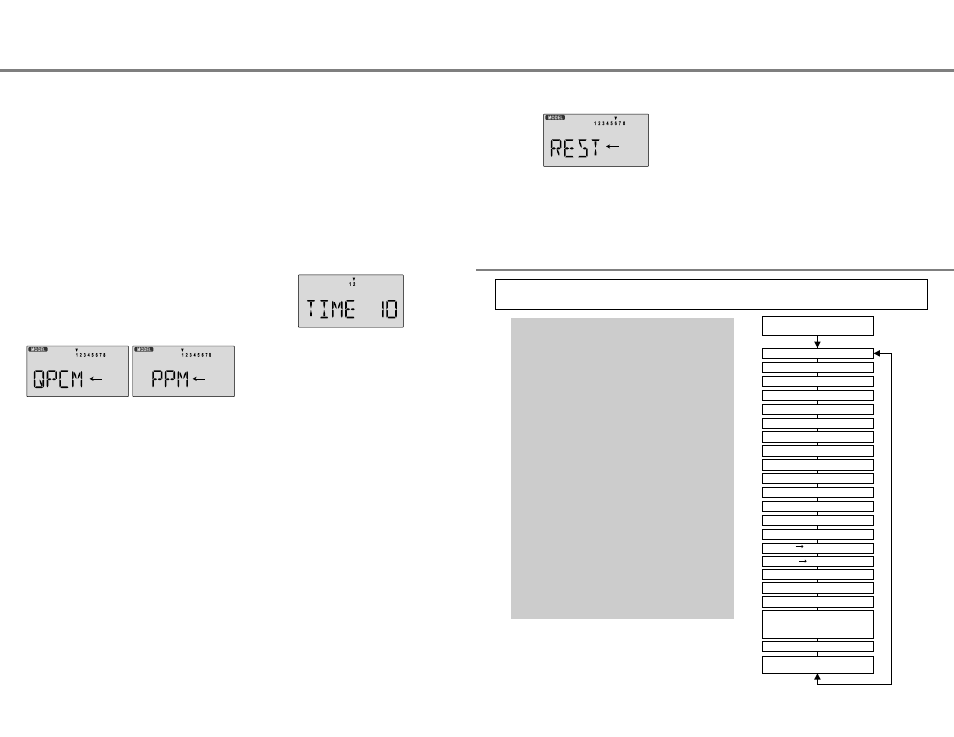
TIME -Timer Function Setup
Modulation - PPM, QPCM
REST - Data Reset
Your Optic system contains TWO special timer functions,
helpful for keeping track of flight duration, engine run time, or
other things that need to be monitored during flight. You can
set up the timers to count down from anywhere from 0 to 60
minutes. (In addition, the Optic has an "elapsed time" counter
that continuously records how long the transmitter has been
operating.)
If you select a time from 1 to 60 minutes, the timer will count
down the number of minutes selected when you first press the
Right Cursor button. You may stop it at any time by pressing
the Right Cursor button a second time. Beginning the last 10
seconds of the selected time, the system will beep every
The Modulation function is used to choose what type of receiver
you will be using with your Optic system. Hitec has two types of
receivers, PPM and QPCM. PPM receivers are also referred to
as "FM" receivers. QPCM receivers offer you the option of
failsafe which will hold the last set of positions received before
the interference, or allow you to choose what positions the
servos will move to if the signal is lost or interfered.
Failsafe will only work with Hitec QPCM receivers.
You can have a mixture of QPCM and PPM receivers, and the
Optic transmitter will remember which type of modulation you
are using for each separate model memory.
The Reset function is used to clear out an existing set of model
data within a single model memory, the one currently selected.
This function resets all data to initial values, and may be used
to get a "fresh start" so that you may be begin with a clear
memory before you input new model settings into a memory
that had been used for another model. A safety feature allows
you to verify "that you wish to reset" before all data is lost.
This section describes the functions for fixed-wing aircraft, provides a setup example,
and then describes the functions individually. Helicopter functions are in the following section
and off. (If you're already in the setup menus, you can just
press the Up or Down arrow key to get here.)
Resetting the memory
1. With the transmitter switched off, turn on your transmitter
while pressing both of the two Edit keys (the two keys on the
far left). The model select (M.SEL) menu will be displayed.
2. Press the Up or Down arrow key until you get into the Reset
(REST) menu. This display has the word "REST" flashing on
3. IF YOU ARE SURE YOU WANT TO RESET and clear out
the current model memory, press both the +Increase and
-Decrease Data keys at the same time. The transmitter will
beep twice to indicate a successful reset
CAUTION: WHEN YOU COMMAND RESET, YOU'LL ERASE THE
MEMORY YOU'RE IN AND LOSE ANY PROGRAMMING YOU HAVE
ENTERED. DON'T DO THIS UNLESS YOU ARE POSITIVE YOU WANT
TO FLUSH OUT THAT MEMORY AND START FROM SCRATCH WITH
THE FACTORY-DEFAULT SETTINGS.
Setting up the Optic's Two Timers
1. With the transmitter switched off, turn on your transmitter
while pressing both of the two Edit keys (the two keys on the
far left). The model select (M.SEL) menu will be displayed.
2. Press the Up or Down EDIT arrow key until you get into the
Timer (TIME) menu (if you're already in the setup menus,
you can just press the Up or Down arrow key to get here).
You'll see a display with the word "TIME." The numbers 1
and 2 are shown; the small triangle indicates whether you
are setting Timer 1 or Timer 2.
Changing the Modulation
1. With the transmitter switched off, turn on your transmitter
while pressing both of the two Edit keys (the two keys on the
far left). The model select (M.SEL) menu will be displayed.
2. Press the Up or Down Edit key until you get into the
Modulation menu. You'll see either the flashing word PPM
or QPCM. (If you're already in the setup menus, you can just
press the Up or Down arrow key to get here.)
3. PPM is also known as "FM" and will work with Hitec and
other receivers that are not PCM. QPCM represents pulse-
code modulation and will only work Hitec QPCM receivers.
4. To input your choice, press either the Left or Right Cursor
key one time. This will change the display from PPM to
QPCM or vice versa.
5. Press the Up or Down arrow keys to get to another setup
menu, or switch power off. This setting will be remembered
in the current model memory only.
3. To change the number of minutes shown, press the +
Increase and -Decrease Data keys until you see the amount
you desire. You may select from 1 to 60 minutes.
4. Press the Left or Right CURSOR key to get to the other
timer setup menu. Repeat instruction 3 for the second timer
if desired.
5. Press the Up or Down arrow keys to get to another setup
menu, or switch power off.
6. Switch power back on. You can view, start, and stop either
of the two timers by pressing either DATA key. Press the
Right Cursor button to start the timer, press the Right
Cursor button a second time to stop it, and press the Left
Cursor button to reset the timer.
ACGL Functions Map
(see right)
Simple Aerobatic Airplane Transmitter Setup
15
EPA
End Point Adjust (servo travels)
27
D/R
Dual Rates
27
EXP
Exponential Settings
28
STRM
Subtrim (Neutral settings)
28
REV
Servo Reverse
29
T.CUT
Throttle Cut (engine shut off)
29
STCK
Throttle Control Location
29
FLPT
Flap Travel
30
FLPN
Flaperon (combined flaps & ailerons)
30
ADIF
Aileron Differential
31
CAMB
Camber (combined flaps & ailerons)
32
LAND
Landing function (select aileron/flap presets)
33
ELVN
Elevon mixing (tailless models)
34
VTAL
V-tail mixing
35
A->R
Rudder Coupling
36
E->F
Elevator Flap mixing
36
CROW
Crow (Proportional Airbrake Function)
37
PMX1-2
Programmable Mixer #1 - #2
38
S/W SEL Switch select for A-R, E-F, CAMB, CROW,
LAND, PMX1, PMX2
39
AILV
Ailevator function (Dual elevators)
39
FAIL
QPCM Position Input Menu
40
Aircraft
Trimming Chart
41-43
second to tell you the time has elapsed.
If you wish to reset the timer, just press the Left Cursor button.
You may then press the Right Cursor button to reset it and
count down again, whenever you like.
The above instructions apply to both of the Optic's timers.
End Point Adjust [EPA]
Dual Rate Set [D/R]
Exponential [EXP]
Sub-Trims [S.TRM]
Servo Reversing [REV]
Throttle Cut [T.CUT]
Throttle Ioc. [STCK]
Flap Travel [FLPT]
Flaperon Mix [FLPN]
Ail Differential [ADIF]
Camber [CAMB]
Landing Mix [LAND]
Elevon Mix [ELVN]
V-Tail [VTAL]
Ail
Rud Mix [A-R]
Elev
Flap Mix [E-F]
Crow Mix [CROW]
Prog. Mix 1 [PMX1]
Prog. Mix 2 [PMX2]
Switch select S/W SEL
for [A-R] [E-F] [CAMB] [CROW]
[PMX1] [PMX2][LAND]
Ailevator [AILV]
Failsafe [FAIL]
(QPCM only)
Voltage/Timer Display
Normal Display Mode
Press both Edit/Display key
4. Press the Up or Down arrow keys to get to another setup
menu, or switch power off.
5. Switch power back on. You may now set up the details of
your model in the Edit mode.
Useful Switch & Lever Information
Gear Switch ( SW-2) controls receiver CH5
Gear Switch Down turns on CROW
Left Lever controls CROW (airbrake motions)
Right Lever controls CAMBer motion
FLT MODE (SW-3) switch Aft = LAND On, Forward CAMB On
Simple Transmitter Setup - Aerobatic Airplane (ACGL Menu) - Page 15
Model Setup Functions - Page 14
Flashing
Flashing
Flashing