Dillon Precision SL 900 User Manual
Page 25
insert the wad. Fig. 31 Let the roller handle (#22183)
return to its rest position.
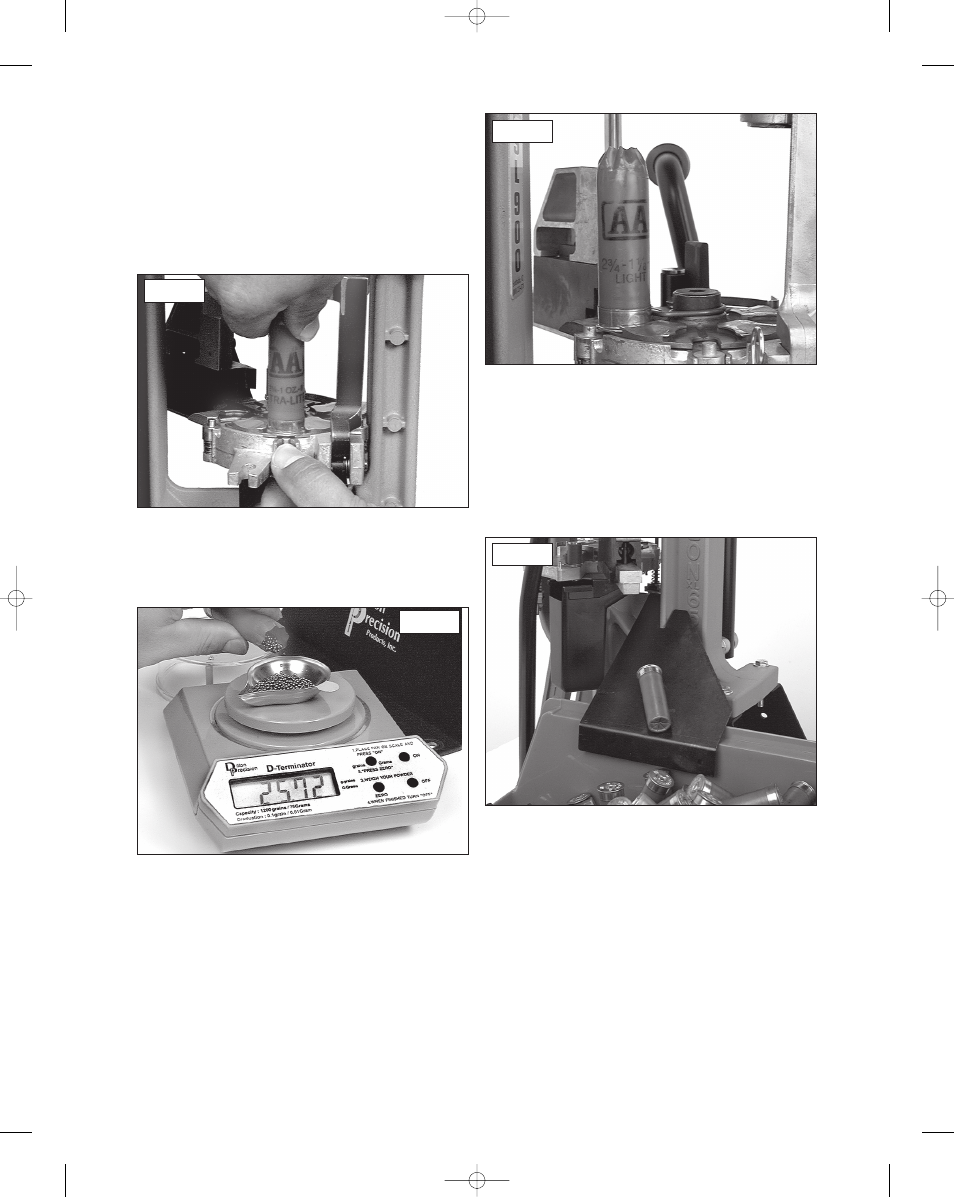
3. Remove the clear hopper lid (#17138) and add
a small amount of shot to the shot dispenser. Fig. 32
4. Move the roller handle (#22183) down and
then back up to its rest position. Remove the hull from
the machine by pressing down on the locator button
(#16753) and pour the shot back into the shot
dispenser. Fig. 33
5. Place the hull back into station three and again
move the roller handle (#22183) down and then back
to its rest position. Remove the hull and weigh the
shot charge.
Fig. 34
6. Loosen the bolt set screw (#16740) 1/4 of a
turn. Then using a 7/16” wrench, rotate the bolt
located on the end of the shot bar (#16738). Counter-
clockwise turns will reduce the shot charge weight.
Clockwise turns will increase the shot charge weight.
Adjust as needed.
NOTE: Its always easier to make
adjustments when the bar is empty and in the forward
drop position.
7. Again, repeat steps 4 and 5 until you’re happy
with the shot charge. Remember to place the clear
hopper lid (#17138) back onto the shot dispenser &
tighten the bolt set screw (#16740).
Now that you have determined the shot charge,
let’s move on to station four and five where the starter
crimp die (#10640) and final seat/crimp functions are
performed. Let’s use the same hull (with shot).
1. Place the hull (with shot) into station four.
2. Move the roller handle (#22183) down and
then back to its rest position. The formed and folded
hull has just completed station four and has advanced
to station five. Fig. 35
3. Once again, move the roller handle (#22183)
down. As you return to the rest position, you’ll see the
completed round advance and move out of the
machine. The completed round will fall down the
shotshell chute (#16672) and land in the Dillon bin
(#17125). Fig. 36
Review the dummy round you’ve just made. Let’s
go ahead and make one more dummy round. Please
note, when making these dummy rounds, we start at
station two and then go through all the remaining
stations on the machine. This is the introductory
process. Next we’ll be adding empty, fired hulls and
new primers.
25
Fig. 36
Fig. 35
Fig. 34
Fig. 33
SL 900, May 2007 5/21/07 11:51 AM Page 25