Table 4-2 – Dolby Laboratories DP570 User Manual
Page 45
Using the DP570 Features
Measuring and Setting the Dialogue Level
Dolby
®
DP570 Multichannel Audio Tool User’s Manual
33
the short‐term measurement, as they find the information on near‐term dynamics to be
very useful when mixing or producing a program. These operators are capable of
managing overall program loudness by continuously reading and interpreting the
short‐term measure
2
.
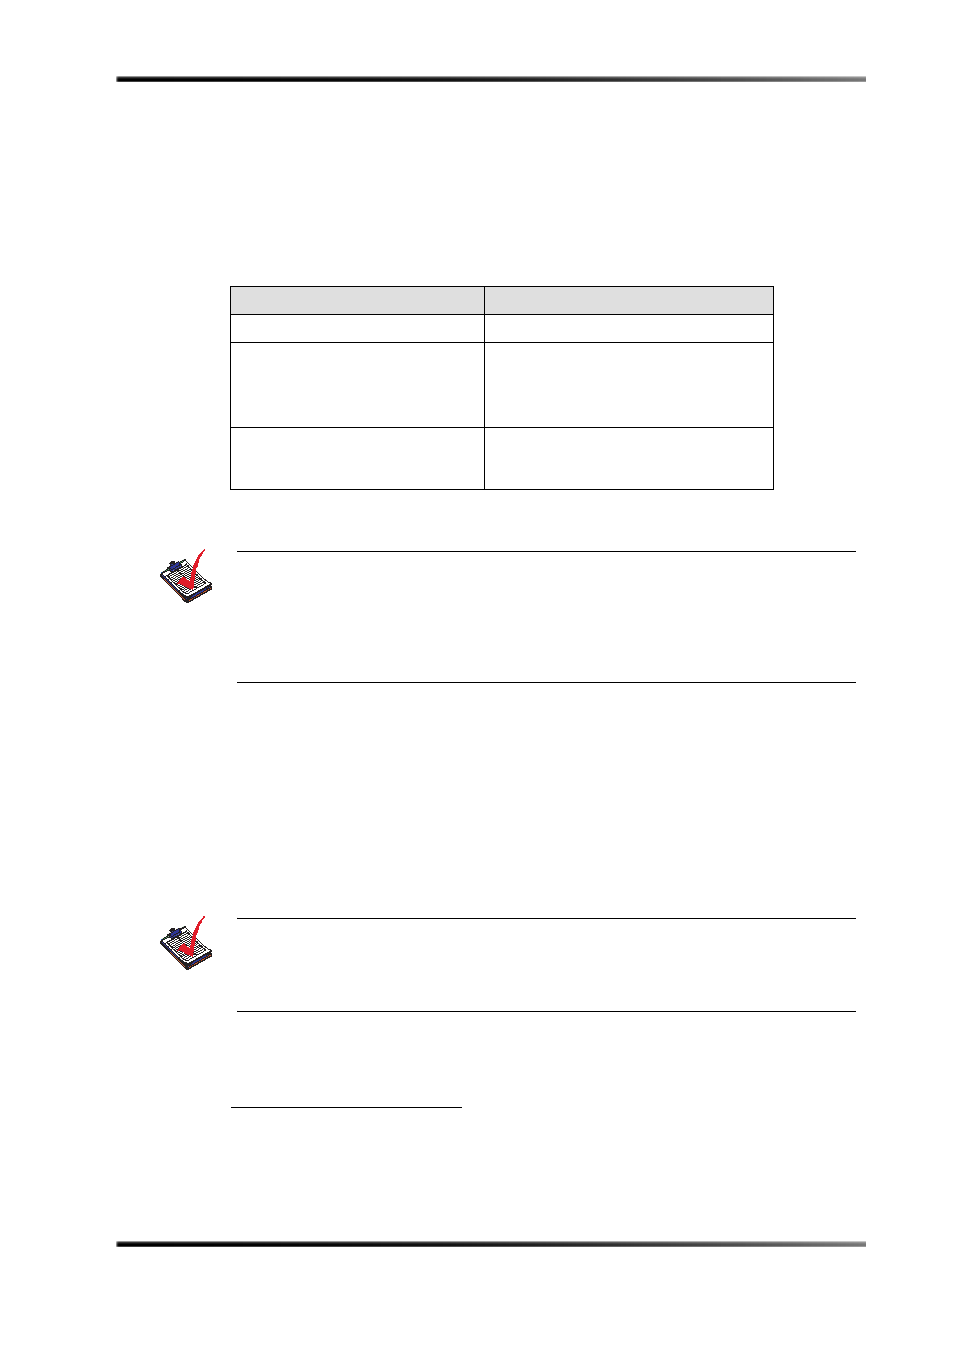
Table 4‐2 lists several example applications for both measurement modes.
To measure dialogue level using the remote software, use the controls shown in Figure 4‐4
for these steps:
1.
Use the Channel Select control to choose a channel or channels to measure. The
choices are: Left, Right, Stereo, Center, and All.
2. Play the audio clip.
The DP570 begins measuring the level of the audio clip. The software display of the
measured level varies widely at first, but the measurement is an average level over
time, Leq(A), so the display stabilizes as the clip continues.
2
We do not recommend averaging multiple short-term measurements, either arithmetically or by summing the
anti-logs, to come up with a long-term average, since each of the short-term measurement values is valid only for
the previous ten-second period. Consider a situation where the operator takes a 60-second measurement in
Short-term mode. The measurement value displayed at the end of the period represents only the time interval from
second 50 to second 60, not the entire minute. Instead, use the Infinite term measure and Pause function.
Table 4-2 Measurement Mode Applications
Short-term
Infinite
Live broadcast event
Program ingest
Postproduction and/or mixing with
audio engineer
Postproduction to check conformance with
delivery requirements, including dialogue
normalization value
Quality control: measuring short‐term
program dynamics
Quality control: measuring overall program
for normalization and/or dialogue
normalization provisioning purposes
Note: The measurement function used in the following procedures is designed to
measure dialogue only. Programs without dialogue, such as an all‐music program,
still require a careful setting of the dialogue level parameter. When setting the
parameter for such content, it is useful to compare the program to the level of other
programs. The goal is to allow the consumer to switch to your program without
having to adjust the volume control.
Note: If the input audio level registers below –31 dBFS, the Accept button is disabled, as
those values are not valid settings for the dialogue level parameter. Below –40
dBFS, the front‐panel display reads LOW. In either case, it is best to raise the source
audio level and re‐measure the selected audio clip.