Installation installation – STIEBEL ELTRON DHB-E 13 SL User Manual
Page 31
Attention! The text in this document has been recognized automatically. To view the original document, you can use the "Original mode".
INSTALLATION
INSTALLATION
» Fasten the lower ^art of the back panel to the centre section.
» Click the lower part of the back panel into place in the back panel.
The lower part must be secured with an additional screw.
»Secure the connecting pipes of the valve to the appliance.
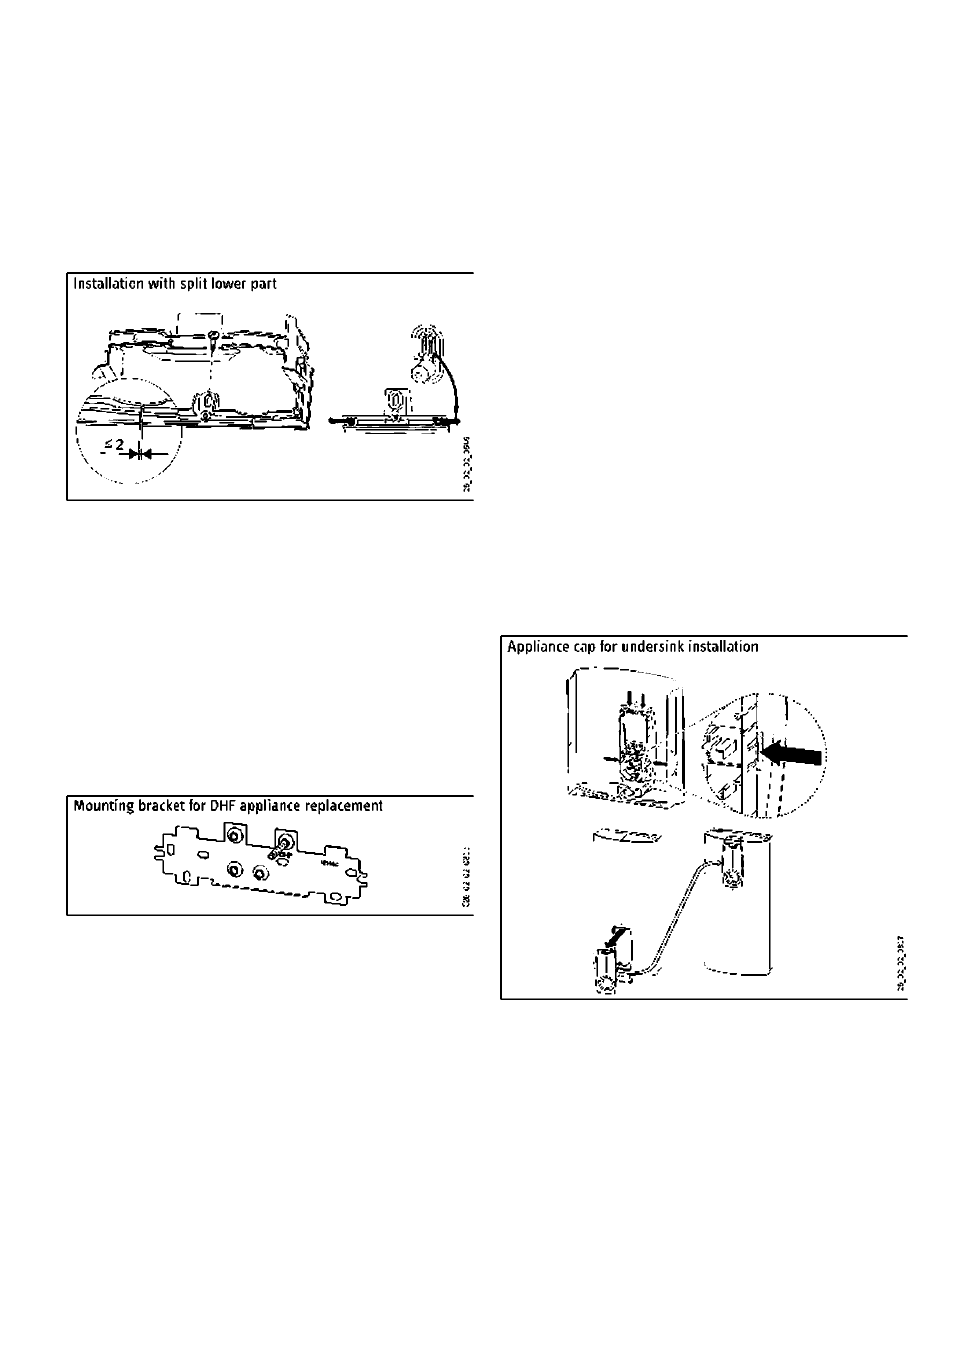
9.5.9 Installation in case of appliance replacement
An
existing
mounting
bracket
can
be
used
when
replacing
Stiebel Eltron appliances (except "DHF"). For this, open a suitable
knock-out in the back panel for the stud of the existing mounting
bracket
If the appliance is being installed in place of a DHF. move the
stud on the mounting bracketas shown in the diagram'Mounting
bracket for DHF appliance replacement". The stud cuts its own
groove. Then turn the mounting bracket through 180*^ to be
mounted on the wall. The logo "GHF" is then turned towards the
reader.
If replacing a third party appliance, suitable holes for rawl plugs
can be used.
9.5.10 Undersink installation with turned appliance cap
The appliance cap can be positioned on the back panel turned
through This particularly advantageous for undersink
installation. For this take the following steps:
»Remove the user interface from the appliance cap by pressing
the locking hooks.
»Turn the appliance cap and click the user interface into place,
ensuring that all lacking hooks click into place. To install the
user interface more easily, press against the inner side of the
appliance cap (in the shaded area, see diagram "Appliance cap
for undersink inslallaticn").
CO
19
ca
User interface with faulty locking hooks.
Never install a user interface with a faulty locking
hook. Otherwise the safety of the appliance cannot
be guaranteed.
»Plug the set value transducer cable into the "settemperature'
PCB; see "Commissioning".
»Hook the appliance cap in at the bottom and pivot it up onto
the back panel. Ensure the all-round seal of the back panel sits
tightly by pushing the cap gently forwards and back.
»Close the appliance with the screw in the cap.
DHB-E ...
SLi
electronic I 31