Twjn-needle stitching, Step 1, Step 2 – SINGER 1050 User Manual
Page 65: Twin-needle stitching
Attention! The text in this document has been recognized automatically. To view the original document, you can use the "Original mode".
Twjn-Needle Stitching
The twin-needle simultaneously produces two parallel, closely
spaced lines of decorative stitching. You can stitch with either
one or two colours of thread.
Caution: Always move the twin-needle switch to the right (
symbol) before stitching with the twin-needle. Unless this
switch has been activated, needle breakage will result. Upon
completion of your twin-needle sewing, return switch to its left
position
(5
symbol) .
•
Stitch: stitch desired
•
Stitch length; to suit application or fabric
•
Stitch width: to suit application or fabric
•
General purpose foot
•
General purpose needle plate
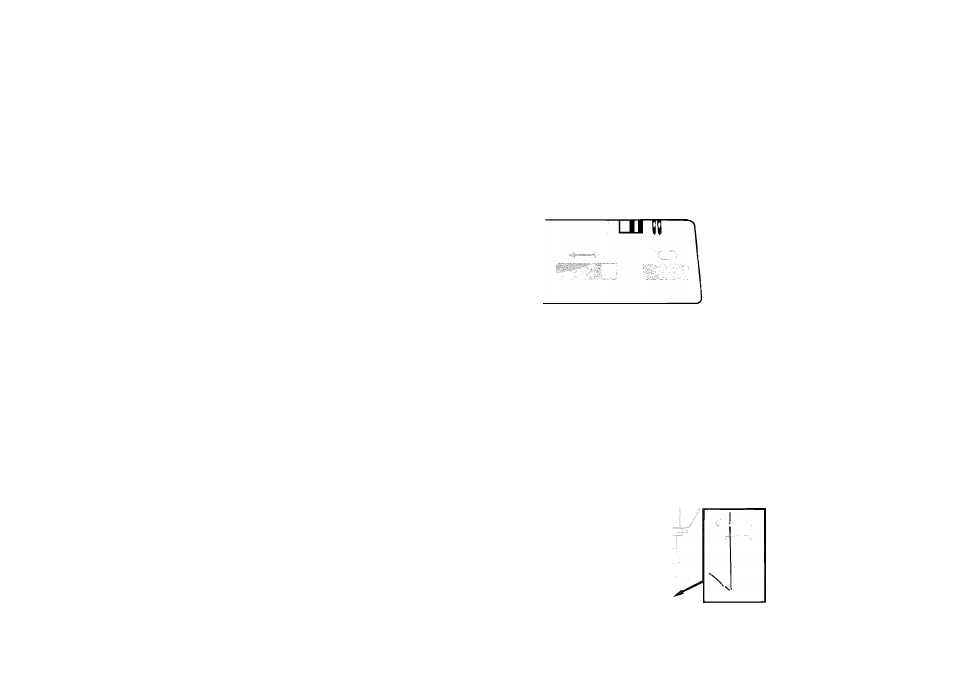
Step 1
Thread machine with first
thread in usual manner,
making certain it passes
into tension disc on
right
of tension separator
A.
• Sinceabobbincannot
be filled after a twin-
needle is inserted, it is
wise to keep an extra
wound bobbin on
hand for replacement.
Step 2
Unthread needle and
remove It from machine.
• Insert twin-needle.
• Pass first thread
through right eye of
needle.
• Move twin-needle
switch
to the right
64
Note; Dotted lines in illustrations represent thread path hidden by machine.