Tools, Fieldware, Shifting the grid – TeeJet Fieldware Tool User Manual
Page 46: Completing the grid orientation
42
www.teejet.com
Fieldware
®
Tools
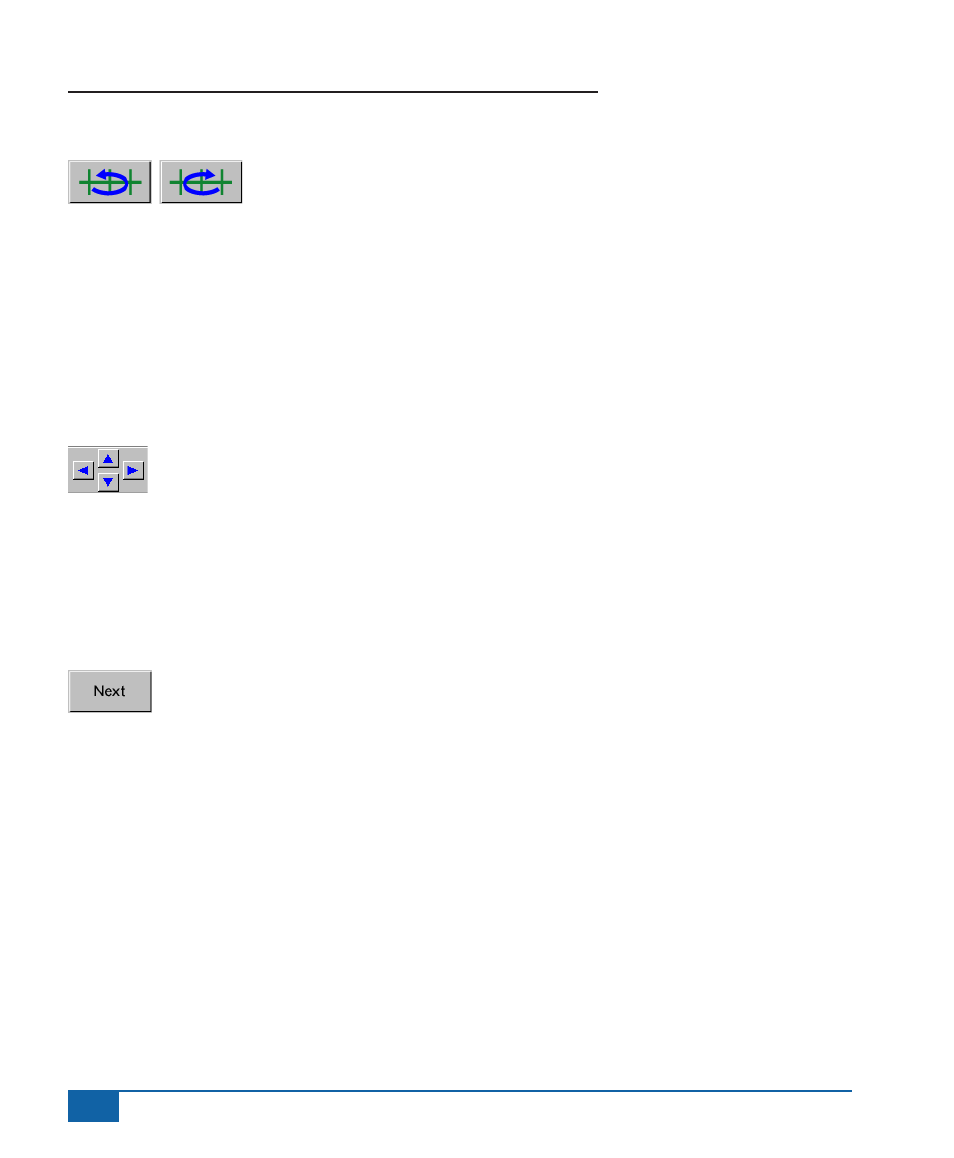
Rotating the grid using the “Spin” buttons
A second method to rotate the grid is to spin it using the two SPIN buttons shown in the
column to the left. This method works best when you are attempting to visually line the
grid up with a feature in the background data file such as the edge of the field
boundary. Pressing either of these buttons rotates the grid in the direction indicated by the arrow on the button. As
you press one of these buttons, the grid spins and the rotation angle is displayed in the information bar located
near the bottom of the page.
Shifting the Grid
Orientating the grid also includes shifting the grid. You may like the orientation angle of the grid but need to align
a row or column of grid cells along an edge of a field boundary. There are two methods to shift the grid, using the
shift buttons or by using a mouse.
Shifting the grid using the shift buttons
You can shift the grid by using the four Shift buttons located to the right and bottom of the Orient Grid
page. These buttons, shown to the left, can be activated by pressing the arrow keys located on your
computer keyboard, or by pressing them with a mouse. As you press these buttons the grid moves in
the direction indicated by the blue arrow located on the button.
Shifting the grid using the mouse
To shift the grid using a mouse, move the mouse pointer over the grid. Hold the left mouse button down and drag
the grid to the desired position.
Completing the Grid Orientation
Once you have oriented the sample grid to your satisfaction, the next step is to position the sample
point locations based on the sample pattern selected in the setup process. To move to the Position
Points page, press the NEXT button.
This completes the grid orientation process.