Un)finalizing, erasing, Erasing one or more tracks, Erasing an entire cdrw – Philips FWR8R37 User Manual
Page 29: M i i
Attention! The text in this document has been recognized automatically. To view the original document, you can use the "Original mode".
(UN)FINALIZING, ERASING
Unfinalizing CDRW discs
If you want to record (or erase) on (from) a finalized CDRW,
you have to unfinalize it first.
Notes: - Unfinalizing will take approximately 2 minutes.
- After unfinalizing of the CDHW,
CD
changes to
cdrw
on the display.
- When unfinalizing a CDRW with CD text on it
available, this text will be transferred to the
CD recorder memory. In case the memory is full, you
have to erase text (see "Erasing from the memory")
or to finalize another disc first in order to obtain
memory space.
1 Insert the CDRW you want to unfinalize in the CD recorder
tray.
5
Press YES to confirm your selection.
-►Er.ase?, the total playing time and the total number of
tracks to be erased are displayed. All track numbers will
blink in the music calendar.
6
Press YES to start erasing.
-►Er.ase is displayed and the operation time remaining
starts to count down. The track number of tbe actual
erased track will go off in tbe music calendar.
Erasing one or more tracks
1
Insert the CDRW from which you want to erase tracks in
the CD recorder tray.
2
Press CDR to select the CD recorder.
3
Press ERASE to enter the erasing menu.
2
Press CDR to select the CD recorder.
3
Press FINALIZE on the unit.
-►Unf in-al ize?
is displayed.
4
Press YES to start unfinalizing.
-►Unf in.al
is displayed and the operation time remaining
starts to count down.
Erasing from a CDRW disc
'Jrl
m I i
It is possible to erase one or more tracks (starting from the
end of the last track) or the entire CDRW.
Erasing an entire CDRW
1 Insert the CDRW you want to erase in the CD recorder tray.
2
Press CDR to select the CD recorder.
3
Press ERASE to enter the erasing menu.
4
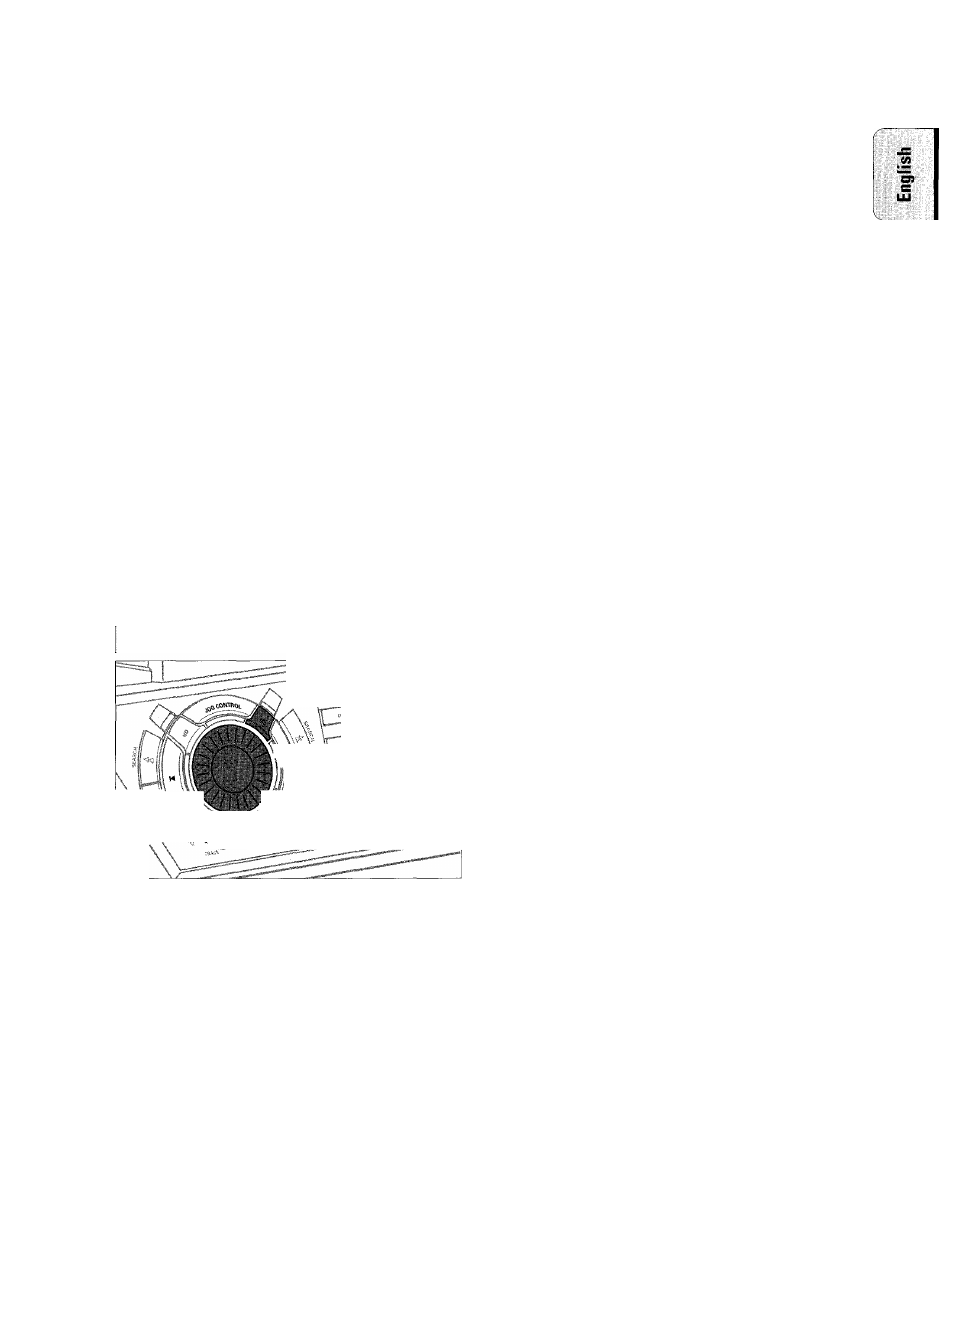
Rotate
N
JOG CONTROL
H
to select:
-►Erase Disc?:
for erasing the entire disc
4
Rotate !◄ JOG CONTROL
N
to select the track number(s)
you wish to erase.
-►Erase
and the track number (e.g.
10+)?
are displayed.
• To select more tracks to be erased, repeat step 4.
Note: When erasing more tracks, the tracks to be erased
must be selected in sequence, starting from the last
recorded track. Example: The CDRW has 5 tracks
recorded on it Now, you can erase tracks 5 and 4. You
can also erase tracks 5, 4 and 3, but you cannot erase
tracks 5 and 3!
-►All track numbers selected for erasing will blink in the
music calendar. The remaining track numbers light up.
5
Press YES to confirm your selection.
-►Erase?
is displayed.
6
Press YES to start erasing.
-►Erase
is displayed and the operation time remaining
starts to count down. The track number of the currently
erased track will go off in the music calendar.
23