Importing the custom image – Microsoft Surface 3 User Manual
Page 103
© 2014 Microsoft
Page 103
Importing the Custom Image
To use the custom image developed in the reference deployment scenario described in
, the image needs to
reside in the production deployment share. The image WIM file can be copied from the source computer and imported
with the Import Operating System Wizard in the same way that it was in the
Importing the Captured Image section in
, or it can be copied directly between deployment shares.
To copy the image between deployment shares, the lab deployment share must be opened on the production
deployment server. To open to the lab deployment share, follow these steps:
1. Right-click the Deployment Shares section of the Deployment Workbench, then select Open Deployment
Share. This launches the Open Deployment Share Wizard.
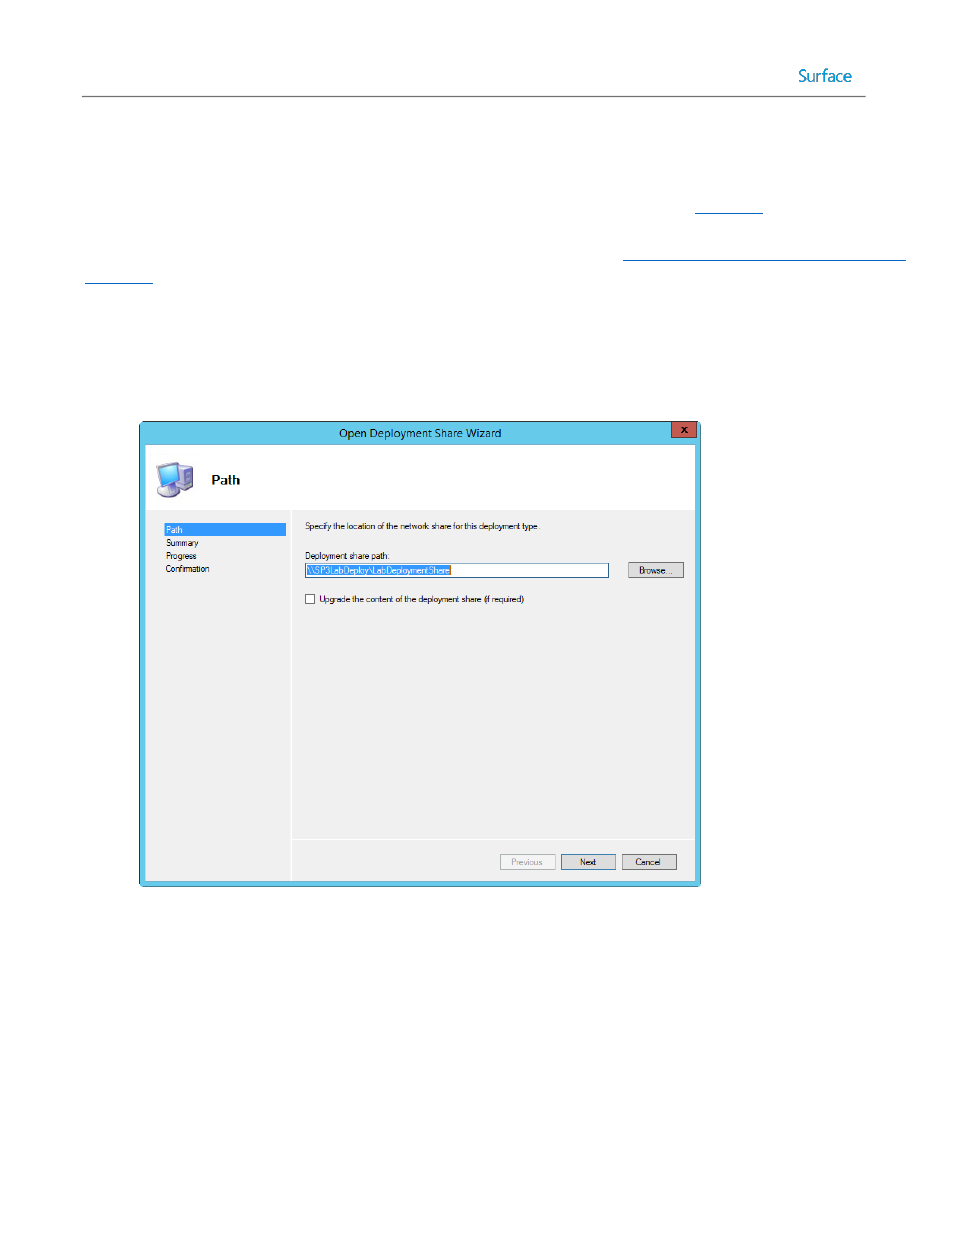
2. The Open Deployment Share Wizard shown in Figure 5.4 presents a number of steps, as follows:
Figure 5.4: Open Deployment Share Wizard.
Path – Specify the network location of the lab deployment share and click Next.
Summary – Confirm the selected options and click Next.
Progress – Shows a progress bar during connection to the deployment share.
Confirmation – Click Finish to complete the Open Deployment Share Wizard.
3. Expand the Deployment Shares tree, then select the added deployment share.
After the two deployment shares are open in the Deployment Workbench, as shown in Figure 5.5, components can be
copied and pasted between them. Copy and paste the custom image from the Operating Systems folder of the lab