Balancing the model – Carl Goldberg GBGA0040 User Manual
Page 35
SETTING CONTROL SURFACES
All pushrods must move freely, without binding. Adjust
them, if necessary, for smooth operation. When set-
ting the travel (movement of rudder or elevator), make
certain that no servo is hooked to a pushrod in a man-
ner that prevents the servo wheel from moving through
its full range of motion. For example, if the servo
motor “buzzes,” when moved to the ON position, the
servo still has movement, but it is jammed against the
limit position. This can damage the servo and drain
the battery, leading to loss of control and a crash.
1. With the elevator trim tab on the Tx set in the
center, or neutral, position, screw the mini-
snap on the elevator pushrod until the top of
the elevator is level with the top of the stab, as
shown above.
Move the elevator stick on the Tx full up. This
should cause the elevator to move down about
5/16”.
Now move the elevator Tx stick full down. This
should cause the elevator to move up about
5/16”. If adjustment is needed move the snap
link toward the bottom of the control horn for
more “throw.”
2. With the rudder trim tab in the center position,
adjust the mini-snap on the rudder pushrod
until the rudder aligns perfectly with the fin.
Move the rudder stick full right. The rudder
should move about 1” to the right.
Move the rudder stick full left. The rudder
should move about 1” to the left.
THIS COMPLETES THE INSTALLATION OF THE
RADIO SYSTEM.
BALANCING THE MODEL
IMPORTANT: NEVER NEGLECT THIS STEP WITH
ANY AIRPLANE. If you try to fly a plane with the bal-
ance point outside of the recommended range, you run
the risk of having an unstable aircraft and the strong
likelihood of a crash. TAKE THE TIME TO PROPER-
LY BALANCE YOUR MODEL!
1. Referring to the fuse plan, side view, carefully
measure and mark the center of gravity (CG)
randge on the fuse sides.
Next, mark the desired CG on the underside of
the wing.
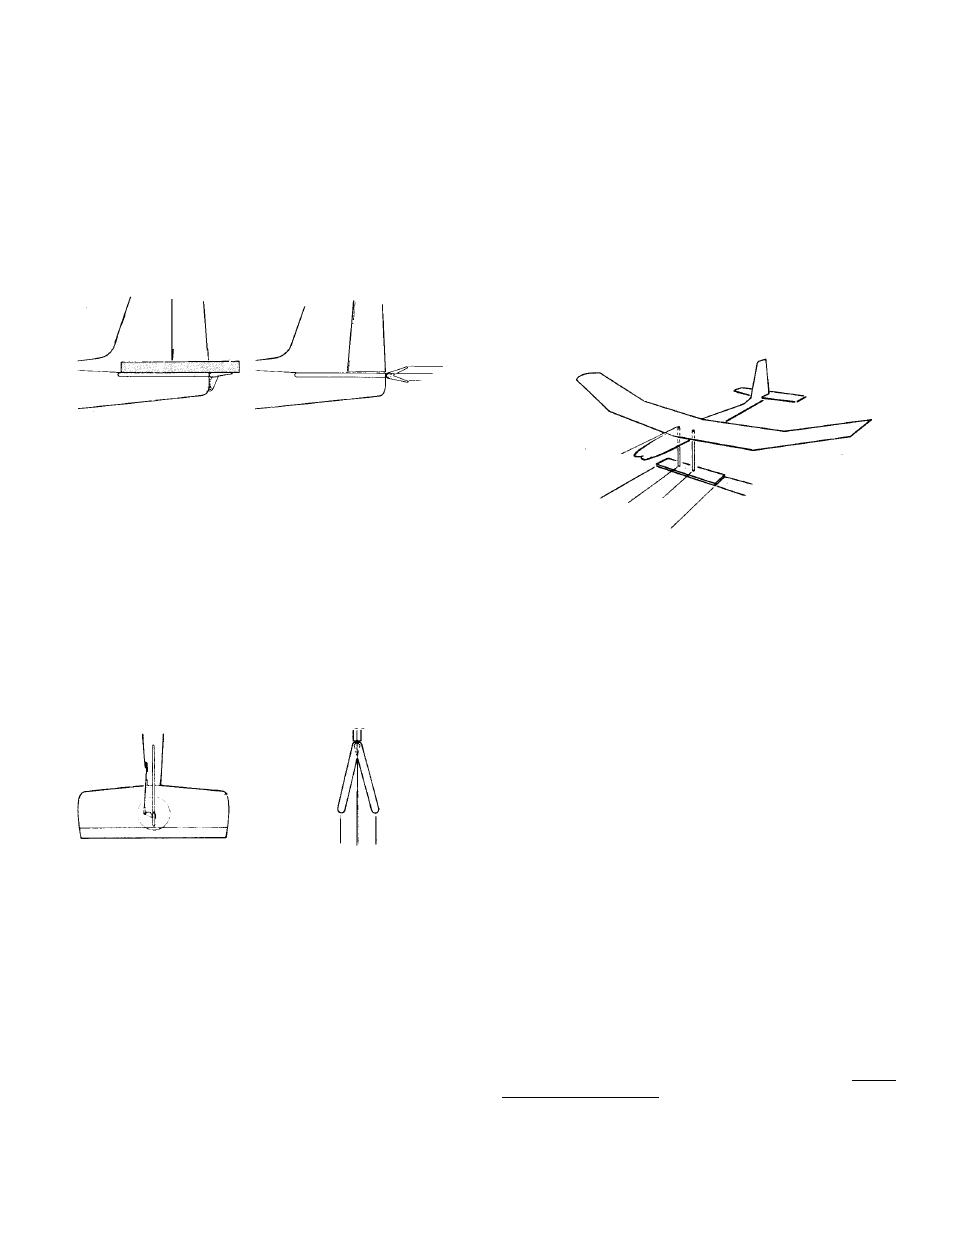
2. Place the fully assembled aircraft, with all
equipment installed, on a model balancing
stand, as shown above. You can make this
simple set-up with a couple of ¼" dowels with
rounded tops, spaced just far enough apart to
clear the fuselage.. Alternatively, lift the model
under the wing near the fuse by your finger
tips. (You may wish to get help from a friend if
using the latter method.
3. Move the position of the plane on the balance
stand until the model is level.
4. If the plane cannot be balanced with the stand
supports inside the marked CG range, remove
the wing and move some of the R/C equipment
away from the heavy end of the model.
Replace the complete model on the stand to
see if the model is now balanced in the correct
CG range.
5. If shifting the R/C gear still doesn’t balance the
model, add weight (available from your local
hobby dealer) to the far end of the nose or tail,
until the plane is properly balanced. The least
weight is needed when added as far forward or
back as possible. Fasten the weight perma-
nently in place.
DO NOT attempt to fly the model with the CG EVEN
SLIGHTLY OUTSIDE of the recommended position.
35