Carl Goldberg GBGA0040 User Manual
Page 18
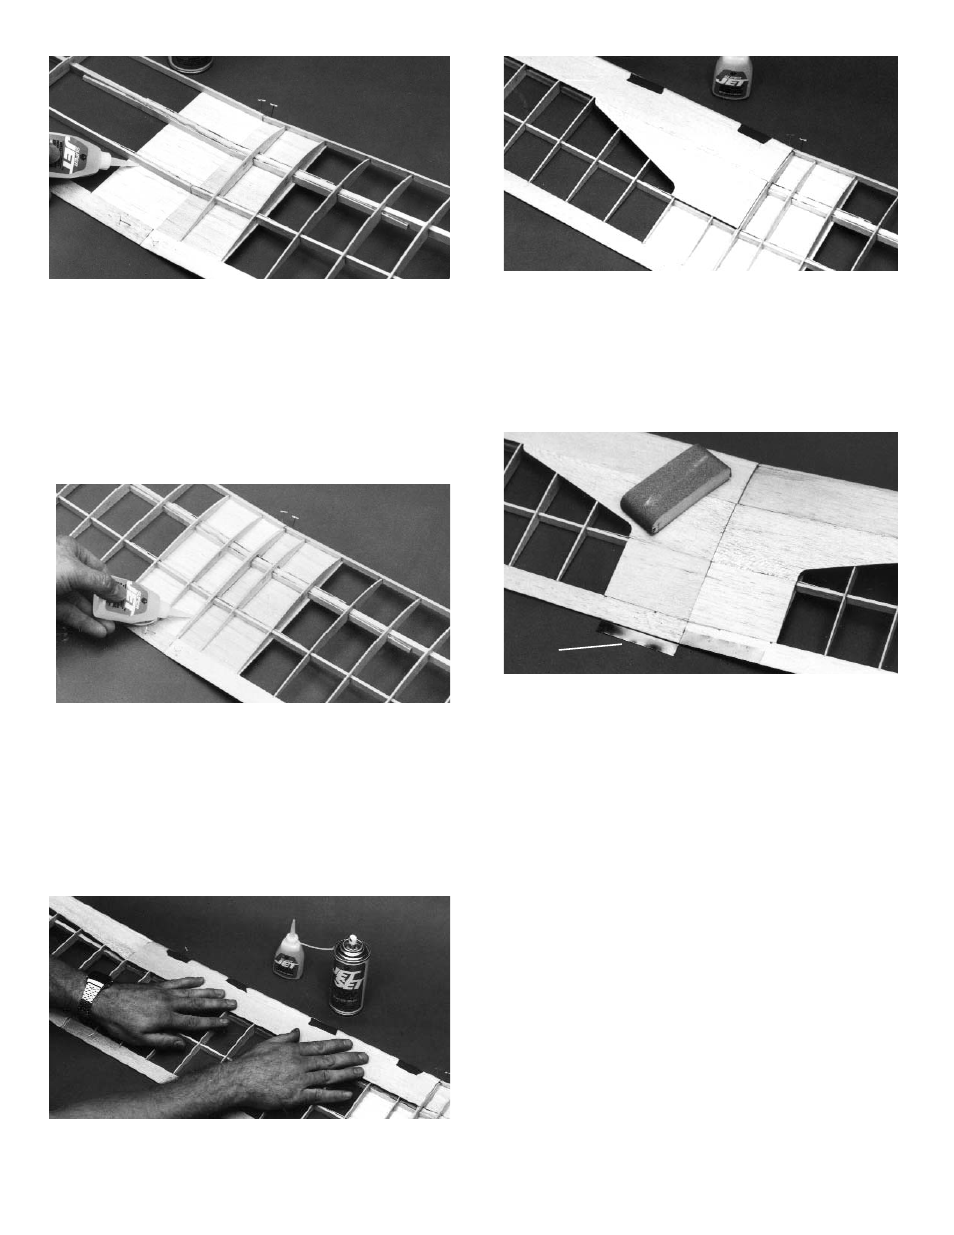
When the L.E. sheeting is dry, install the die-
cut, tapered center sheeting.
From plain 1/16 x3 x 12” balsa, cut and fit the
remaining rear sheeting piece.
Remove all pins and gauges and complete the
sheeting of the right wing.
28. Using 240 grit (fine) sandpaper, flat sand the
entire wing to blend the surfaces and remove
high spots. Take care not to sand too much, or
the sheeting will be thin and weak.
Cut the 1 x6” aluminum strip into two 3” pieces
and sand lightly for better glue adherence.
Apply a bead of Super Jet™ to one half of one
of the aluminum pieces and glue it to the bottom
of the wing, as shown above.
When dry, apply glue to the other half of the
strip and wrap it around the T.E.
Repeat this procedure for the other aluminum
piece.
IMPORTANT!
The following procedure must be done in a
WELL-VENTILATED AREA.
25. When the glue has dried, remove all clamps
from the spars.
Cut three 3-1/4” pieces of bottom sheeting from
the remainder of the 1/16” balsa sheeting.
Trim to fit between the spars, just as was done
in Step 7. When satisfied with the fit, glue in
place.
Glue the L.E., the bottom sheets, and the T.E.
together at the center joint.
26. Glue the remaining ribs #2, #3, and #4 in place.
Glue together two #1 ribs to make a single, dou-
ble-thickness rib.
Position this doubled #1 rib at the center joint,
making sure it aligns with the spar center joint,
the L.E., the bottom sheeting, and the T.E. Glue
in place.
NOTE: Make sure all joints are well-glued before com-
pleting the center sheeting.
27. Following the same procedure used in Step 19,
install the inboard L.E. sheeting.
18
ALUMINUM
SHEET
GLUE ALL JOINTS
BEFORE COMPLETE-
ING SHEETING