Carl Goldberg GBGA0040 User Manual
Page 26
Work from the center out and tack to the ribs, sheeting,
and other wood surfaces, using medium heat. Gently
rub the covering with a soft cloth to help set it in place.
Press the covering around the edges, again rubbing
with a cloth and making sure to apply enough pressure
to work the adhesive into the wood.
For inside corners, follow the instruction that come with
your covering, as different materials may require slight-
ly different techniques.
Using your iron (or a special covering "heat gun,") set
at relatively high heat, shrink the covering tight. Neatly
trim off any surplus.
Following the same procedure, cover the remainder of
the wing bottom and then cover the wing top. Be sure
to overlap all seams at least ¼". Remember that there
must be sufficient overlap to allow for the shrinkage
when high heat is applied.
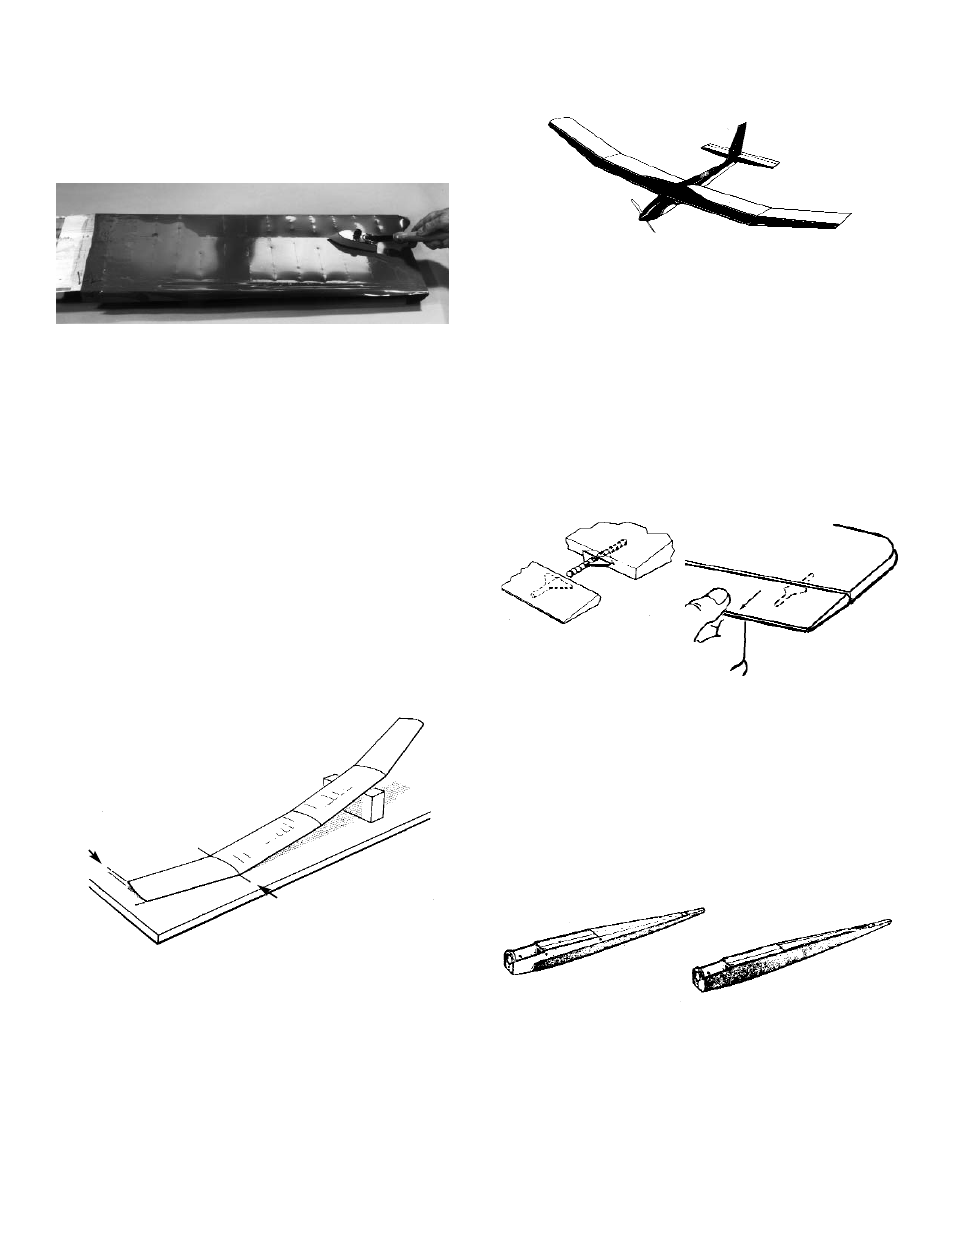
TRUING THE WING
IMPORTANT: After the wing has been covered, you
must check to make sure it is free of warps. This is a
very critical step and should not be rushed or omit-
ted.
To detect warp,.set each section of the wing on a flat
surface and make certain the panel sits flat. To count-
er any warp, twist panel slightly in the direction oppo-
site to the warp and hold this position while gliding the
iron over the covering to re-tension the structure.
Repeat process until the panel is true. NOTE: The wing
tip will rise up about 1/4 from the flat surface.
COVERING THE FUSELAGE
For added realism, the cabin interior may be painted
now, before the pieces are covered. Use UltraPaint™
or even auto primer.
Cut pieces of covering for the fuse bottom, sides, and
top. Again, make sure the pieces are large enough to
allow for overlap.
COVERING THE TAIL
Cover all tail components (the stabilizer, the elevator,
the fin, and the rudder), following the same procedure
as with the wing. The component pieces should each
be covered separately, before assembly. Then, the
covering should be carefully removed from the areas
to be glued, so that a strong WOOD-SURFACE-TO-
WOOD-SURFACE adhesion is achieved.
IMPORTANT: Once the tail sections have been cov-
ered, and while the hinge locations are still fresh in
your memory, IMMEDIATELY slit the covering to open
up the hinge slots. (Refer to the plan for help in locat-
ing the hinge slots.)
After locating and opening the hinge slots, insert and
glue a hinge into each of the stab slots. Let the glue
wick into the slots and allow to dry. Then, attach the
elevators by inserting the other half of each hinge into
the elevator slots. Again, glue and allow to dry.
Repeat this procedure to attach the rudder to the fin.
When the glue has dried, firmly pull at each hinge loca-
tion to make sure the bond is secure. FAILURE TO
FIRMLY INSTALL HINGES CAN LEAD TO LOSS OF
CONTROLL AND A CRASH. Periodically check con-
trol surfaces to make sure the bond has not weakened.
26
1/4” WASHOUT
POLYHEDRAL JOINT