Canon L240 User Manual
Page 39
3-7
Registering Information
Chapter 3
Reg
ister
in
g
In
fo
rma
ti
on
4
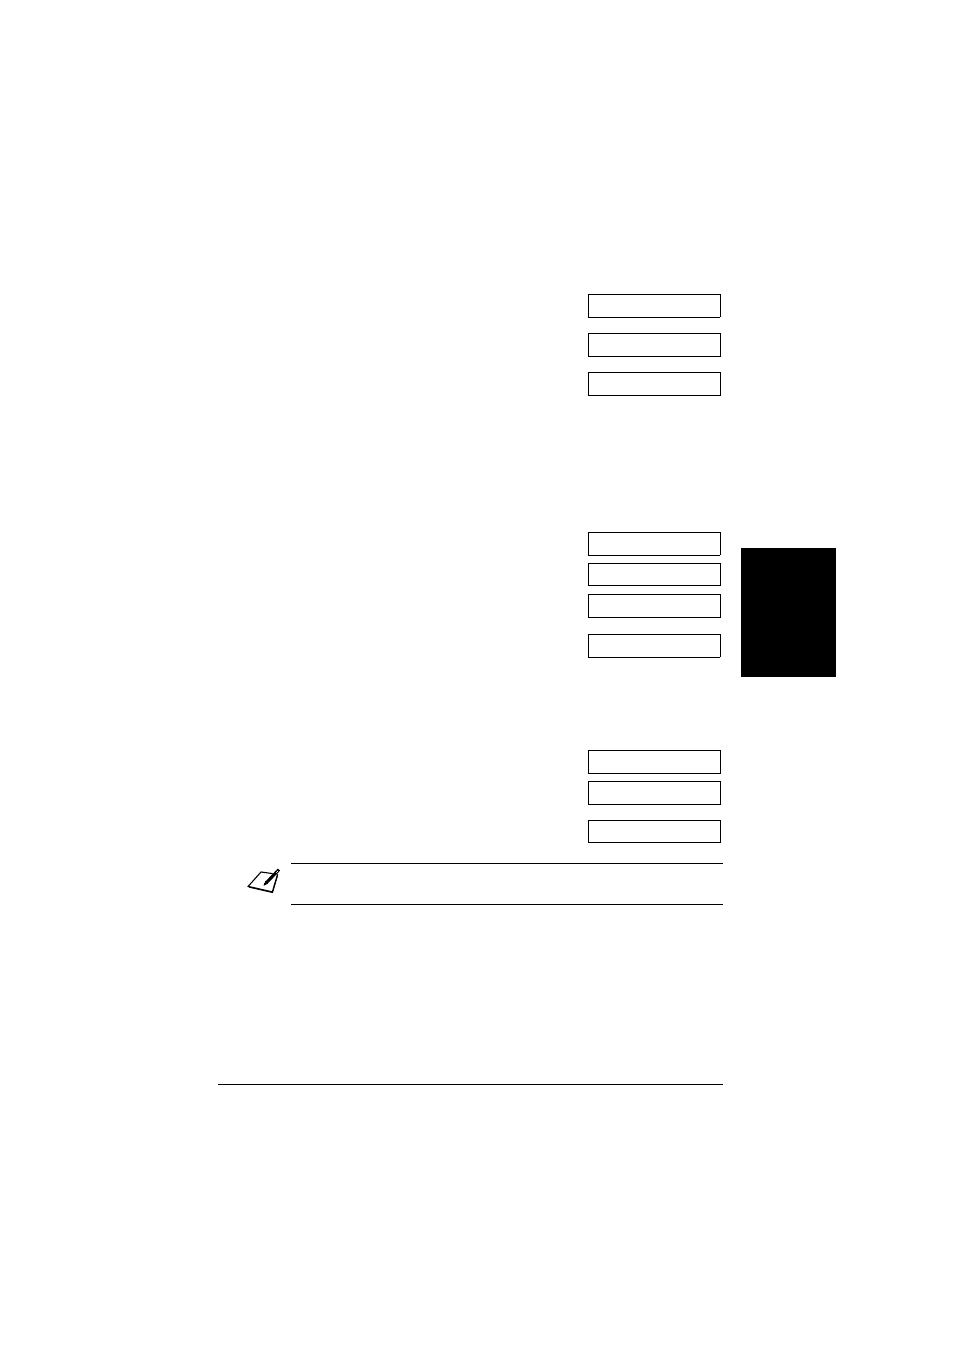
Use
N or M to select UNIT
TELEPHONE #.
5
Press Set.
6
Use the numeric buttons to enter your
fax/telephone number (max. 20 digits,
including spaces).
•
To enter a space, press Space.
Spaces are optional but make the
number easier to read.
•
To enter a plus sign (+) before the
number, press +.
•
If you make a mistake, press Clear
and re-enter the number.
7
Press Set twice.
8
Use the numeric buttons to enter your
name or company name (max. 24
characters, including spaces).
•
If you are unsure how to enter
characters, see p. 3-2.
•
If you make a mistake, press Clear
and re-enter the name.
9
Press Set.
10
Press Stop to return to standby mode.
Note
To check the sender information registered in your FAX, you can print the USER’S DATA
LIST (
p. 14-2).
UNIT TELEPHONE #
TEL=
Ex:
TEL=
123 4567
Ex:
DATA ENTRY OK
UNIT NAME
_
:A
Ex:
CANON_
:A
Ex:
DATA ENTRY OK
TX TERMINAL ID
15:00
FaxOnly
Ex: