Checkline TI-CMX User Manual
Page 23

6.0 T
AKING
M
EASUREMENTS
The steps involved in making measurements are detailed in this section. The following sections
outline how to setup and prepare your TI-CMX for field use.
An automatic or manual zero must always be performed. The auto zero is an off block elec-
tronic zero that does not require a zero reference block. This will most always be the zero
option of choice, as it makes the zeroing process very easy and convenient to perform.
However, If the manual zero option is enabled, the probe zero must be measured on the refer-
ence disk (battery disk) attached to the top of the instrument. The zero compensates for varia-
tions in the transducer. In all modes the sound velocity must be determined. The sound velocity
is used to convert the transit time to a physical length. The sound velocity can be selected from
a material chart in the manual, selected from a material list in the TI-CMX, or for greater pre-
cision determined from a sample of the test material that has been mechanically measured. To
enter the velocity from a table, look up the material on the chart in the appendix of this manual
and refer to the section below on Calibration to a Known Velocity. To determine the velocity of
a single sample, refer to the Material Calibration section 6.0
When measuring curved materials, it is more accurate to calibrate from two test points, one at
the minimum limit of the target thickness and one at the maximum limit. In this case the refer-
ence disk mounted to the TI-CMX is not used. This is called two-point calibration and is
described on section 6.0.
6.1 Auto Probe Recognition & Selecting The Transducer Type
The first step in using the TI-CMX is to plug the transducer into the gauge and power
the unit up. The TI-CMX has a special built-in automatic probe recognition feature that
will check to see if the probe plugged into the gauge is an auto recognized probe type. If
so, the TI-CMX will display a message indicating the transducer type and ask the user
for confirmation to use the identified probe. If the transducer is not an auto recognized
probe, the TI-CMX will display a message indicating the transducer type has not been
recognized, and force the user to select a transducer type from a list of transducers
according to frequency and diameter. Whether the transducer is auto recognized or
selected from a predefined list, the TI-CMX will recall specific properties about the
transducer.
NOTE: Once the transducer has been selected, the TI-CMX will store and recall this
transducer type every time the TI-CMX is powered on/off. The type will only change if
the user physically selects another type from the list, or selects a previously saved setup.
Therefore, if you have previously gone through this section and selected the transducer
you are using, proceed to the next section. Use the following steps to select your trans-
ducer type.
NOTE: If the transducer is not identified on power up, be sure the
transducer type Selected is the same as the transducer plugged
into the TI-CMX. Failure to do this will result in erroneous meas-
urements:
In this first example the transducer was automatically identified:
1. Press the OK key once to use the identified probe, or ESC
to display a list of optional transducers.
NOTE: If the TI-CMX recognizes a specific transducer, the user
should always select OK to use the identified probe. The only time an alternative probe
should be selected from a list is if the user switched probes following initial power up
and recognition, or the TI-CMX has somehow identified the probe in error..
-23-
4. Alternatively, press the ENTER key to display the Digits
Edit Box.
5. Press the UP and DOWN arrow keys to scroll the
highlighted value.
6. Press the LEFT and RIGHT arrow keys to scroll the digit
locations.
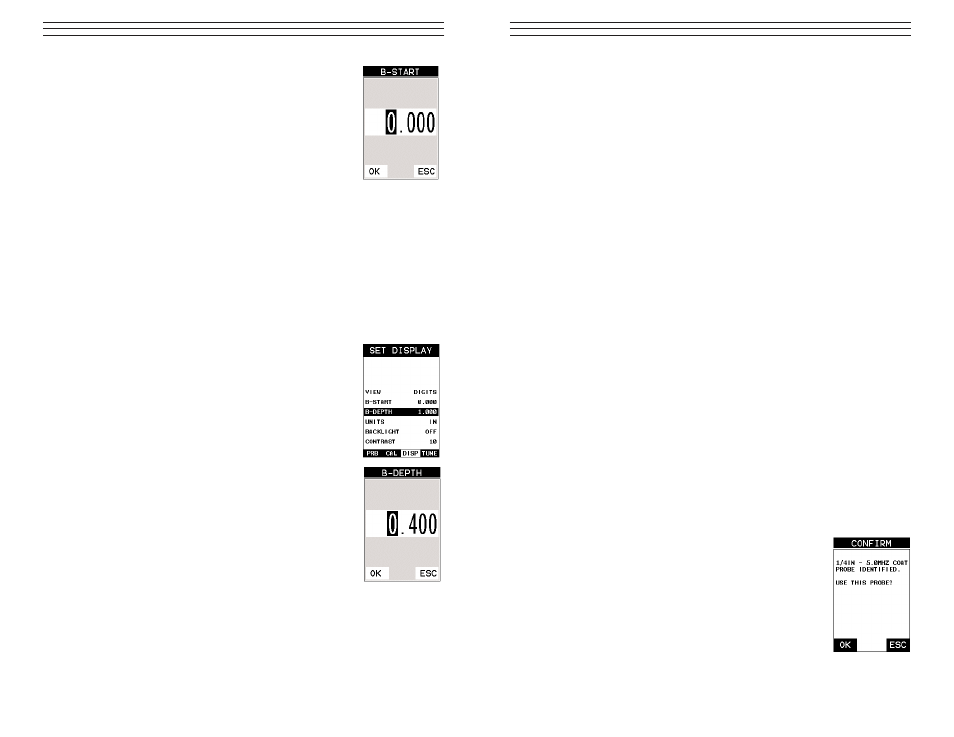
7. Repeat steps 5 & 6 until the B-Start value is correctly
displayed.
8. Press the OK key to set the B-Start value and return to the
menu screen, or ESC to cancel entering the B-Start.
9. Finally, press the MEAS key to return to the measurement screen and begin taking
readings.
Overall range (B-DEPTH)
Once again, just to reiterate, B-DEPTH is the overall viewable thickness range being
tested. This should be set to a value slightly larger then the expected maximum range
being measured. The procedures to adjust the overall thickness range viewed (B-
DEPTH) are outlined below:
Adjusting the Overall Depth (B-DEPTH)
1. Press the MENU key once to activate the menu items tab.
Press the MENU key multiple times to tab right, and the
ESC key multiple times to tab left, until the DISP menu is
highlighted and displaying the submenu items.
2. Use the UP and DOWN arrow keys to scroll through the
sub menu items until B-DEPTH is highlighted.
3. Press the LEFT and RIGHT arrow keys to scroll the value.
When the correct width is being displayed, proceed to
step 8.
4. Alternatively, press the ENTER key to display the Digits
Edit Box.
5. Press the UP and DOWN arrow keys to scroll the
highlighted value.
6. Press the LEFT and RIGHT arrow keys to scroll the digit
locations.
7. Repeat steps 5 & 6 until the B-Scan Depth value is correctly
displayed.
8. Press the OK key to set the B-SCAN Depth and return to
the menu screen, or ESC to cancel entering the B-Depth.
9. Finally, press the MEAS key to return to the measurement screen
and begin taking readings.
-34-
