Motor battery installation – E-flite F-4 Phantom 32 DF User Manual
Page 33
33
E-flite F-4 Phantom 32 DF Assembly Manual
3. Connect the leads from the motor and speed
control. Use tie-wraps (not included) to secure
the wiring so it is not moving around inside the
fuselage.
4. Use scissors to cut a small piece of hook and
loop tape. Use the tape to secure the receiver in
the fuselage. Plug the leads for the servos into
the receiver as outlined earlier in this section of
the manual.
5. Use scissors to cut a small piece of hook and
loop tape. Use the tape to secure the remote
receiver in the fuselage.
6. Attach a 18-inch (457mm) servo extension to the
nose gear retract and route it back to the Y-harness
for the retracts. The nose gear steering can either
be connected directly to the receiver using a 9-inch
(228mm) extension, or by a 6-inch Y-harness
plugged into the rudder channel of the receiver
with a 9-inch (228mm) extension. Make sure to use
a string or dental floss on all connections to keep
them from unplugging. Secure the leads inside the
fuselage using clear tape.
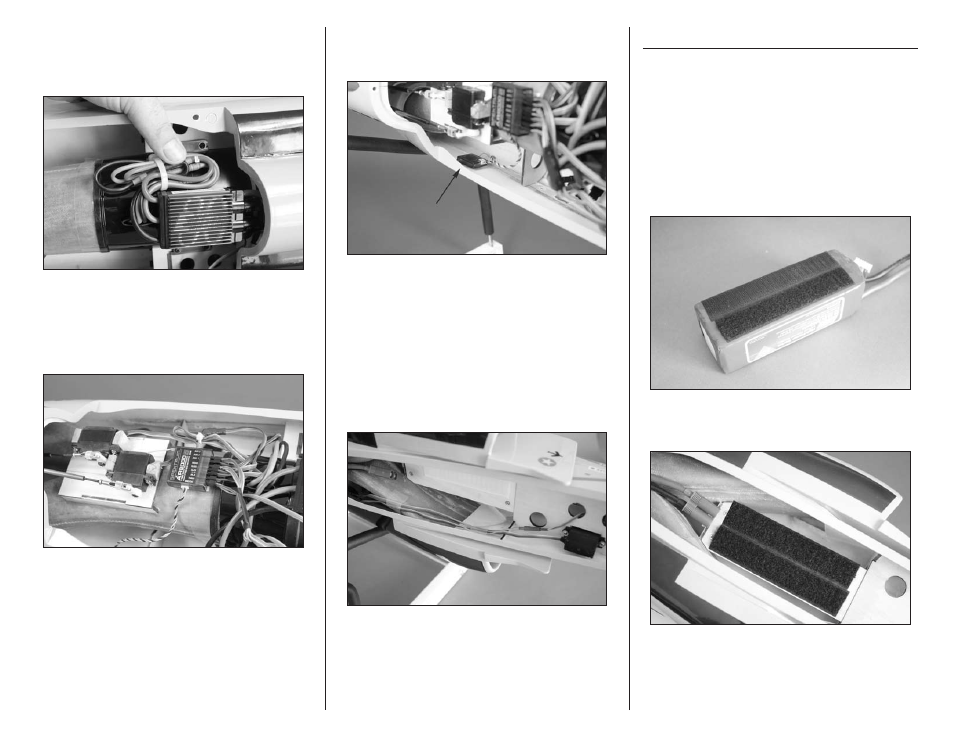
Motor Battery Installation
Required Parts
Fuselage assembly Hook and loop tape
Motor battery
Hook and loop strap
Required Tools and Adhesives
Scissors
1. Apply the hook and loop tape to the bottom of the
battery. This will keep the battery from sliding in the
fuselage, which could change the center of gravity.
2. Apply the mating hook and loop tape to the
battery tray in the fuselage.