Rudder installation – E-flite F-4 Phantom 32 DF User Manual
Page 22
22
E-flite F-4 Phantom 32 DF Assembly Manual
4. Mount the elevator servo as shown in the section
“Aileron and Flap Servo Installation.” Make sure
to center the elevator servo and prepare the servo
horn before installing the servo. The elevator and
rudder servo will use a short side of a standard JR
4-way horn. Make sure to trim the servo mounting
block to allow fitting of the servo lead as shown in
the aileron and flap servo mounting section.
5. Repeat steps 2 through 4 to install the rudder
servo. Make sure the output of the rudder servo is
aligned with the mark that is 15/32-inch (12mm)
from the front of the plate when marking for the
servo mounting blocks.
Rudder Installation
Required Parts
Fuselage assembly Transmitter
Receiver
Receiver battery
Pin hinge (2)
Rudder
Rudder torque rod Torque rod end
Metal clevis (2)
Silicone tubing
2mm nut (2)
2mm x 360mm pushrod with 295mm carbon tubing
Required Tools and Adhesives
Side cutters
Petroleum jelly
5-minute epoxy
Toothpick
Mixing cup
Mixing stick
Rubbing alcohol
Paper towel
Low-tack tape
Thin CA
Needle nose pliers Threadlock
Hobby knife with #11 blade
Medium grit sandpaper
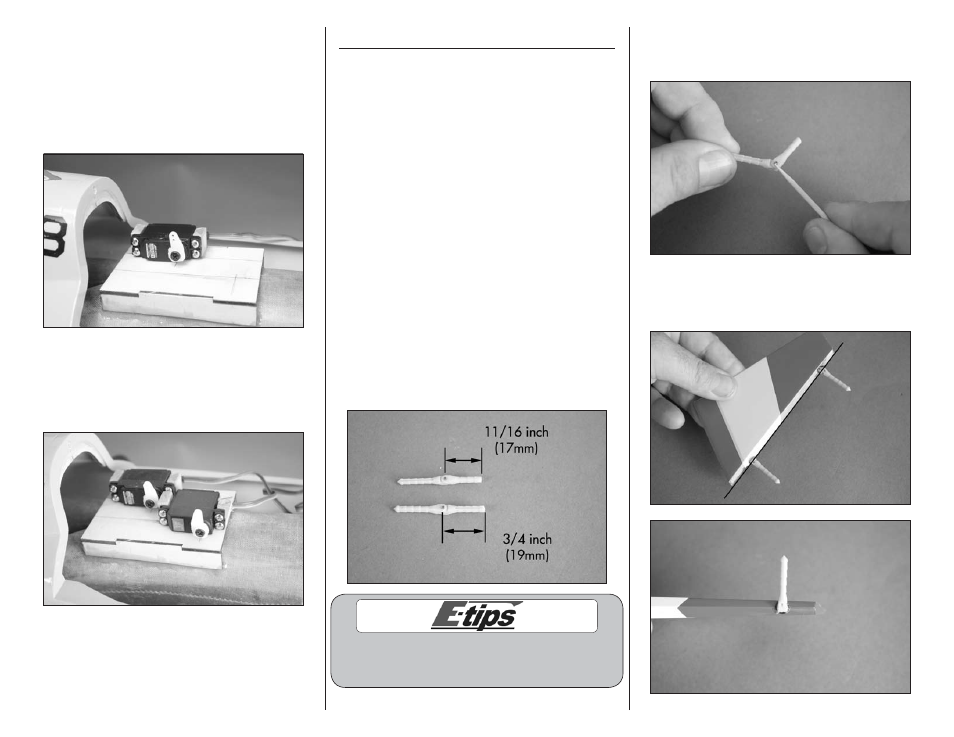
1. Use side cutters to trim one end of each of
the hinges to the length shown. The 11/16-inch
(17mm) hinge is used at the top of the rudder.
Dipping the hinge knuckles in heated petroleum
jelly (in a liquid state) is easier than trying to
apply it with a toothpick in the gel state.
2. Apply a small amount of petroleum jelly to the
knuckle of the hinge to prevent epoxy from entering
the hinge.
3. Check the fit of the hinge. The pin will align with
the hinge line of the rudder. Position the hinge so it
will move perpendicular to the rudder.