Wing spar installation – E-flite F-4 Phantom 32 DF User Manual
Page 13
13
E-flite F-4 Phantom 32 DF Assembly Manual
Wing Spar Installation
Required Parts
Fuselage
Carbon wing spar (2)
8-32 x 1/4-inch socket head screw (4)
Wing panel assembly (right and left)
Required Tools and Adhesives
Low-tack tape
15-minute epoxy
Mixing cup
Paper towels
Mixing stick
Epoxy brush
Rubbing alcohol
Ruler
Medium grit sandpaper
Petroleum jelly
Felt-tipped pen
Ball driver: 9/64-inch
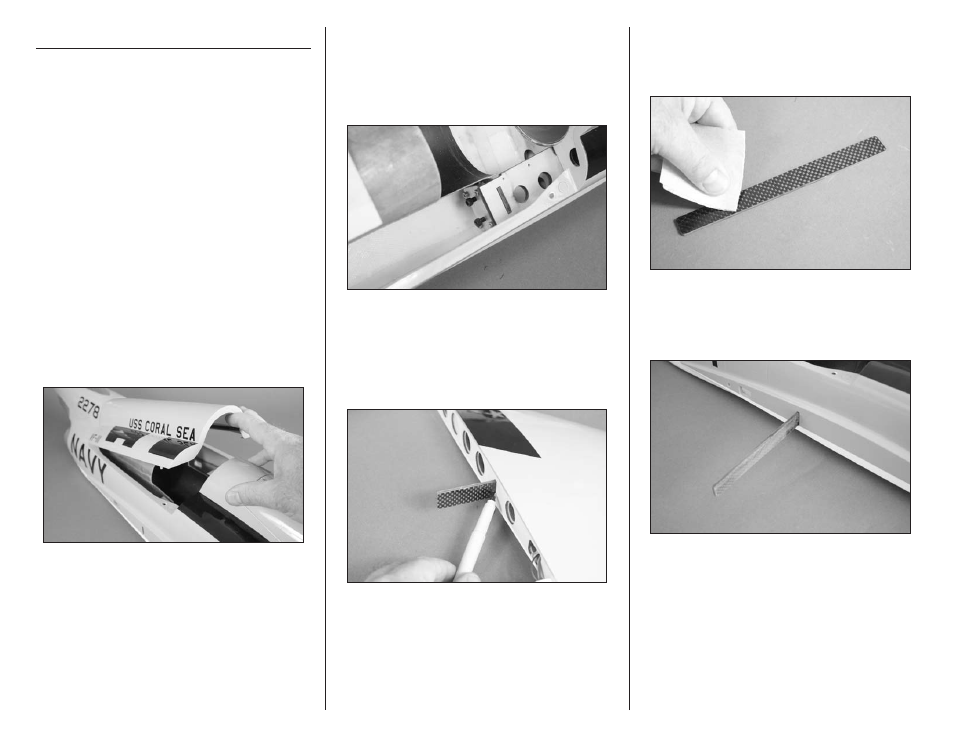
1. Remove the radio cover and canopy from the
fuselage by lifting them up from the base, rather
than from the sides, as the magnets are strong to
hold them down during high-speed maneuvers. The
radio cover is held in place with magnets at the
front and a pin in the rear. Set the cover aside so it
doesn’t get damaged.
2. Use a 9/64-inch ball driver to start the four
8-32 x 1/4-inch socket head bolts in the aluminum
wing sockets inside the fuselage. Only thread the
screws in a few turns at this time. Use care not to
cross-thread the screws and damage the threads in
the aluminum sockets.
3. Locate the carbon wing spar. The spar is
symmetrical and has no top or bottom. Slide the
carbon wing spar in the spar pocket of the wing,
narrow end first. The spar will slide in easily, so
don’t force it in any further than it will slide. Use a
felt-tipped pen to mark the spar at the wing root.
4. Remove the spar from the spar pocket. Use
medium grit sandpaper to lightly sand the spar
where it fits into the wing. Sand both the front and
back of the spar.
5. Slide the spar into the spar pocket in the fuselage.
It will easily slide into the pocket up to the line made
in step 3. If not, the screws installed in step 2 may
be in the way and require loosening.