Control horn installation – E-flite F-4 Phantom 32 DF User Manual
Page 10
10
E-flite F-4 Phantom 32 DF Assembly Manual
13. Pass the flap servo lead through the same
hole in the wing root as the aileron servo. Use
four 2mm x 8mm self-tapping screws and a #1
Phillips screwdriver to secure the flap servo cover
to the wing.
14. Repeat steps 2 through 13 for the remaining
wing panel.
Control horn Installation
Required Parts
Wing panel (right and left)
Fiberglass control horn (4)
Required Tools and Adhesives
Felt-tipped pen
5-minute epoxy
Mixing stick
Mixing cup
Low-tack tape
Coarse grit sandpaper
Hobby knife with #11 blade
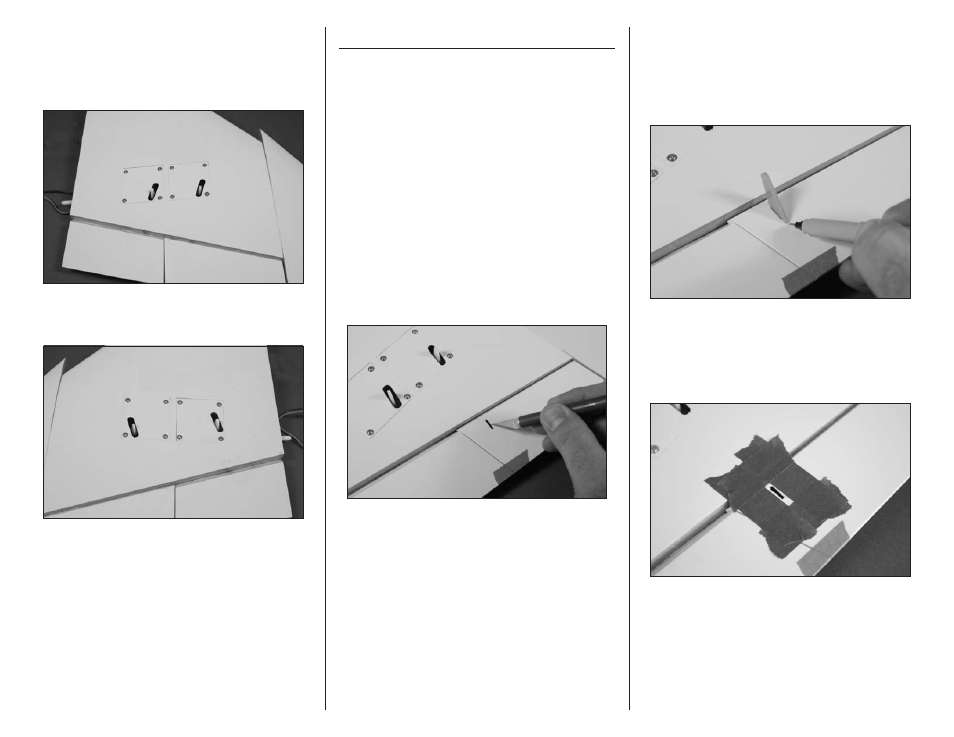
1. Use low-tack tape to tape the aileron at the tip
and tape the flap to the aileron so they don’t move
during the control horn installation.
1. Use a hobby knife and #11 blade to
remove the covering from the slot for the
aileron control horn.
2. Check the fit of the fiberglass control horn
in the slot in the aileron. The hole in the control
horn will align with the hinge line. The horn
should fit flush in the hole. Use a felt-tipped pen to
mark the front and rear edge of the control horn
on the aileron.
3. Apply low-tack tape around the opening
for the aileron control horn. Position the tape so
it is 1/32-inch (1mm) away from the sides of
the hole, as well as from the marks made in the
previous step.