Aileron servo installation – E-flite Hawker Sea Fury 400 ARF User Manual
Page 12
12
E-flite Hawker Sea Fury 400 ARF Assembly Manual
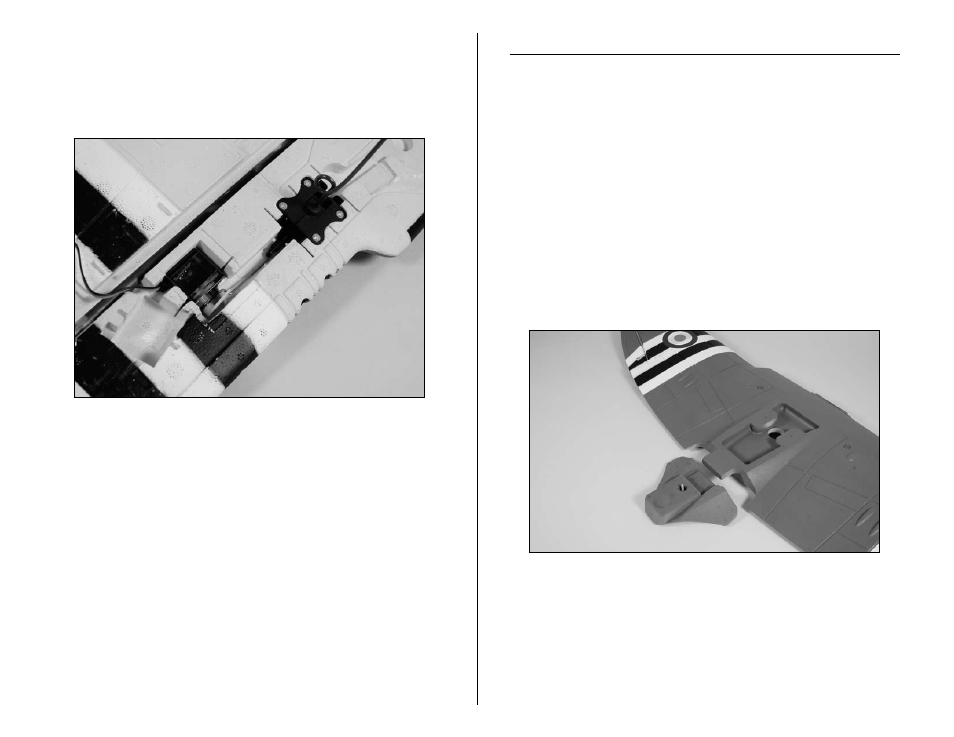
7. Remove the servos once the end points have been
adjusted and attach the linkage to the servo. Use a
hobby knife to enlarge the hole in the servo arm if
needed. Peel the backing tape off of the servo and mount
it in position.
Note: If you are using a 6-channel or more computer
radio you can use a separate channel for each of the
retract servos. Using two channels and mixing them
together will give you the option for independent
adjustment of the travel adjustment of each servo. If you
are not using a computer radio with mixing you will need
to use a reversing Y-harness (EXRA320) instead.
8. Repeat Steps 2 through 7 to install the remaining
retract and servo.
Aileron Servo Installation
Required Parts
Aileron linkage w/clevis and keeper (2)
Wing extension
Wing
Servo (2)
Double-sided tape (2 pcs)
6-inch (152mm) extension
9-inch (228mm) extension (2) (for optional retracts)
Required Tools and Adhesives
Hobby knife
Foam-safe CA
Phillips screwdriver: #0
1. Locate the wing extension and test fit it to the rear of
the wing. Use foam-safe CA to glue the extension directly
to the wing.