E-flite Mystique RES 2.9m ARF User Manual
Page 32
32
4
15
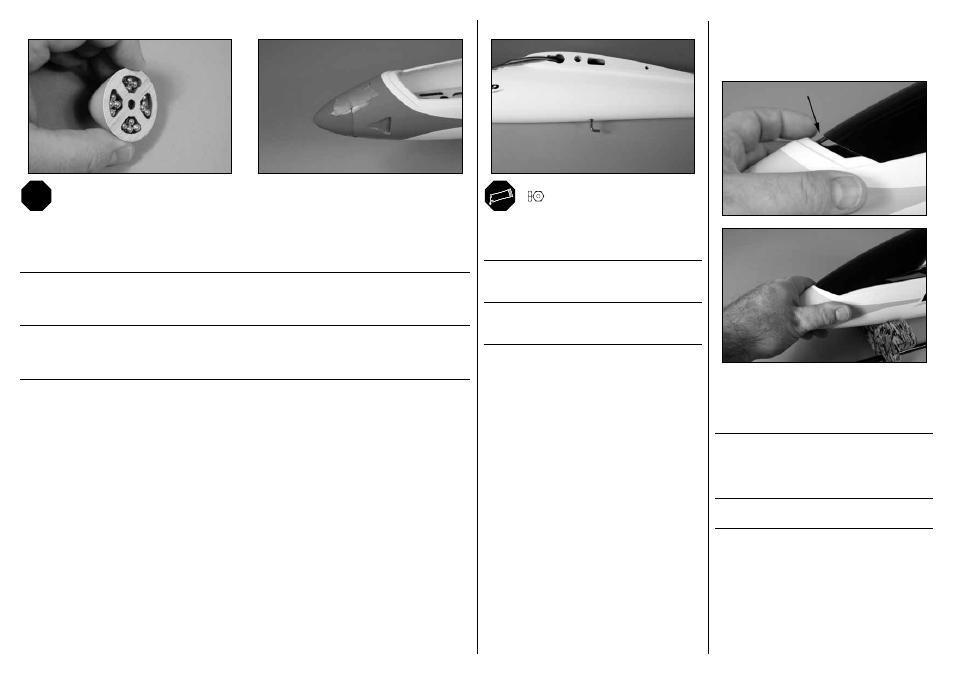
Fill the nose cone with small steel shot or Deluxe Materials Liquid Gravity (DLMBD38). Use 15-minute epoxy to
secure the shot so it is secure inside the cone. Allow the epoxy to fully cure before proceeding. Up to 8 ounces (225
g) can be added in the nose cone for balance. Once the epoxy has fully cured and the weight is secure, attach the
nose cone to the fuselage. Use low-tack tape to hold the cone in position until the epoxy cures.
Füllen Sie den Nasenkonus mit Bleischrot oder Deluxe Materials Liuquid Gravity (DLMBD38) Sichern Sie den
Bleischrot mit 15 Minuten Epxoy in Nasenkonus und lassen den Klebstoff vollständig trocknen. Sie können in den
Konus bis zu 225 g Schrot zum auswiegen einkleben. Ist der Klebstoff vollständig getrocknet können Sie den Konus
am Rumpf festkleben. Fixieren Sie den Konus bis zum aushärten des Klebstoffes mit Kreppband.
Riempire il cono anteriore con piccole sfere di acciaio o il materiale Deluxe Liquid Gravity (DLMBD38) fissandoli con
colla epoxy 15 minuti. Attendere che la colla asciughi prima di procedere. Potranno servire fino a 225 grammi di peso
per fare un giusto bilanciamento. Poi fissare alla fusoliera il cono con i pesi, tenendolo in posizione con nastro adesivo
intanto che la colla si asciuga.
5
x1
M3
Secure the tow hook by threading it into the preinstalled
blind nut. Tighten the M3 nut against the fuselage to
keep the tow hook from rotating during launch.
Schrauben Sie den Hochstarthaken in die vorinstallierte
Mutter. Ziehen Sie die M3 Mutter gegen den Rumpf fest
damit sich der Haken beim Start nicht drehen kann.
Fissare il gancio di traino avvitandolo nel dado cieco già
installato. Stringere il dado M3 contro la fusoliera per
tenere fermo il gancio durante il traino.
canopy installation•
montage der kabinenhaube•
installaZione della CaPottina
1
Place the canopy on the fuselage. The tab at the front
of the canopy will fit under the lip of the canopy opening.
Slide the canopy forward until the tab clears the lip at
the rear of the opening.
Setzen Sie die Kabinenhaube auf dem Rumpf. Der
Stift unter der Vorderkante der Haube passt unter
den vorderen Rumpfausschnitt. Schieben Sie die
Kabinenhaube zum Öffnen nach hinten bis der Stift frei
ist.
Mettere la capottina sulla fusoliera, facendo in modo che
i riferimenti combacino e spingerla in avanti.