Installing 3 dimms, Installing 4 dimms, Model r1350 – ClearCube R-Series Data Center Products User Manual
Page 107
R-Series Data Center Products User’s Guide
Hardware Upgrade and Replacement Procedures • 83
Installing 3 DIMMs
1. Pull the tabs on either side of the memory socket away from the module to remove
the existing DIMMs.
2. Insert DIMMs in sockets 1 and 3 (the black socket of both channels) as described
above.
3.
Continue by installing the third DIMM in socket 2 or 4 (the blue socket of either channel).
Installing 4 DIMMs
1. Pull the tabs on either side of the memory socket away from the module to remove
the existing DIMMs.
2.
Insert DIMMs in sockets 1 and 3 (the blue sockets of both channels) as described above.
3.
Install a matched pair of DIMMs in sockets 2 and 4 (the blue sockets of both channels).
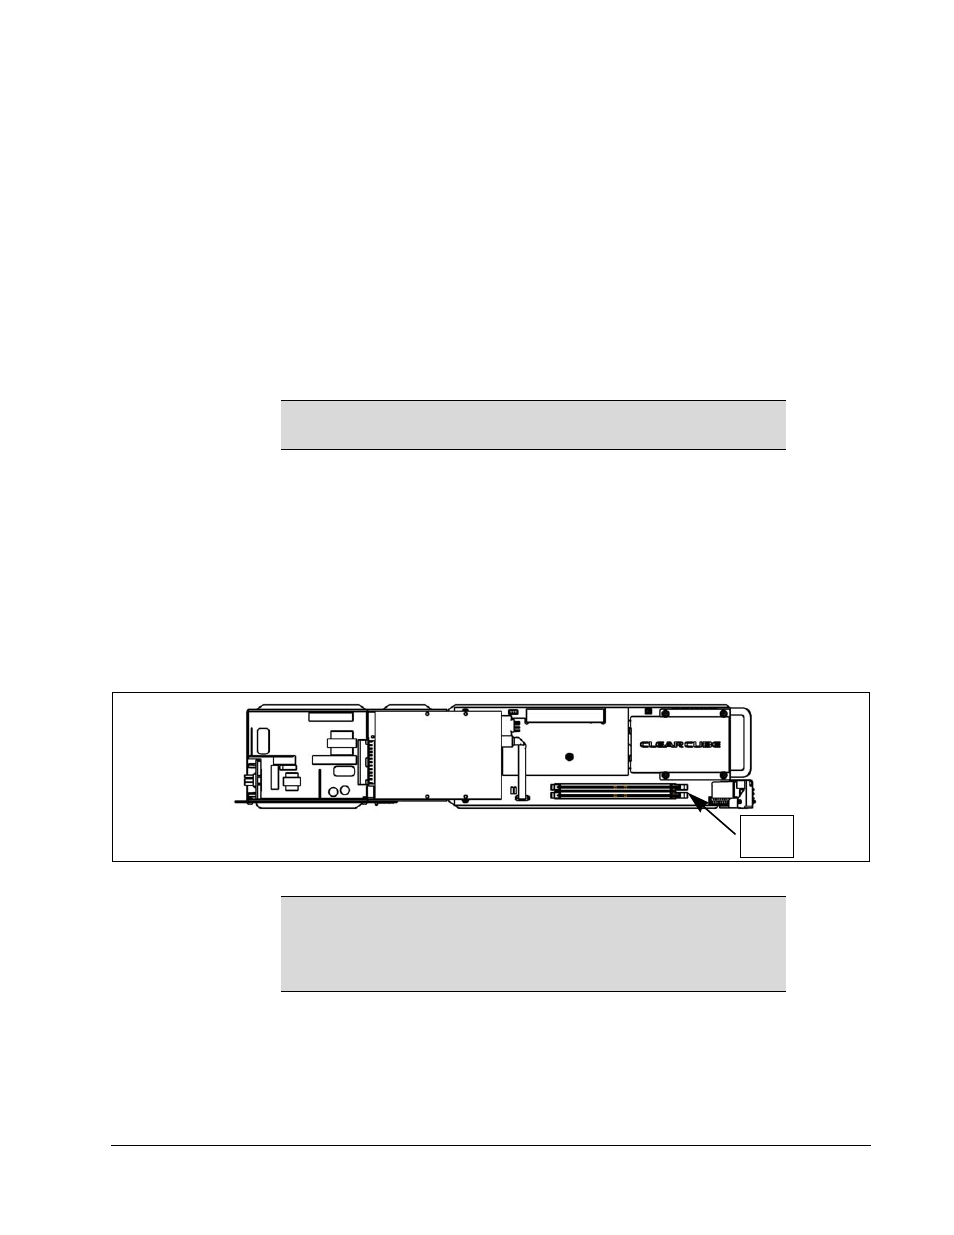
Model R1350
The R1350 can work with a single DIMM, as well as two DIMMs of different sizes
and speeds. When equal size DIMMs are used, the memory controller on the R1350
uses interleaved memory, which gives better performance.
To replace or upgrade the memory on the R1350, do the following:
1. Pull the tabs on either side of the memory socket apart to remove the module.
2. Carefully insert the new memory module into the socket, making sure that the tabs
snap inward securing the module in place.
Figure 43 R1350 Memory Layout
NOTE
All other DIMM configurations result in single-channel memory
operation.
NOTE
Using mismatched DIMMs incurs a performance penalty. With
equal-sized DIMMs, a mismatch in speed or timing causes the
system to run at the slower of the two DIMMs. With mismatched
sizes, the system always runs in non-interleaved mode at the
slower speed or timing of the two DIMMs.
DIMM
slots