Replacing a front lcd panel – ClearCube R-Series Data Center Products User Manual
Page 121
R-Series Data Center Products User’s Guide
Hardware Upgrade and Replacement Procedures • 97
Replacing a Front LCD Panel
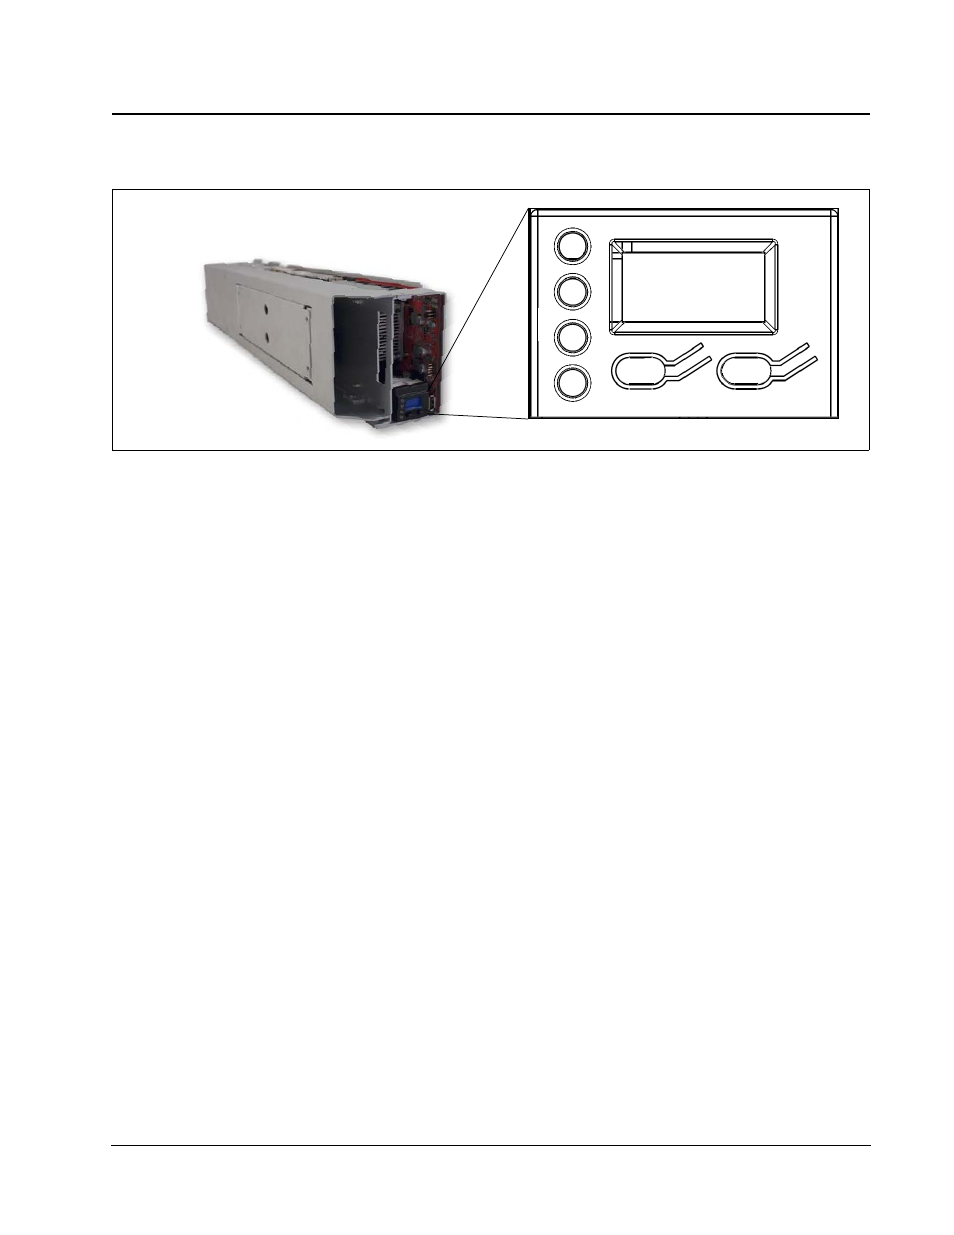
This section describes how to replace the LCD front panel of an R-series blade.
Figure 52 The Front LCD Panel
The following instructions assume that you have a ClearCube Front LCD Panel kit,
ClearCube part number G081001.
1. Power off the blade and remove it from the chassis. Place the blade on a stable
surface, such as a desk or a bench.
2. Perform one of the following steps:
•
R3040S—Position the blade so the hard disk tray is facing up (the hard disk
tray is located on the left side of the blade when you are looking at the front of
the blade).
•
R3080D and R1350—Lay the blade on its side so the motherboard is visible.
3. Perform one of the following steps to remove the screw that secures the front LCD
panel to the blade:
138