Figure 25, Allocation view – ClearCube Grid Center Admin Guide 4.11 User Manual
Page 54
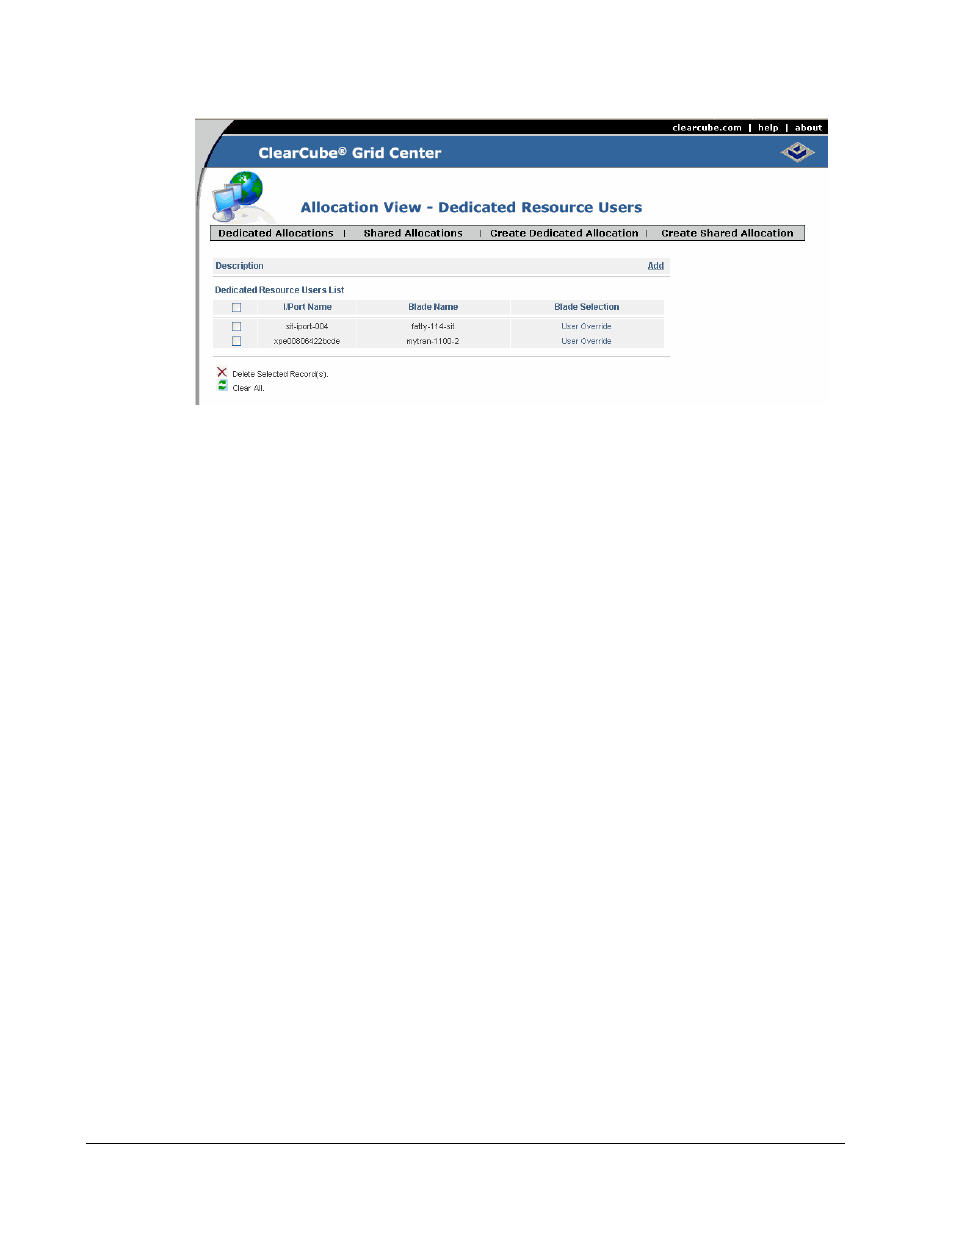
Figure 25 Allocation View
48 • Allocation
Grid Center 4.11 Administrator’s Guide
The Resource Users lists show the existing allocations between I/Port groups and
Blade groups. To delete an allocation from one of these lists, click the check box to
the left of the record, and click Delete. You are asked for confirmation. To allow or
disallow the user from being able to change his assigned Blade, click the link under
Blade Selection that corresponds to the group or the I/Port. This toggles between
User Override, which allows changing Blades, and No User Override, which
prevents the user from changing Blades. This is displayed on the user login screen by
making the Blade Name field editable. The user must know the name of the Blade to
enter it. Alternatively, clicking the Last Connected button autopopulates the
last-connected Blade name in the Blade Name field. The user may need to press the
Refresh button if the User Override setting has been changed recently. See Figure 13
on page 26.
To add a record, click Add. The Allocation View – Dedicated Resource Users screen
(Figure 25) is displayed. To add a dedicated group allocation, do the following:
1. Click Refresh Nodes in the middle pane. This ensures that you have the most
recent network information.
2. Click on an I/Port group in the left pane. The group information is placed in the
I/Port Group information table in the bottom pane.
3. Click on a Blade group from the pull-down menu in the right pane. The group
information is placed in the Blade Group information table in the bottom pane.
4. Click Save.