Rockwell Automation 1756-Enxxx_Ewxxx EtherNet/IP Modules Installation Instructions User Manual
Page 61
Rockwell Automation Publication ENET-IN002F-EN-P - January 2014
61
Install a 1769 EtherNet/IP Adapter Chapter 3
These tools are used in this sequence to set the network IP address.
1.
Set the Network IP Address with the Rotary Switches
.
2.
Set the Network IP Address with a BOOTP/DHCP Server
.
3.
Set the Network IP Address with RSLinx or the Studio 5000
Environment
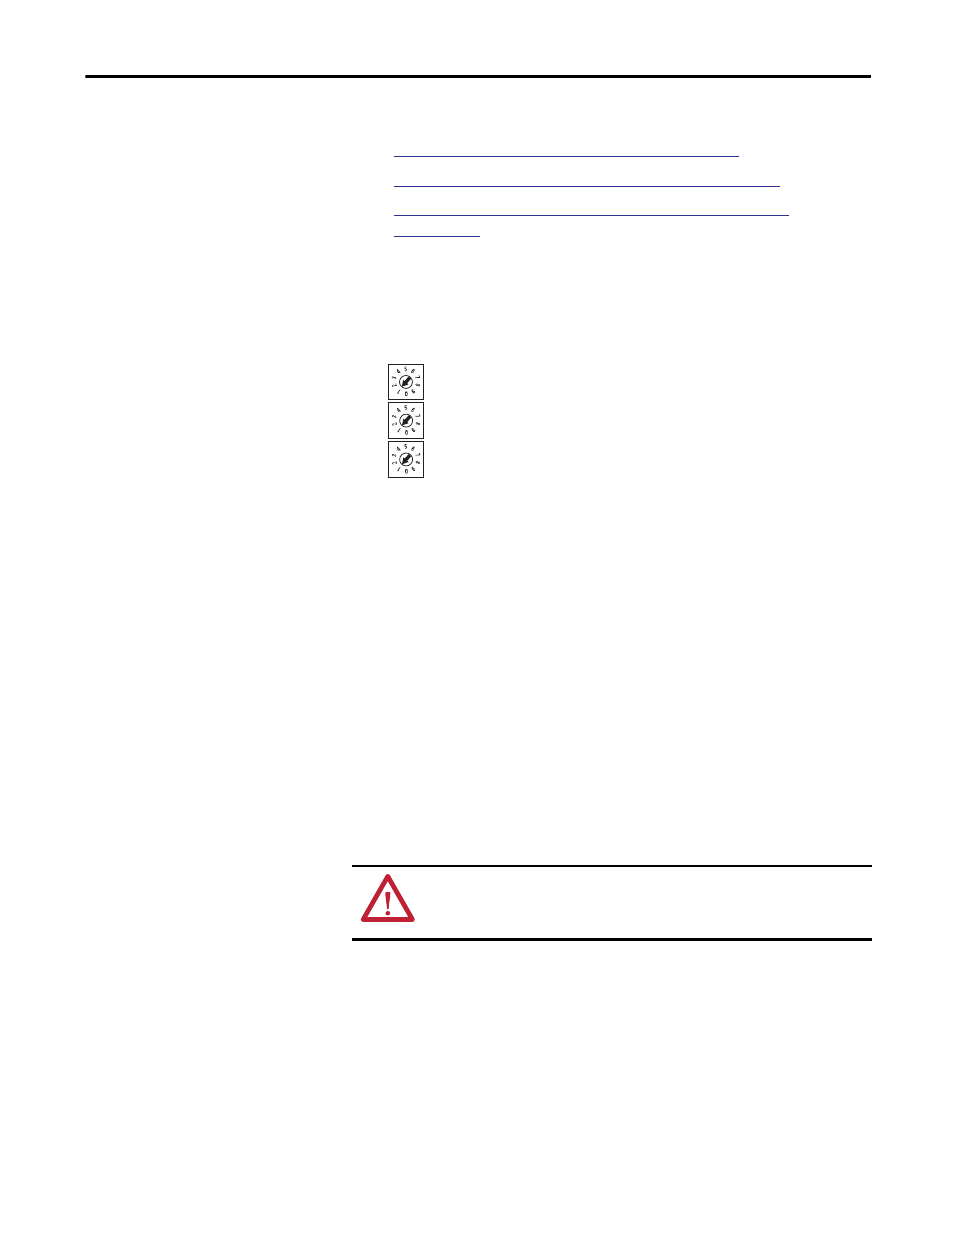
Set the Network IP Address with the Rotary Switches
This graphic shows the rotary switches on the front the adpater.
At powerup, the adapter reads the rotary switches to determine if they are set to a
valid number for the last portion of the IP address, that is, if the numbers are in
the range from 001…254.
If the settings are a valid number, these conditions result:
• IP address = 192.168.1.xxx (where xxx represents the switch settings)
• Subnet mask = 255.255.255.0
• Gateway address = 192.168.1.1
• The module does not have a host name assigned, nor does it use any
Domain Name System
We recommend that you set the rotary switches to a valid number before
installing the module.
The module attempts to use the BOOTP/DHCP server to set the IP address if
the rotary switches are not set to a valid number.
WARNING: When you change switch settings while power is on, an electrical
arc can occur. This could cause an explosion in hazardous location installations.
Be sure that power is removed or the area is nonhazardous before proceeding.
X 100
X 10
X 1