Making a share public, Deleting a share, Opening a share – Western Digital My Book Live Duo User Manual User Manual
Page 90
MY BOOK LIVE DUO
USER MANUAL
MANAGING SHARES – 84
Making a Share Public
If you decide there is no reason to limit access to a private share, convert it to a public share.
1.
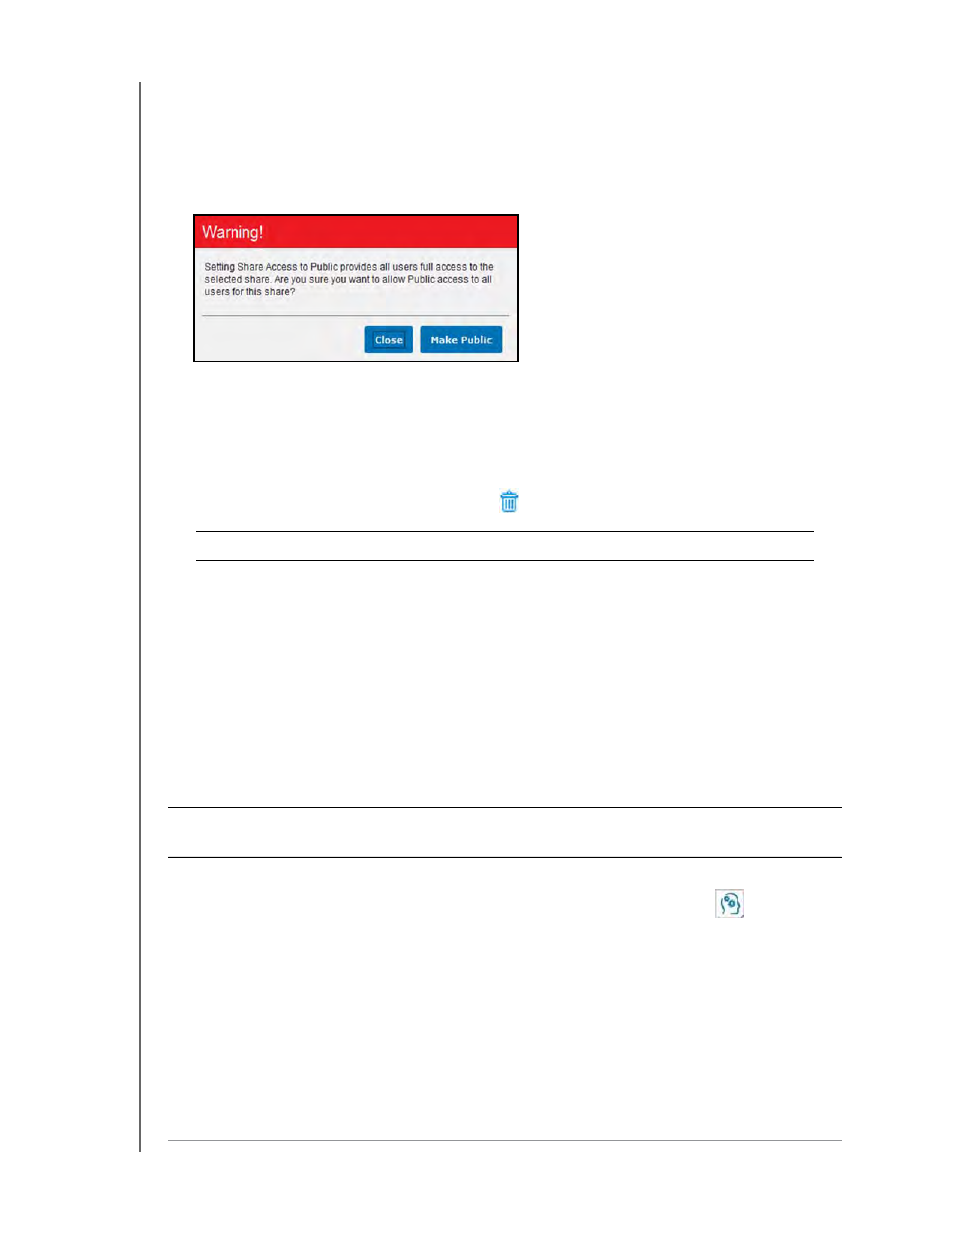
Select the private share in the Shares list and select the Public option instead of the
Private option in the Share Access section of the right panel. The following warning
message displays:
2. Select Make Public to make the selected share public; click Close to keep the settings
the same without changing them.
3. Click the Save button.
Deleting a Share
1.
In the Share List, click the trash can icon
to the right of the share’s name.
2. In response to the confirmation message, click the Delete button.
Opening a Share
You have several options for opening My Book Live Duo device's public and private shares
to which you have access.
To open a private share, you must have:
A user name and password assigned to your share name
Read-only or full access to the share
WARNING!
Deleting a share erases all files and folders on the share.
IF you want to open a
share using . . .
THEN for . . .
WD Quick View in the system
tray (Windows),
Public and Private Shares
1.
Left- or right-click the WD Quick View icon
to display the
main menu.
2.
Click the My Book Live Duo device name, and then click
Open. The shares display in Windows Explorer.
3.
For a private share, if prompted for a user name and
password, enter those associated with your user account on
the My Book Live Duo dashboard.
For a private share, if the user’s name and password are the
same as for logging into the computer, a user name and
password are not required. If they are not the same,
and see Knowledge Base Answer ID
5681.