Network settings, Lan configuration – Western Digital My Book Live Duo User Manual User Manual
Page 70
MY BOOK LIVE DUO
USER MANUAL
CONFIGURING BASIC SETTINGS – 64
To set your Time Machine quotas:
Note: The maximum size cannot be increased after the initial backup. WD
recommends leaving this setting on the maximum permissible value for your
initial backup. Once the initial backup is complete, you can change this
setting using the slider above.
1. Select Enable, if not already selected.
2. Select a share where you’d like to save the backup from the pull-down menu.
3. In the Maximum size field, move the slider to the maximum size setting.
4. Click
Save
.
5. Once your initial backup has been created, access Network>Backup Settings panal
again.
6. In the Maximum size field, move the slider to the maximum size setting you’d like to use
for your backup.
7. Click
Save
.
Important: Once your Time Machine begins to back up your files to a selected share, we
recommend that you continue to back up to that share. Switching shares
generates a new backup file which will not contain your previously saved
information.
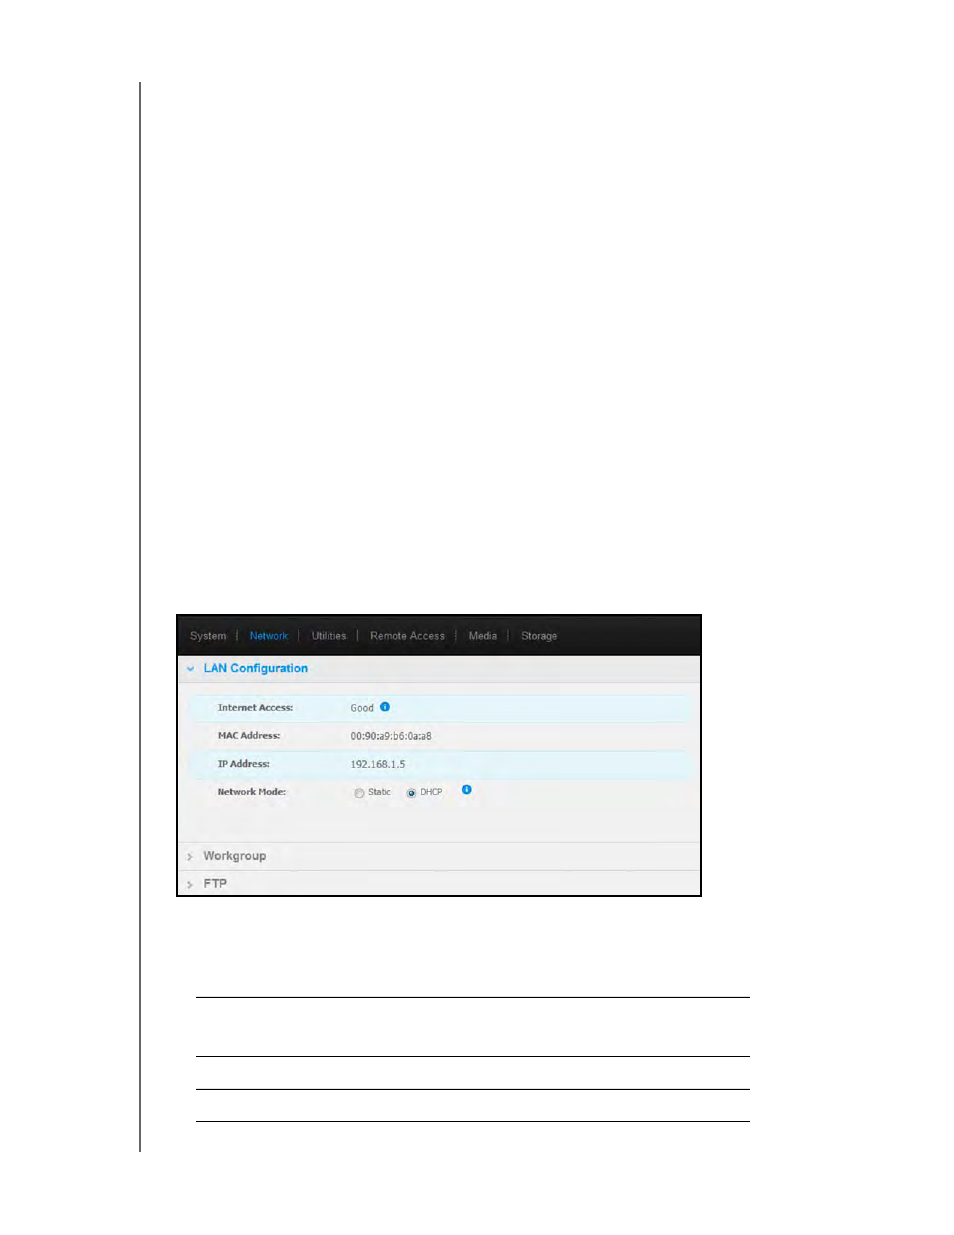
Network Settings
The Network tab displays the drive’s MAC and IP addresses. You can set network options
such as network mode, enable FTP protocol for secure file transfer, and create a workgroup:
LAN Configuration
1. View or modify the following LAN (home or office network) settings:
Internet Access
The current status of internet connectivity for network
functions such as NTP, firmware update checks, and
remote access connections.
MAC Address
Uniquely identifies the drive.
IP Address
Identifies the current IP address.