Instruction sheet, Prs.4tec – Prescolite 1586-800 8 User Manual
Page 2
www.prescolite.com
• Prescolite
TollFree
Technical
Support
1.888.PRS.4TEC
•
Hours:
8am
- 5pm
ET
701 Millennium Boulevard • Greenville, SC 29607
With representatives offices in principal cities throughout North America.
Copyright 2012, 2/20/12 revision, All Rights Reserved - Printed in U.S.A.
Part No. . . . . . . . . . . . . . . . . . . . . . . . . . . . . . . . . 05210900
Instruction
Sheet
1. Remove the trim cone from fixture. Take care in handling lamp housing since trim retention clips are sharp and may scratch finish.
2. Install the fixture in the ceiling using mounting channel, bar stock or 1/2” rigid conduit (all by others)placed in the adjustable mount-
ing brackets as shown. The fixture should be installed in such a manner that the weightof the fixture is supported by the mounting
channels/bar stock/rigid conduit and/or hanger wiressecured to the building structure.
3. Adjust the fixture so the bottom edge of the plaster flange is flush with the finished ceiling line. Accomplish this using the adjust-
able screws securingthe mounting brackets on either end of the fixture. Housing may be lowered further to compensate for thick
ceilings by use of the (3) thick ceilings adjustment screws.
4. Remove J-Box cover plate. Remove appropriate knockout and assemble appropriate connector for the supply wire used. Connect
ground wires to green ground leads. Connect white (common) to white (leads). Connect power supply (line) to black lead(s).
Reinstall J-Box cover.
WARNING: DO NOT pinch wires between J-Box/ballast cover and J-Box. Consult a Qualified Electrician for all other
options that require other wiring configurations.
5. Locate the black (line) and white (common)wires in the J-Box and connect the supply wires - black to black and white - white.
Note:
After closing in the ceiling and prior to painting, spraying etc., close off the housing aperture to avoid overspray on the lamp
housing.
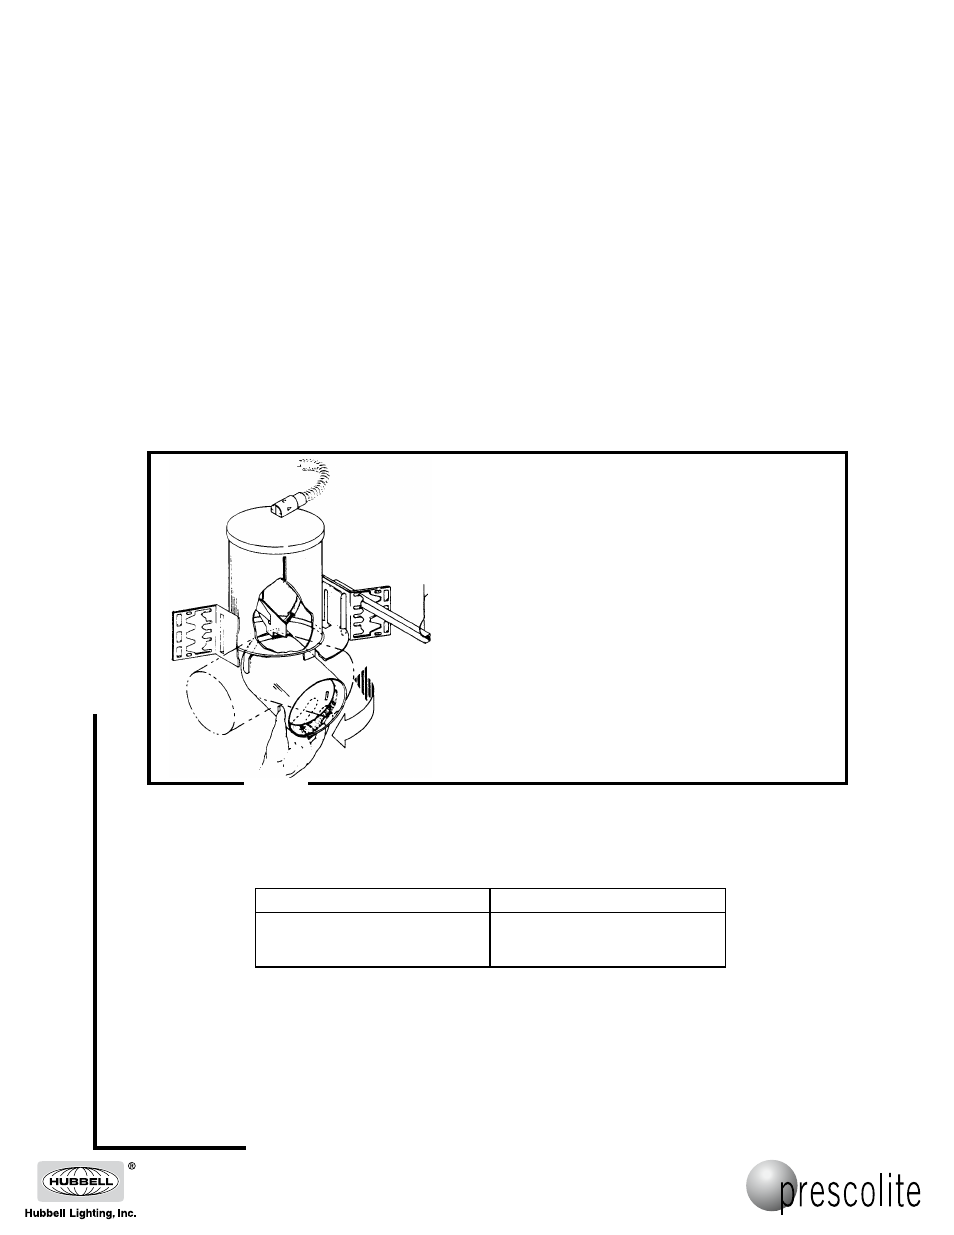
AIMING THE LAMP
1. Install the trim cone and the proper lamp (see table).
2. Pull the lamp housing down thru the fixture housing
aperture and aim the lamp housing as desired.
The lamp housing will rotate 180° on the vertical axis
and 340° on the horizontal axis.
Catalog No.
Lamp Type
1564
1565
1586
50W PAR-20
75W PAR-30
Q250W PAR-38
CAUTION: Do not attempt to modify our factory-installed wiring on the fixture. Safety and proper operation of the fixture depend on
the integrity of the wiring.
WARNING
BOTTOM EDGE OF PLASTER FLANGE MUST BE FLUSH
OR 1/4” MAX. ABOVE FINISHED CEILING SURFACE.