3 startup, 1 delivery package, 2 inserting the battery – Eppendorf Research pro User Manual
Page 6: 3 charging the battery, Startup
6
The Research pro is supplied as a single-channel, eight-channel or twelve-channel pipette for
different volume ranges. The pipette is delivered with or without a charging adapter, depending
on the order number. If the pipette is ordered without an adapter, a charging stand for one or
four pipettes is required. If this charging stand is not already available in the lab, it must be
ordered separately. According to the type of order, the delivery package contains the following:
•
Charging adapter with connected power unit or, if necessary, charging stand with separate
power unit
•
Special tool(s) according to the pipette type
•
Operating manual with measuring protocol and EC conformity assurance document
•
Ni-MH battery pack
•
Tube of silicone grease
•
For multi-channel pipettes: Reagent reservoir for liquid aspiration
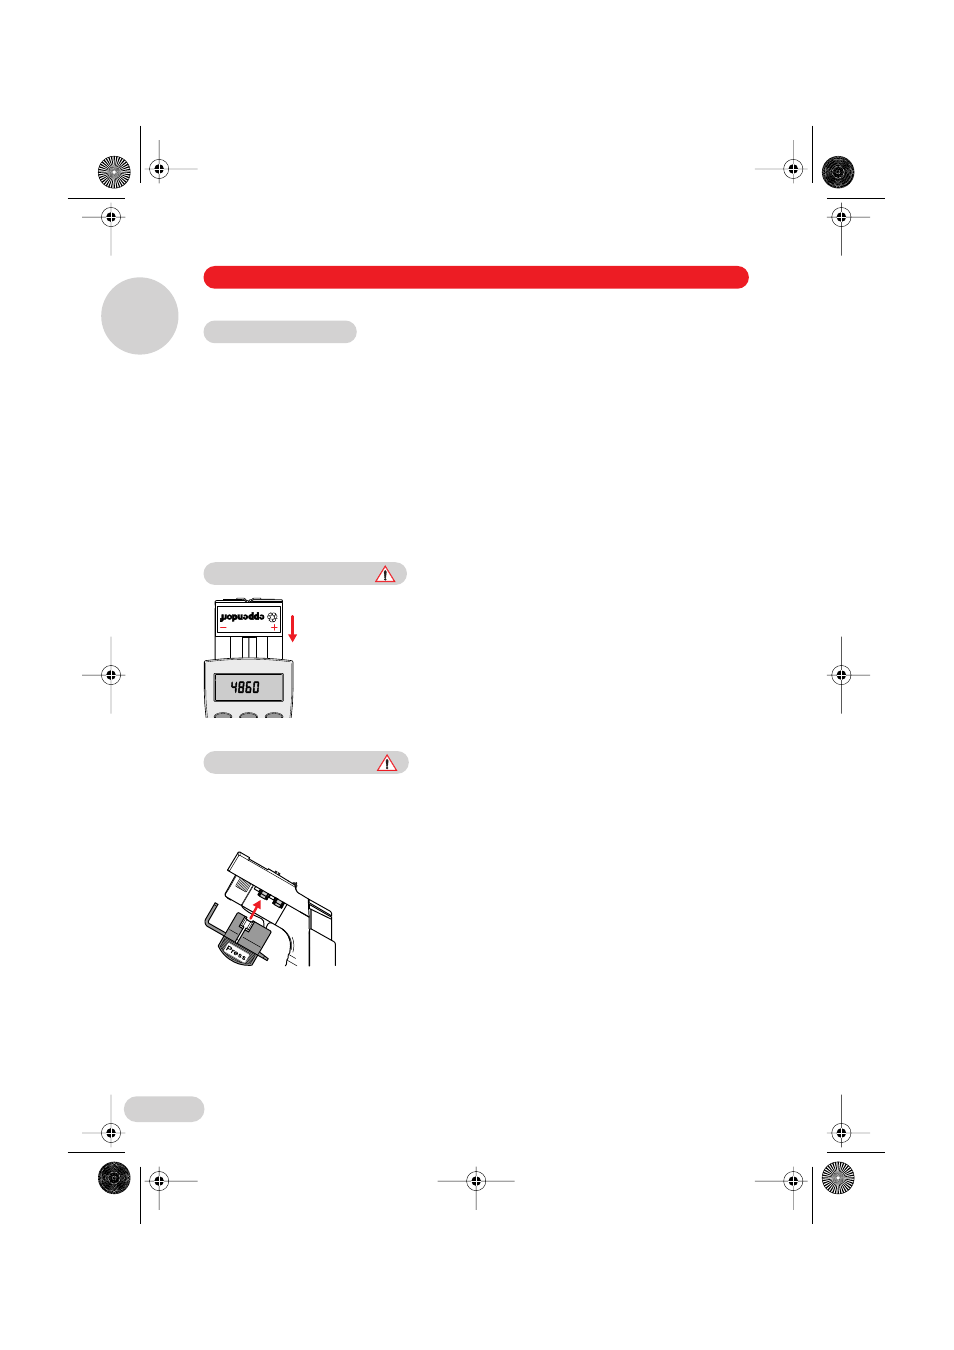
Using your thumb and forefinger, take hold of the lid of the battery
compartment on the rear of the pipette and remove it by tilting it to the side
and pulling it upwards. Insert the battery pack (see diagram).
Close the lid of the battery compartment. If the battery has been inserted
incorrectly, the lid cannot be closed properly. The positive and negative
poles of the battery should not come into contact with any metallic objects
outside the pipette. When the battery is inserted, the Research pro carries
out a test routine (e.g. for the display of pipette type, software version, data
record). The battery must be fully charged before the device is used for the first time.
The battery is charged in the pipette. Charging may only be carried out using the charging
adapter supplied or the charging stand with the original power unit. A pipette which does not
contain a battery must not be recharged! A new battery does not attain its full capacity until two
or three complete charging/discharging cycles have been completed.
Before recharging, please compare your voltage requirements with the
voltage specifications on the plug-in unit.
For charging purposes, the charging adapter is placed upon the
Research pro. Alternatively, the Research pro can be placed in the
charging stand.
During the start and termination of the charging process, "CON"
appears briefly on the left-hand side of the display. The display is
switched on during the charging process. The battery symbol appears
in a rolling form. During charging, the Dispensing function is frozen. When the charging process
has finished, the battery symbol appears in the display without moving. When the pipette has
been charged, it may remain in the charging stand. To increase the charging capacity, the
battery should occasionally be discharged until the flashing battery symbol appears. To avoid a
total discharge, the fully charged battery should be removed from the Research pro before
extended periods of non-use (e.g. several months). In this case, all data remains stored. In order
to avoid a total discharge, the battery that has been removed should be re-charged every six
months. Dispose of used batteries according to legal regulations.
3.1 Delivery package
3.2 Inserting the battery
4860 501.002-xx
XXXXX
NiMH
2.4V
/
1200 mAh
Option
Program
Speed
50–1000
µL
3.3 Charging the battery
3 Startup
Startup
3
E01 bis 04 Seite 6 Dienstag, 19. Dezember 2006 2:04 14