Beat mapping with midi regions – Apple Logic Express 8 User Manual
Page 684

684
Chapter 31
Beat Mapping Regions
 MIDI regions recorded without a click will be displayed in a musically meaningful
way in the Score Editor.
 Additional MIDI regions can also be created via the Step Input function, without
sounding too stiff. This looser feel is due to the parts being played back with all of
the tempo changes created by the beat mapping process.
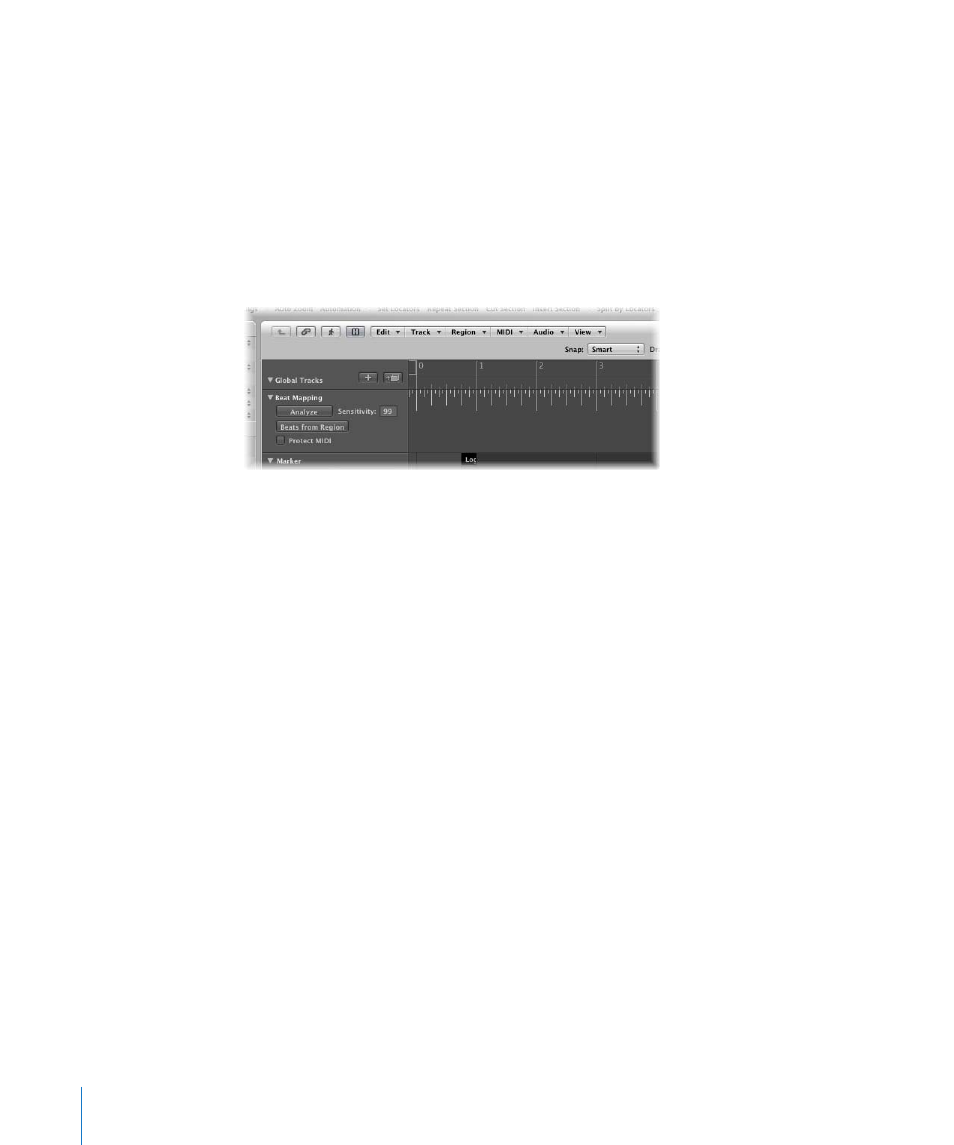
By default, the global Marker, Signature, and Tempo tracks are visible when you enable
the display of global tracks. If the Beat Mapping track is not displayed, choose View >
Configure Global Tracks, and enable the Beat Mapping checkbox. For detailed
instructions, see “
Showing and Hiding Individual Global Tracks
Beat Mapping With MIDI Regions
The following section takes a look at the beat mapping procedure in the Arrange
window. Beat mapping is also possible in the Piano Roll, Score, and Hyper Editor
windows, where you have the added advantage of directly seeing the corresponding
notes. To use (or test) beat mapping, you’ll need at least one MIDI region that doesn’t fit
the current tempo. You can simply record one without a metronome click, if none are
available.
In the upper part of the Beat Mapping track, you can see a ruler which contains a
graphical representation of musical bars, beats, and sub-divisions. These reflect the
division value set in the Transport bar (and are also dependent on the current zoom
level).
To allocate note events to particular bar positions:
1
Select the regions that you want to use for beat mapping. Once selected, short
horizontal lines will appear at the lower edge of the Beat Mapping track. These
represent the notes in the selected regions.
2
Start from the left. At the first bar position you want to assign to a MIDI note: Click-
hold at the exact position in the Bar ruler.
A yellow vertical line will appear.
