Setting the inspection date, Main menu, Settings – BrandTech Scientific PLT unit Pipette Leak Testing Unit User Manual
Page 56: Inspection date
+
–
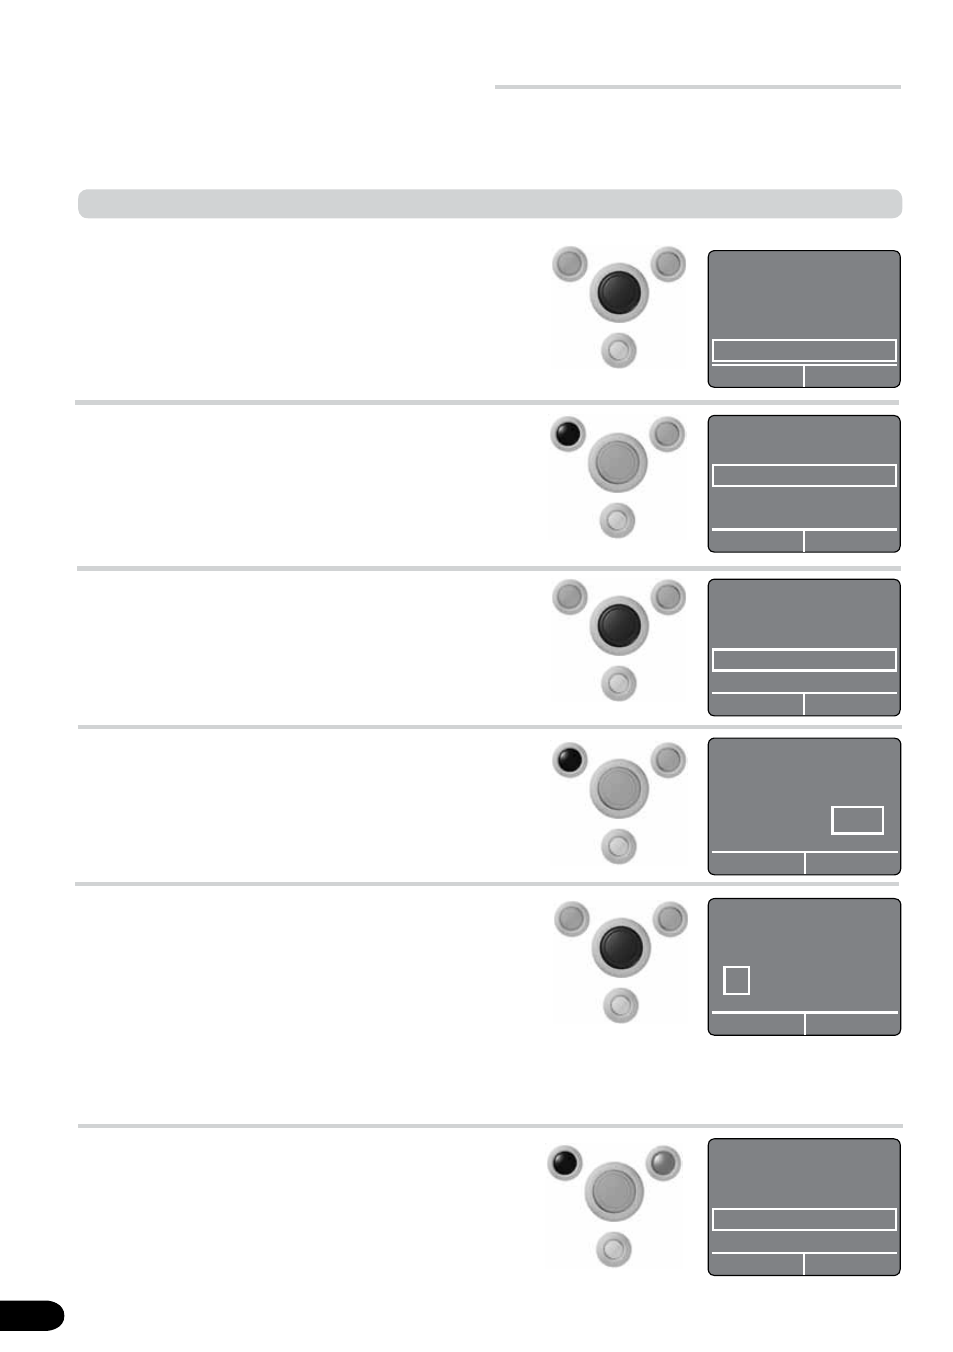
Call up the 'Main Menu' by
pressing the select knob,
and turn it to select 'Set-
tings'.
Press the 'Execute' button.
The 'Settings' submenu is
called up.
1.
Selecting
'Settings' in the
Main Menu
2.
Confirming the
settings
Set to 'Inspection date' by
turning the select knob.
Press the 'Execute' button.
The previously set mainte-
nance date is displayed.
3.
Selecting the
inspection date
4.
Calling up the
inspection date
Main Menu
Pipette Type
Self Test
Switch OFF
Settings..
.
select
back
Turning the select knob
changes the selection field in
the series Year, Month, and
Day. (Pressing today's date
leads back to 'Settings').
Turning the select knob
changes which position is
enframed.
5.
Setting the
inspection date
Settings
Language
Contrast
Inspection date
Auto-Power-Off Time
select
back
Settings
Language
Contrast
Inspection date
Auto-Power-Off Time
select
back
Setting the Inspection date
Adjustments
i.O.
zurück
Inspection date
1 - Apr - 2010
o.k.
back
Settings
Pipette Type
Self Test
Switch OFF
Settings..
.
select
back
6.
Confirming the
inspection date
Press the 'Execute' button.
The indicator returns auto-
matically to the 'Settings'
menu.
The 'Back' button leads to
the Main Menu.
Inspection date
1 - Apr - 2011
o.k.
select
The interval for when the PLT unit should be sent to BRAND or an authorized repair shop for testing can
be set individually This interval is displayed each time the unit is switched on.
What to do?
How to do it
Keys to press
Display readout
56