Ask Proxima 9100 User Manual
Page 87
6-6
Chapter Six
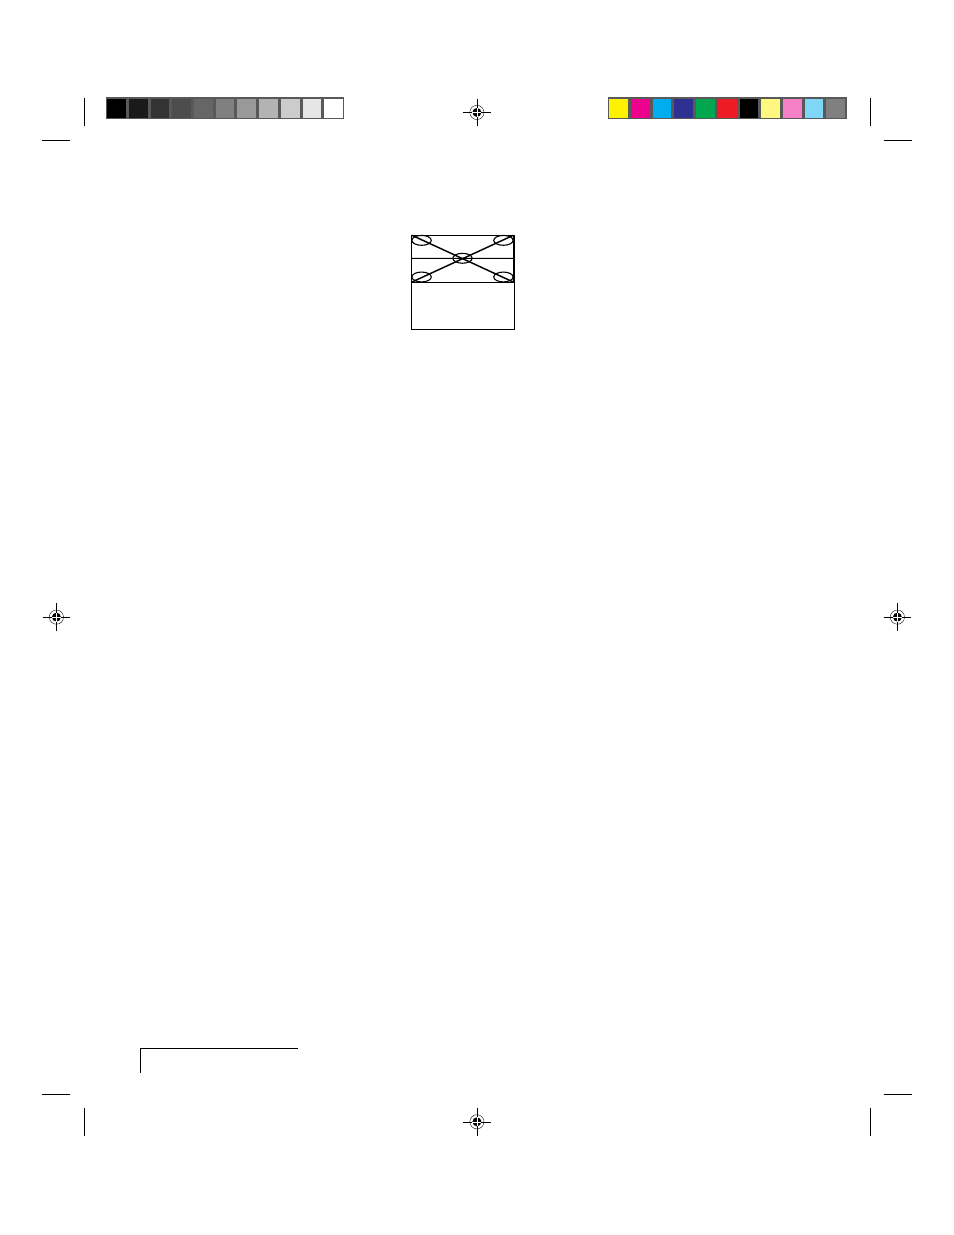
Half-Normal Height Display
Figure 6-3, Adjusting the half-normal height display
Use the arrow keys, the Setup key on the control panel, or use the following
procedure to adjust the half-normal height display:
1 Press the Menu key. The Main menu displays.
2 Select Advanced from the Main menu.
3 Select the Hor. Pos (Horizontal Position) slide bar.
4 Press the down arrow key until the is properly aligned. (If this adjustment
does not correct the problem, reset the Hor. Pos control.)
Note: There are separate Hor. Pos and Vert. Pos values for Normal and
Fit-to-View Modes. Adjustments in one mode are not made in the other.
5 Press the right arrow key to select the Vert. Pos (Vertical Position) slide
bar.
6 Press the down arrow key until the image displays properly.
(If this adjustment does not correct the problem, reset the Hor. Pos
control to the default.)
If neither parameter corrects the problem, you must find the correct Dot
Clock value to prevent image distortion. Make changes to this parameter
SLOWLY to avoid skipping over the desired value. Considerable trial and
error may be required.
7 Select Image on the Main Menu.
8 Select the Dot Clock slide bar with the right arrow.
9 Move the slide bar up or down until the image displays properly.
If none of these adjustments corrects the problem, try a different SOURCE
MODE selection. Make sure the selection has the correct resolution and the
closest V-sync and H-sync values.