00 dsp 2, Key style, 00 inp 1 – Red Lion PAXLA User Manual
Page 6: 00 dsp 1, 00 inp 2, 1 module 1 - s, 200v ran6e, 00 decpt, 00 ofset, 1filtr
6
100.00
dSP 2
DISPLAY VALUE FOR SCALING POINT 2
-19999
to
99999
Enter the second Display Value by using the front panel buttons. This is the
same for
KEY
and
APLY
scaling styles. The decimal point follows the
dECPt
selection.
General Notes on Scaling
1. When using the Apply (
APLY
) scaling style, input values for scaling points
must be confined to the range limits shown.
2. The same Input Value should not correspond to more than one Display Value.
(Example: 20 mA can not equal 0 and 20.)
3. For input levels beyond the programmed Input Values, the meter extends the
Display Value by calculating the slope from the two coordinate pairs (
INP1
/
dSP1
&
INP2
/
dSP2
).
KEy
StYLE
SCALING STYLE
If Input Values and corresponding Display Values are known, the Key-in
(
KEY
) scaling style can be used. This allows scaling without the presence or
changing of the input signal. If Input Values have to be derived from the actual
input signal source or simulator, the Apply (
APLY
) scaling style must be used.
KEy
APLY
0.00
INP 1
INPUT VALUE FOR SCALING POINT 1
For Key-in (
KEY
) style, enter the first Input Value using the front panel buttons.
(The Input Range selection sets the decimal location for the Input Value).
For Apply (
APLY
) style, the meter shows the previously stored Input Value.
To retain this value, press the
SEL button to advance to the next parameter. To
change the Input Value, press the
RST button and apply the input signal to the
meter. Adjust the signal source externally until the desired Input Value appears.
Press the
SEL button to enter the value being displayed.
0
to
29999
0.00
dSP 1
DISPLAY VALUE FOR SCALING POINT 1
-19999
to
99999
Enter the first Display Value by using the front panel buttons. This is the same
for
KEY
and
APLY
scaling styles. The decimal point follows the
dECPt
selection.
100.00
INP 2
INPUT VALUE FOR SCALING POINT 2
0
to
29999
For Key-in (
KEY
) style, enter the known second Input Value using the front
panel buttons.
For Apply (
APLY
) style, the meter shows the previously stored Input Value for
Scaling Point 2. To retain this value, press the
SEL button to advance to the next
parameter. To change the Input Value, press the
RST button and apply the input
signal to the meter. Adjust the signal source externally until the desired Input
Value appears. Press the
SEL button to enter the value being displayed.
Display
Decimal
Point
Filter
Setting
Filter
Band
Input Value
for Scaling
Point 1
Display Value
For Scaling
Point 1
User Input
Assignment
Input
Range
PAR
User Input
Function
Input Value
for Scaling
Point 2
Display Value
For Scaling
Point 2
Scaling
Style
Display
Offset
Value
User Input
Active Level
rANGE
dECPt
FILtr
bANd
INP 1
dSP 1
INP 2
U-ASN
1-INP
Pro
dSP 2
USrIN
StYLE
OFSEt
U-Act
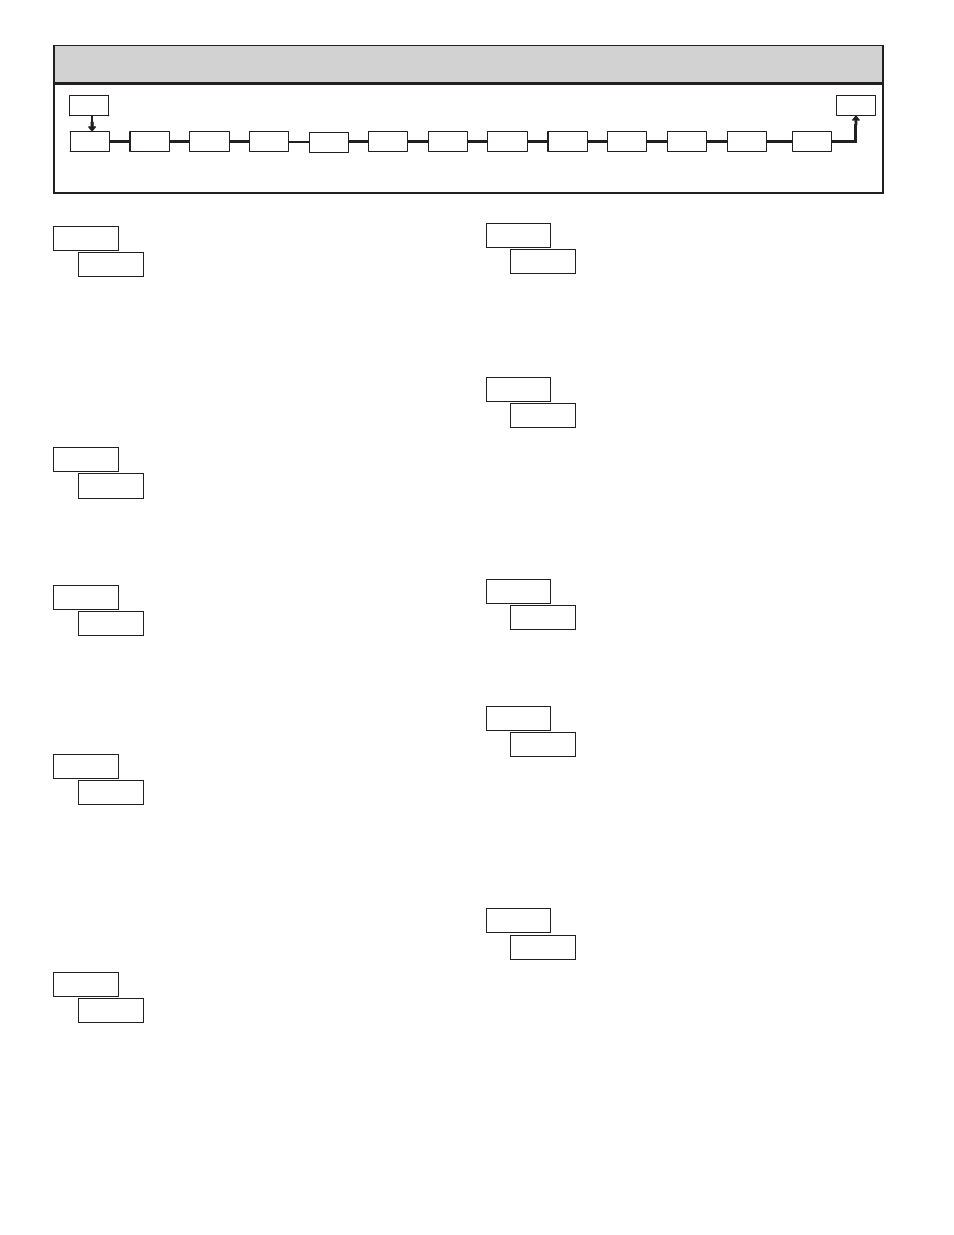
5.1 Module 1 - s
Ignal
I
nput
p
araMeters
(
1-INP
)
PARAMETER MENU
200v
rAN6E
INPUT RANGE
Select the input range that corresponds to the external signal. This selection
should be high enough to avoid input signal overload but low enough for the
desired input resolution. This selection and the position of the Input Range
Jumper must match.
200uA
200.00
µ
A
10u
2u
0.2u
0.002A
10.000 V
2.0000 V
200.00 mV
2.0000 mA
20.000 mA
200.00 V
20.000 V
200.00 mA
0.02A
200u
20u
0.2A
SELECTION
RANGE
RESOLUTION
RANGE
RESOLUTION
SELECTION
0.00
dECPt
0.000
0.0000
0.00
0.0
0
DISPLAY DECIMAL POINT
Select the decimal point location for the Input, MIN and MAX displays. This
selection also affects the
dSP1
and
dSP2
parameters and setpoint values and
offset value..
0.00
OFSEt
DISPLAY OFFSET VALUE
The display can be corrected with an offset value. This can be used to
compensate for signal variations or sensor errors. This value is automatically
updated after a Zero Display to show how far the display is offset. A value of
zero will remove the effects of offset. The decimal point follows the
dECPt
selection.
-19999
to
19999
1
FILtr
FILTER SETTING
If the displayed value is difficult to read due to small process variations or
noise, increased levels of filtering will help to stabilize the display. Software
filtering effectively combines a fraction of the current input reading with a
fraction of the previous displayed reading to generate the new display.
Filter values represent no filtering (0), up to heavy filtering (3). A value of 1
for the filter uses 1/4 of the new input and 3/4 of the previous display to generate
the new display. A filter value of 2 uses 1/8 new and 7/8 previous. A filter value
of 3 uses 1/16 new and 15/16 previous.
0,1 2 3
10
bANd
FILTER BAND
The filter will adapt to variations in the input signal. When the variation
exceeds the input filter band value, the filter disengages. When the variation
becomes less than the band value, the filter engages again. This allows for a
stable readout, but permits the display to settle rapidly after a large process
change. The value of the band is in display units, independent of the Display
Decimal Point position. A band setting of ‘0’ keeps the filter permanently
engaged at the filter level selected above.
0
to
199
display units