Milestone Central 3.7 User Manual
Page 17
Milestone XProtect 3.7; Administrator’s Manual
www.milestonesys.com
Page 17
Server: Installation
o
Select Basic Authentication.
o
Select Windows Authentication.
d. Click OK to start IIS installation; note that the IIS installation may take several
minutes to complete.
4. Now install the XProtect Central Server as described on page 13.
5. Upon installation of the XProtect Central Server, make the following changes in Windows
Vista:
a. Click Start, select Control Panel, and open Administrative Tools.
b. Open Internet Information Services (IIS) Manager.
c. Expand the server item in the Connections tree.
d. Expand the Web Sites item.
e. Expand the Default Web Site item.
f. Select the virtual folder named Central (if you specified a different virtual directory
name during the XProtect Central Server installation, click the virtual folder with
that name).
i.
Click Advanced Settings (located in the Actions section on the left side).
ii.
Select Behavior/Application Pool, and click the button located in the right
side of the property.
iii.
Change the Application Pool from DefaultAppPool to Classic .NET AppPool,
then click OK to close the dialog.
iv.
Click OK to close the Advanced Settings dialog.
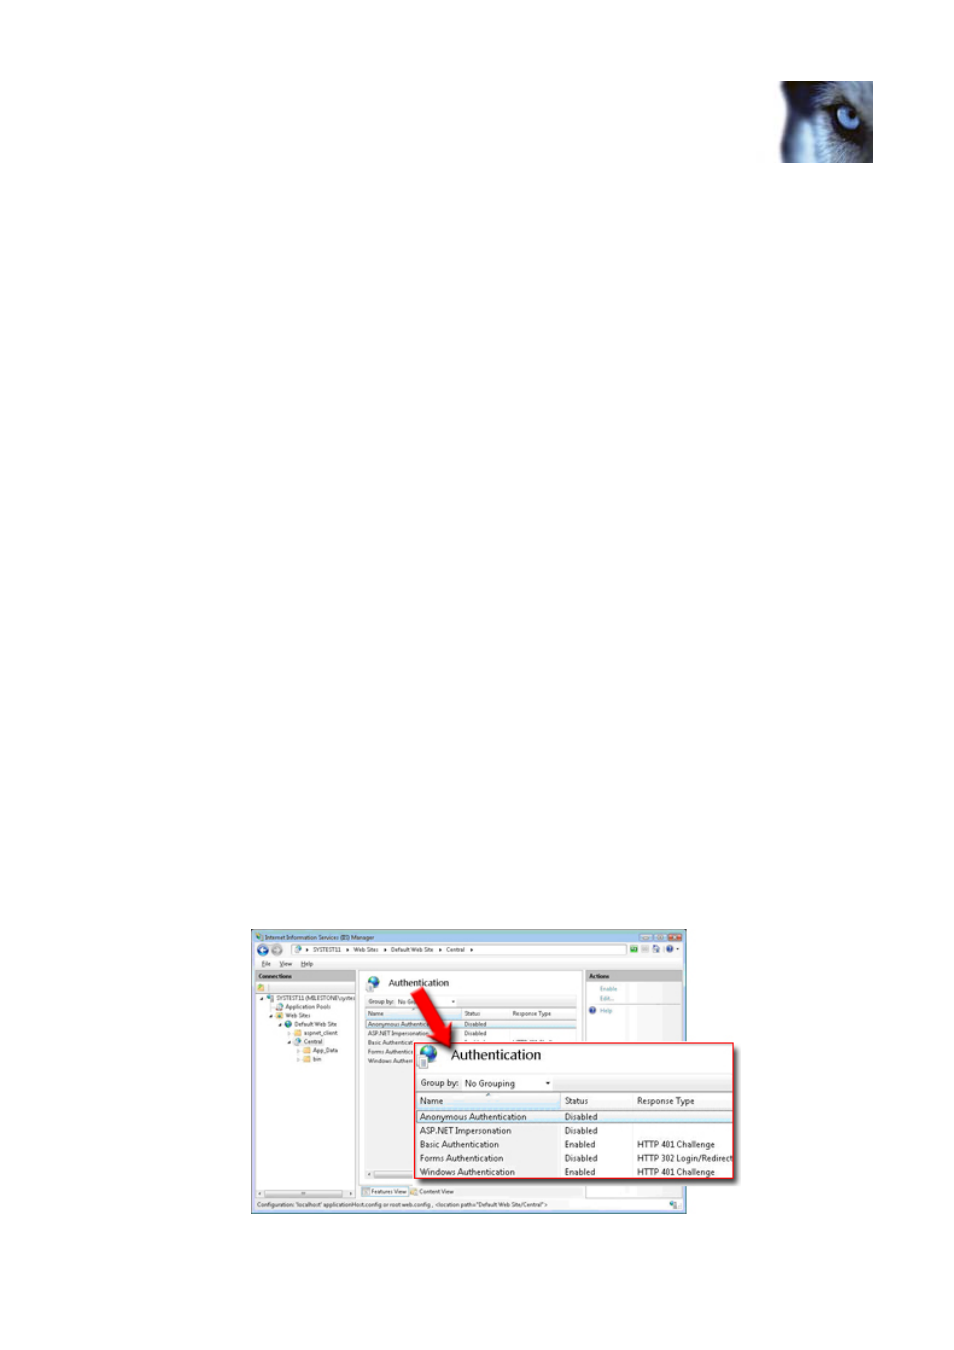
g. Open the authentication configuration view.
i.
Verify that Basic Authentication is enabled.
ii.
Verify that Windows Authentication is enabled.
iii.
Verify that the remaining three authentication types are disabled.